Know your base
Every building.
Before and after battle.
144 building designs. Three factions. Get to know their shapes, their purpose, and what remains after the fighting.
Native game captures and model views · Three factions
144 designs · Page 6 of 6 Reset filters
sunhearth · Base structure
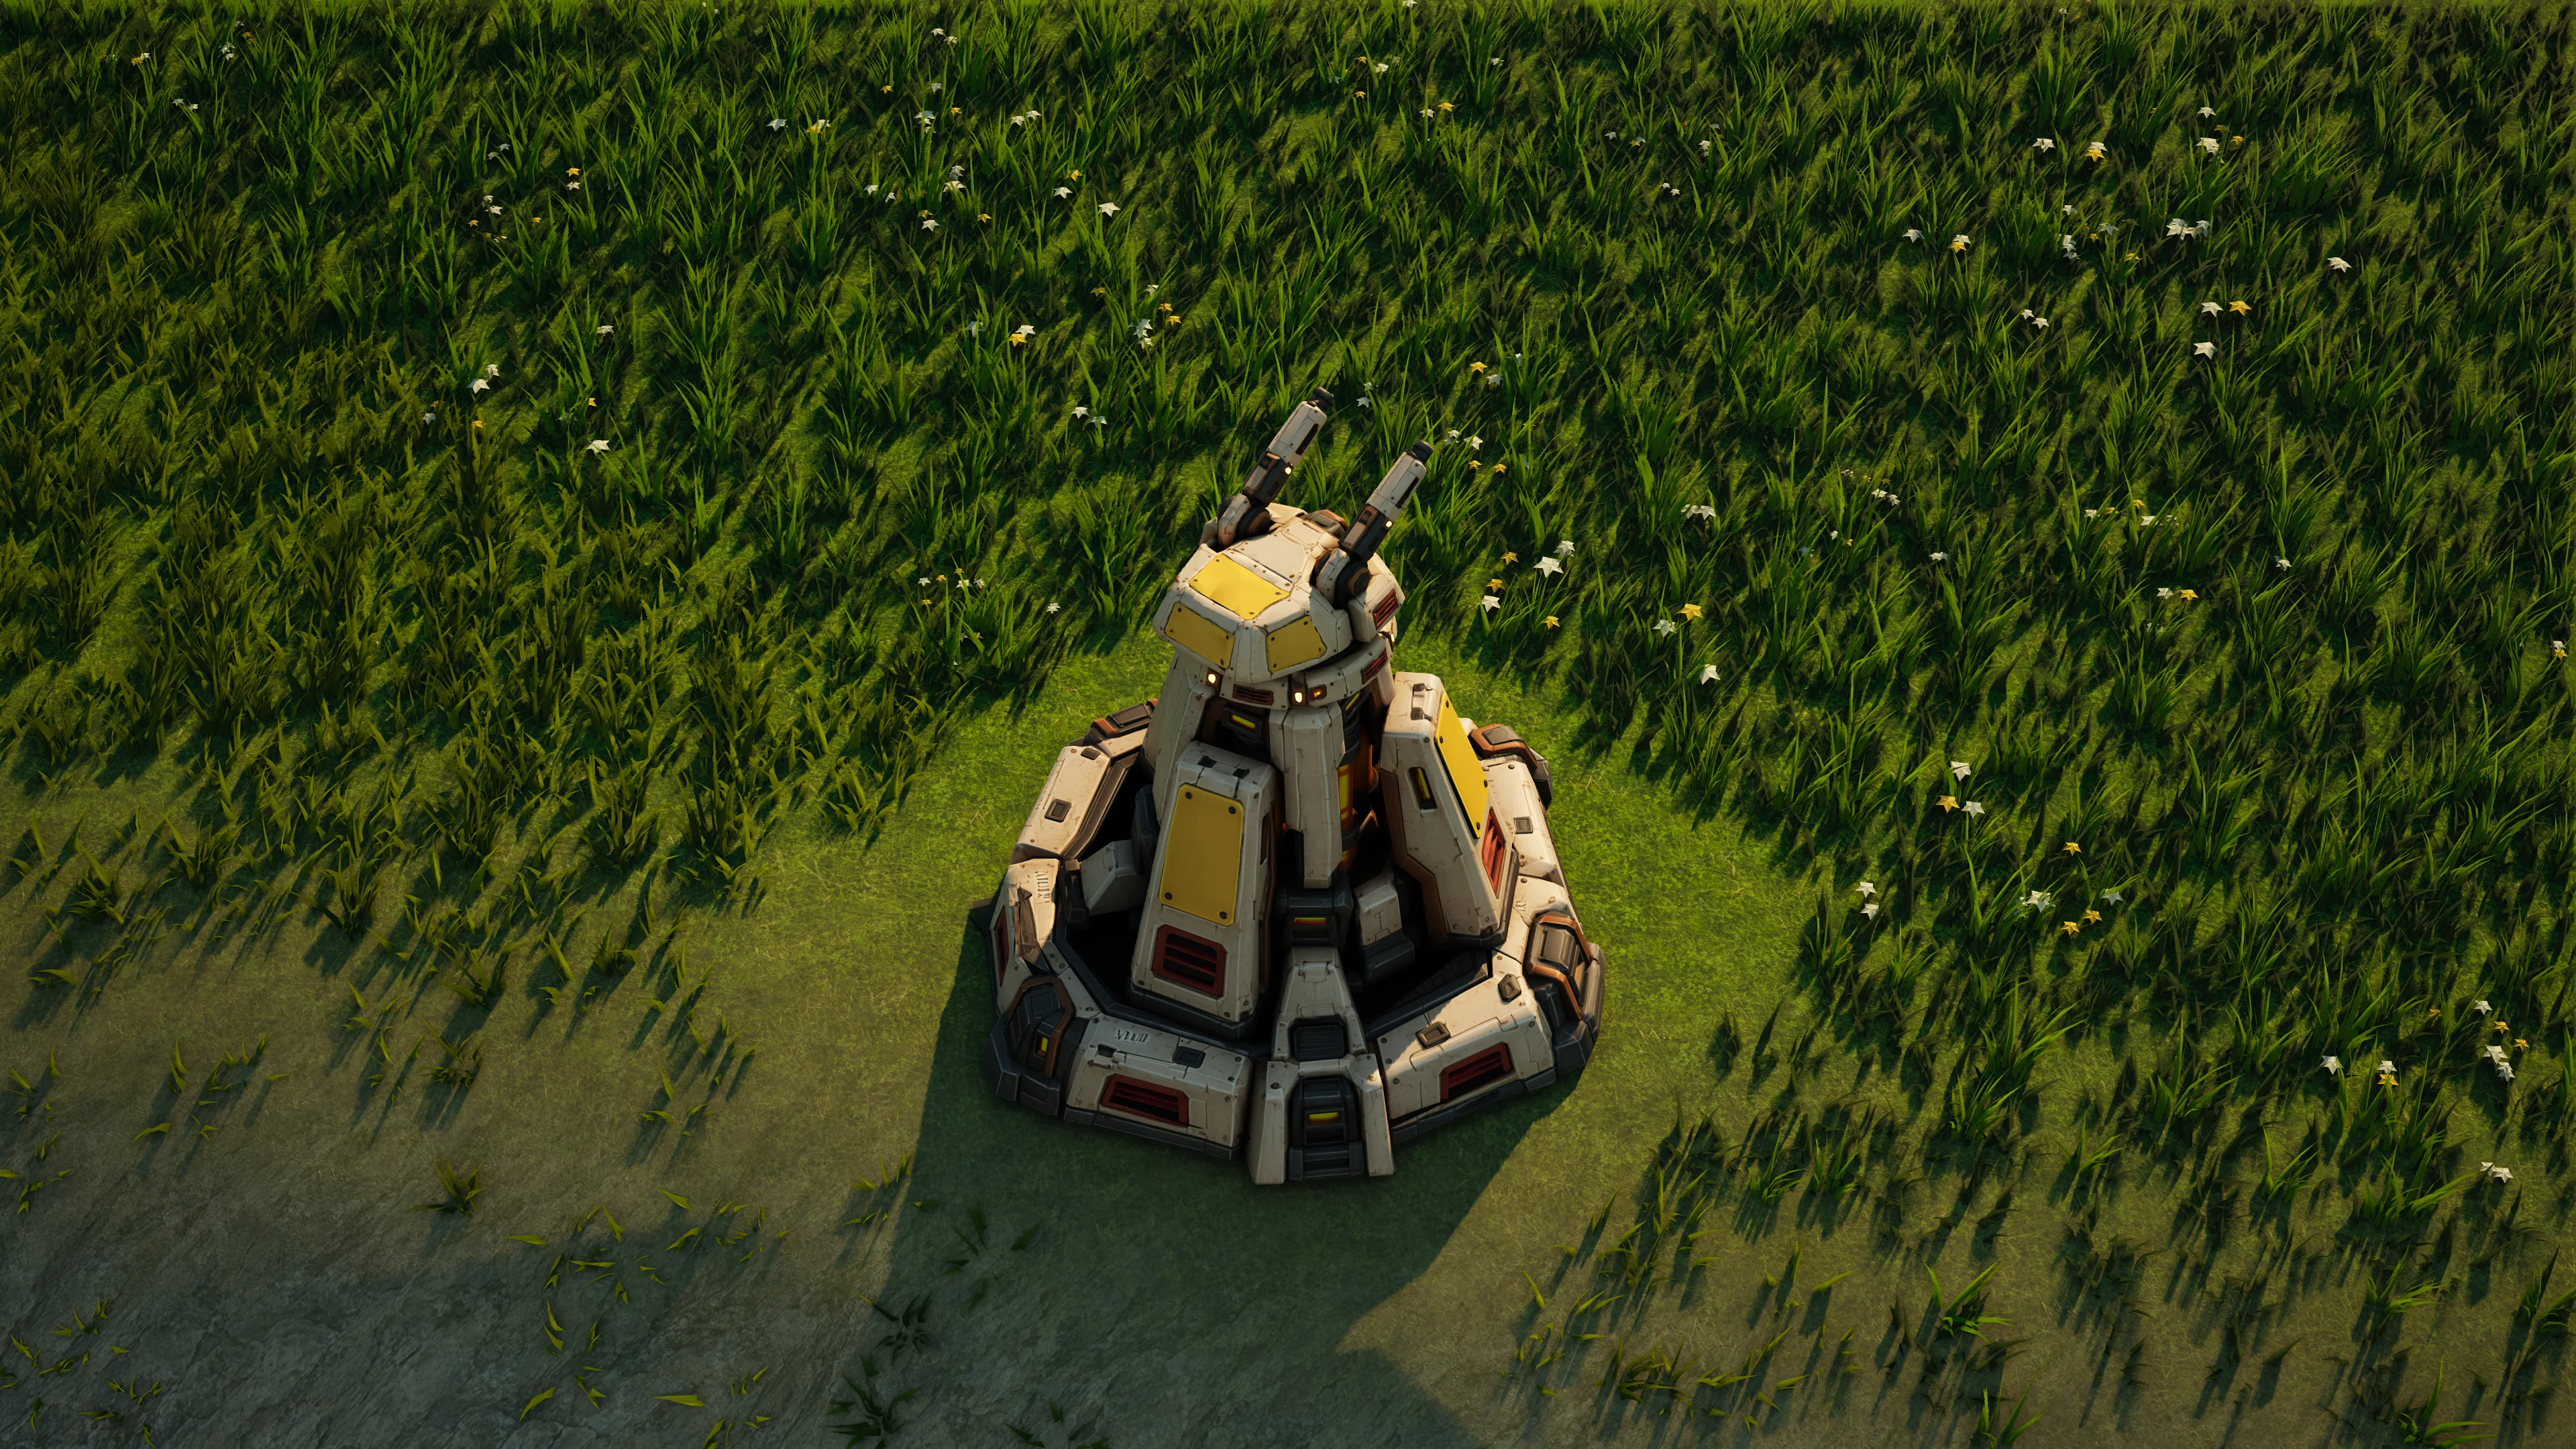
Petal
Wards the Heartbloom and carries its own defensive turret. Broken, it throws a shard an engineer can carry home to regrow it.
sunhearth · Tier 2
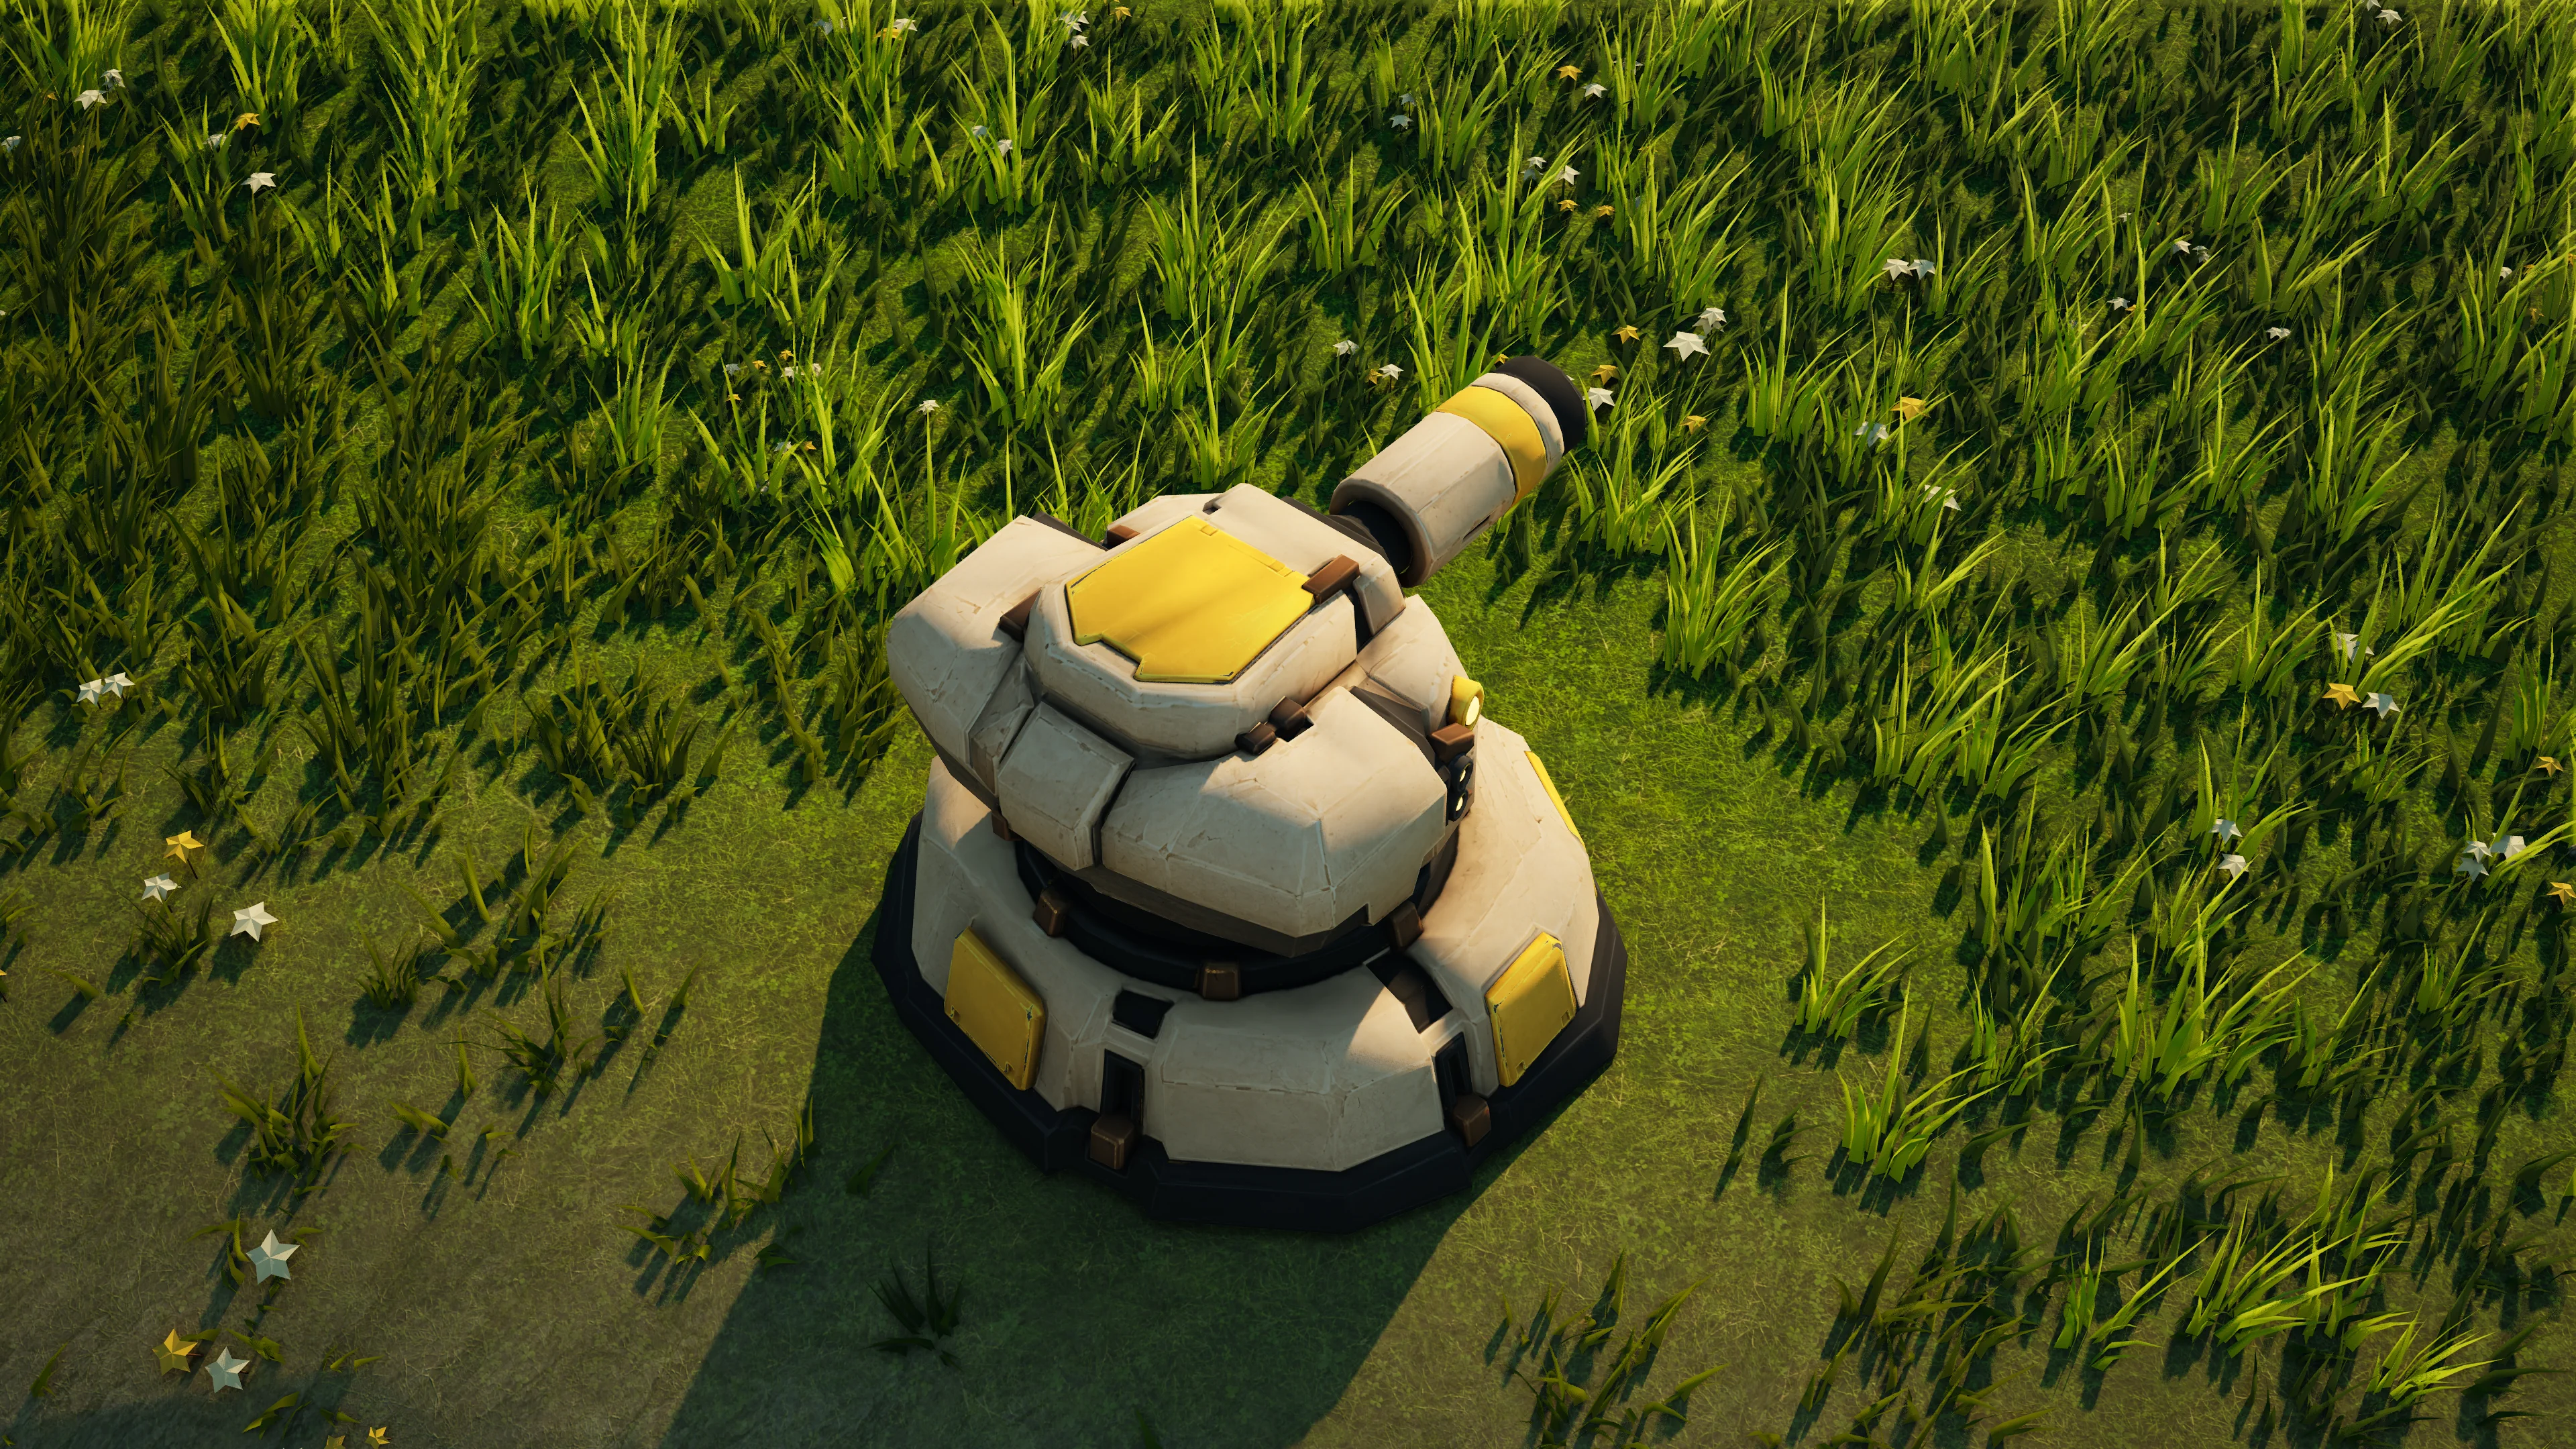
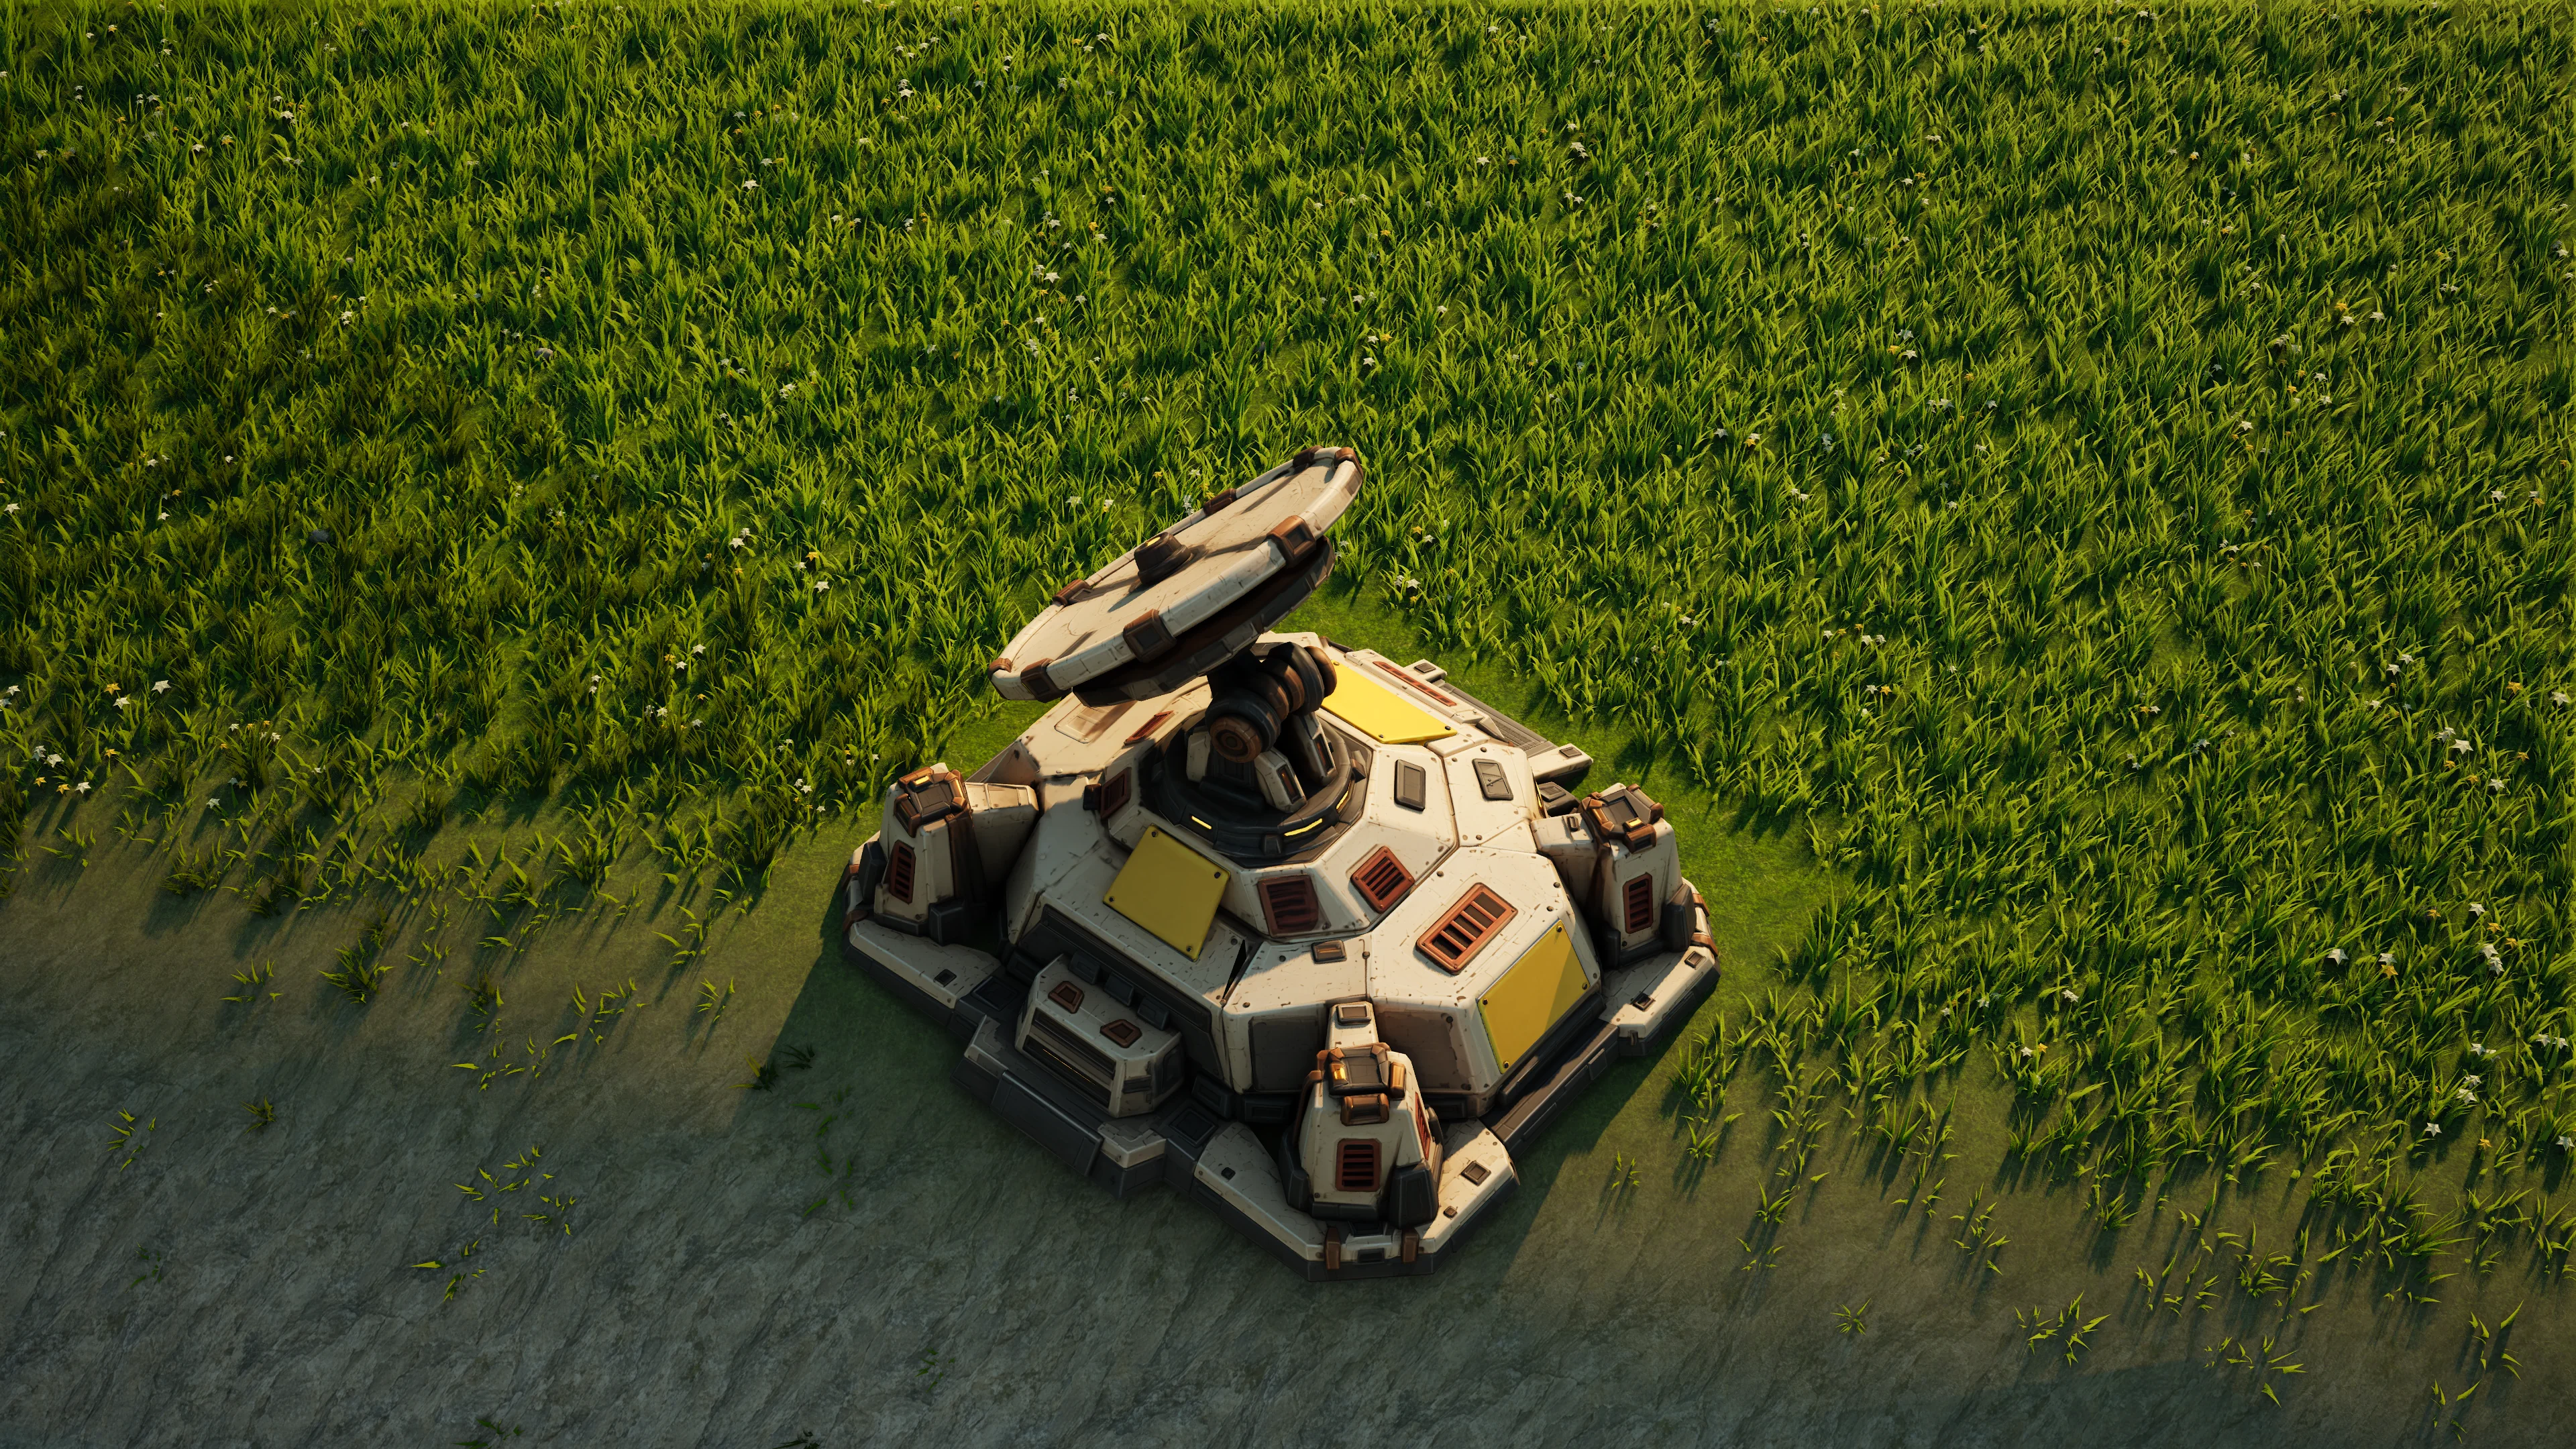
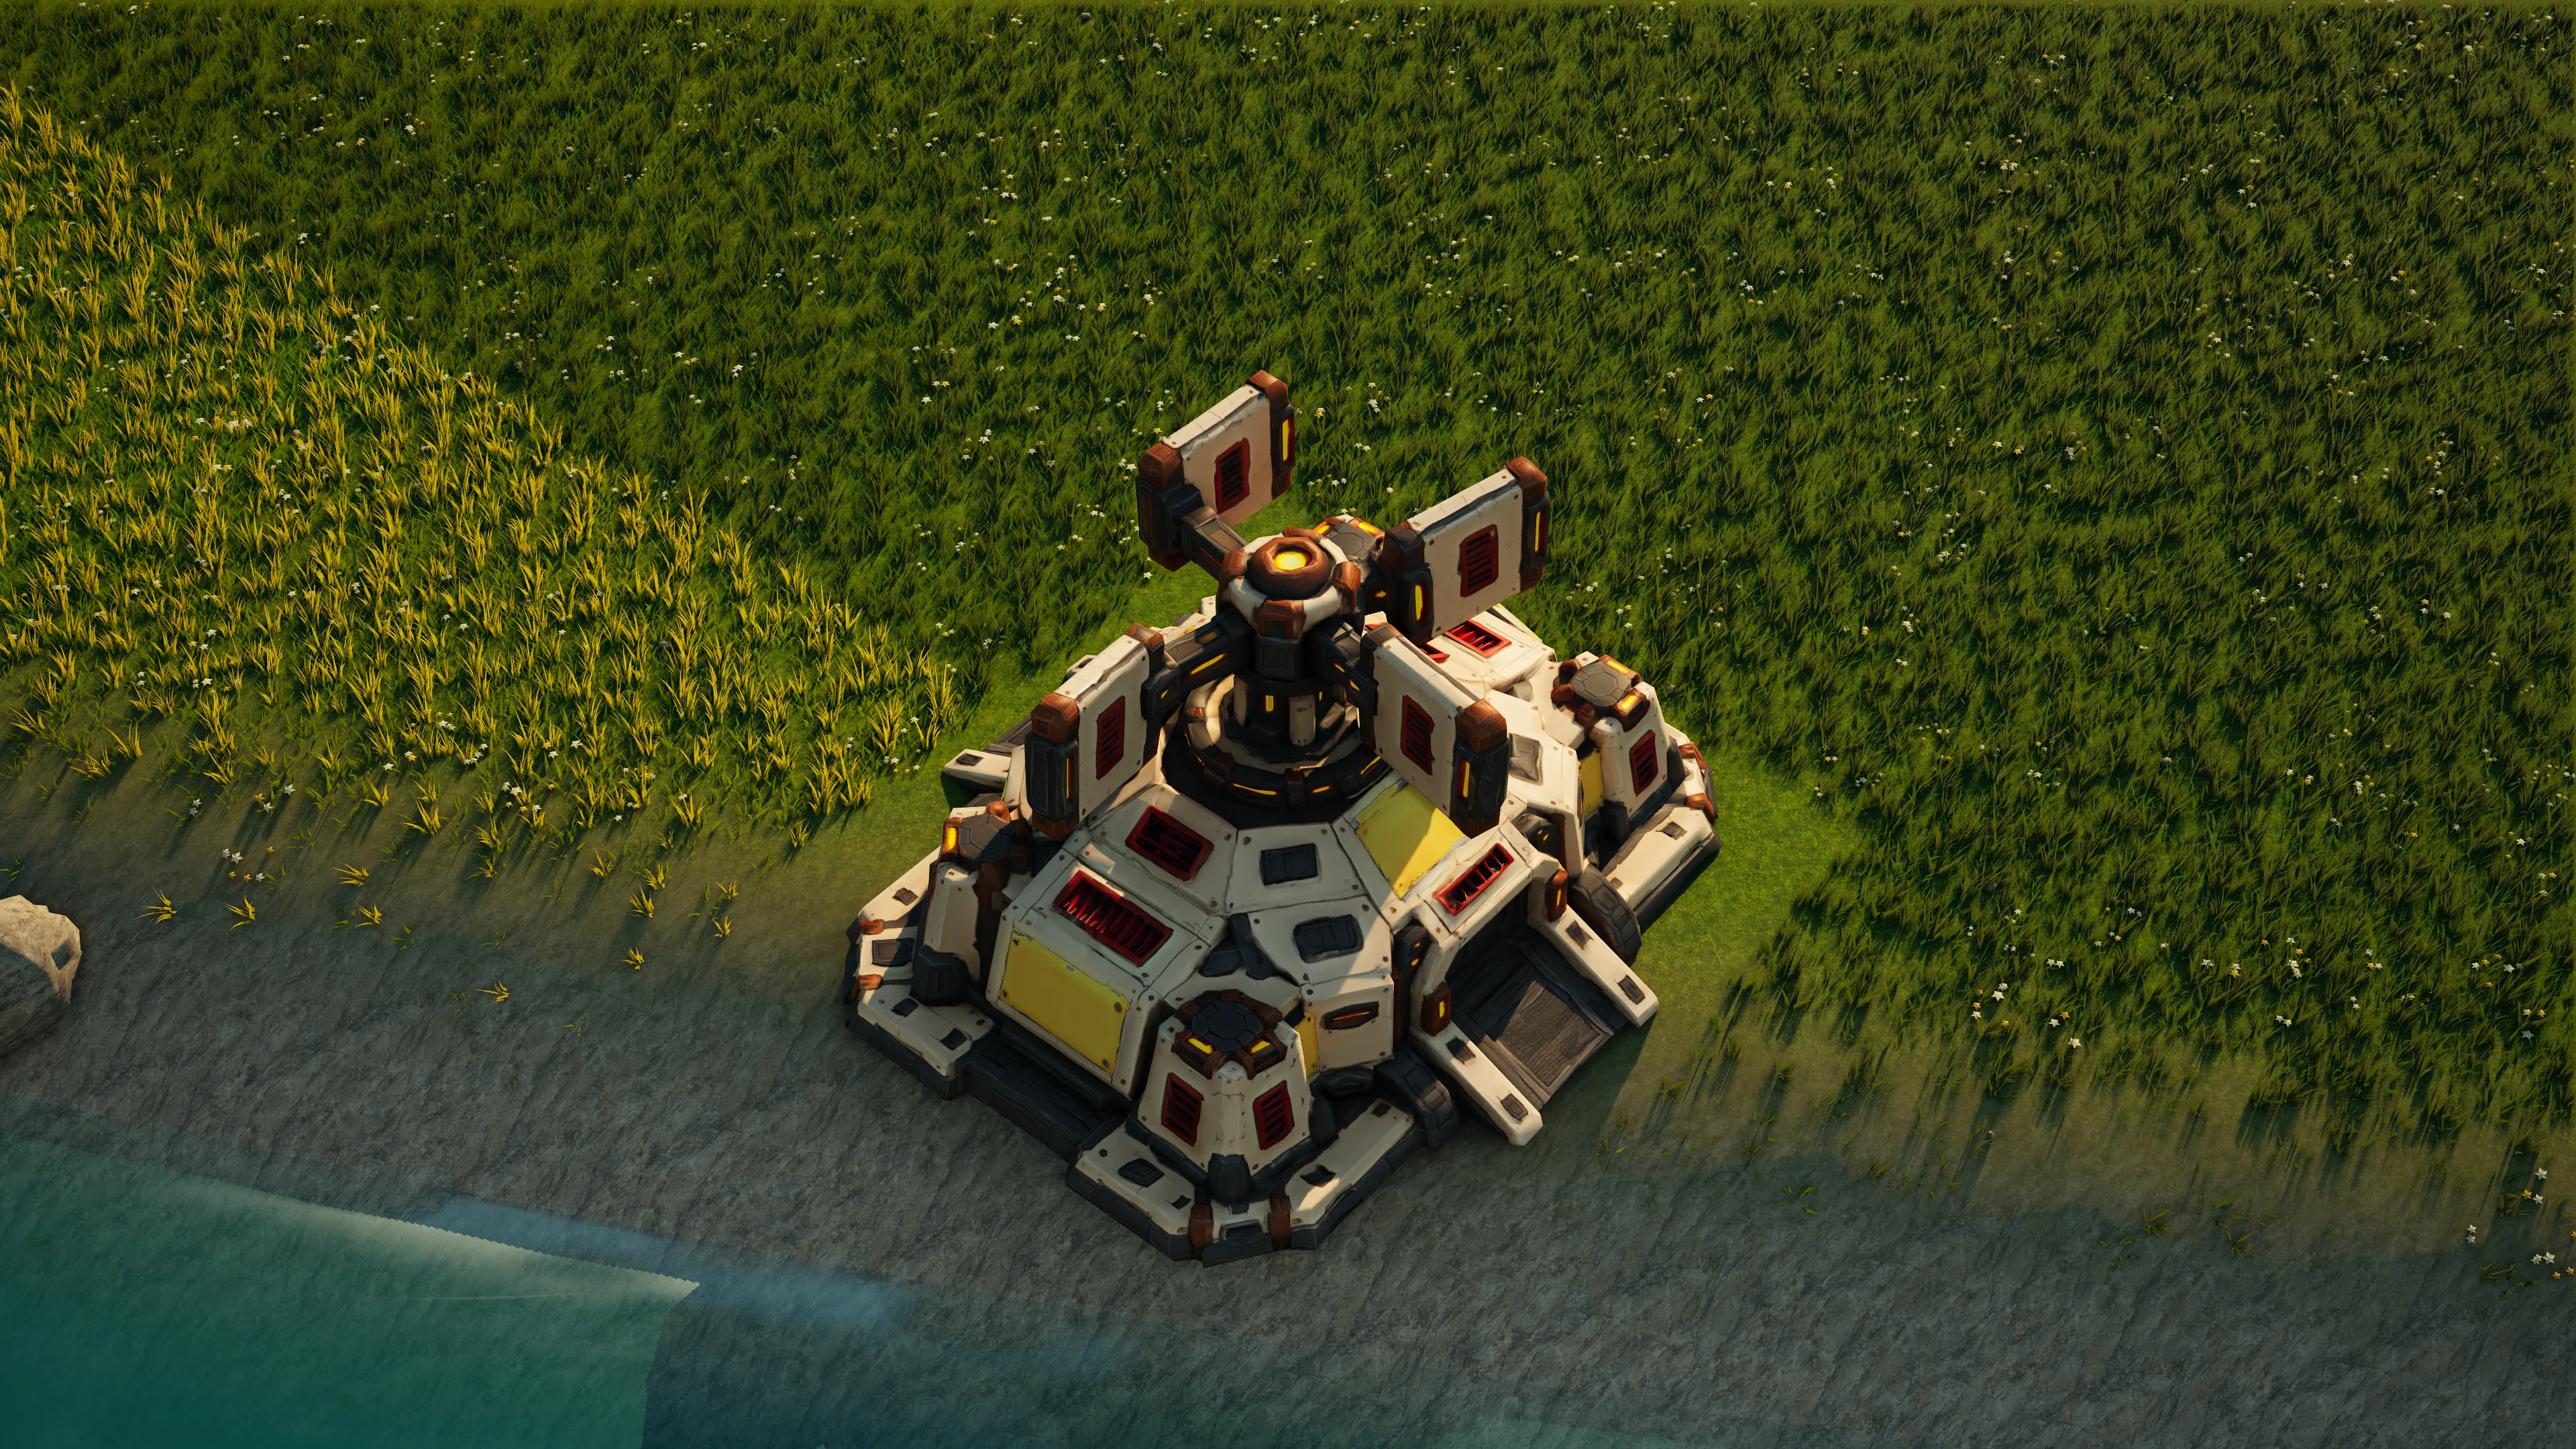
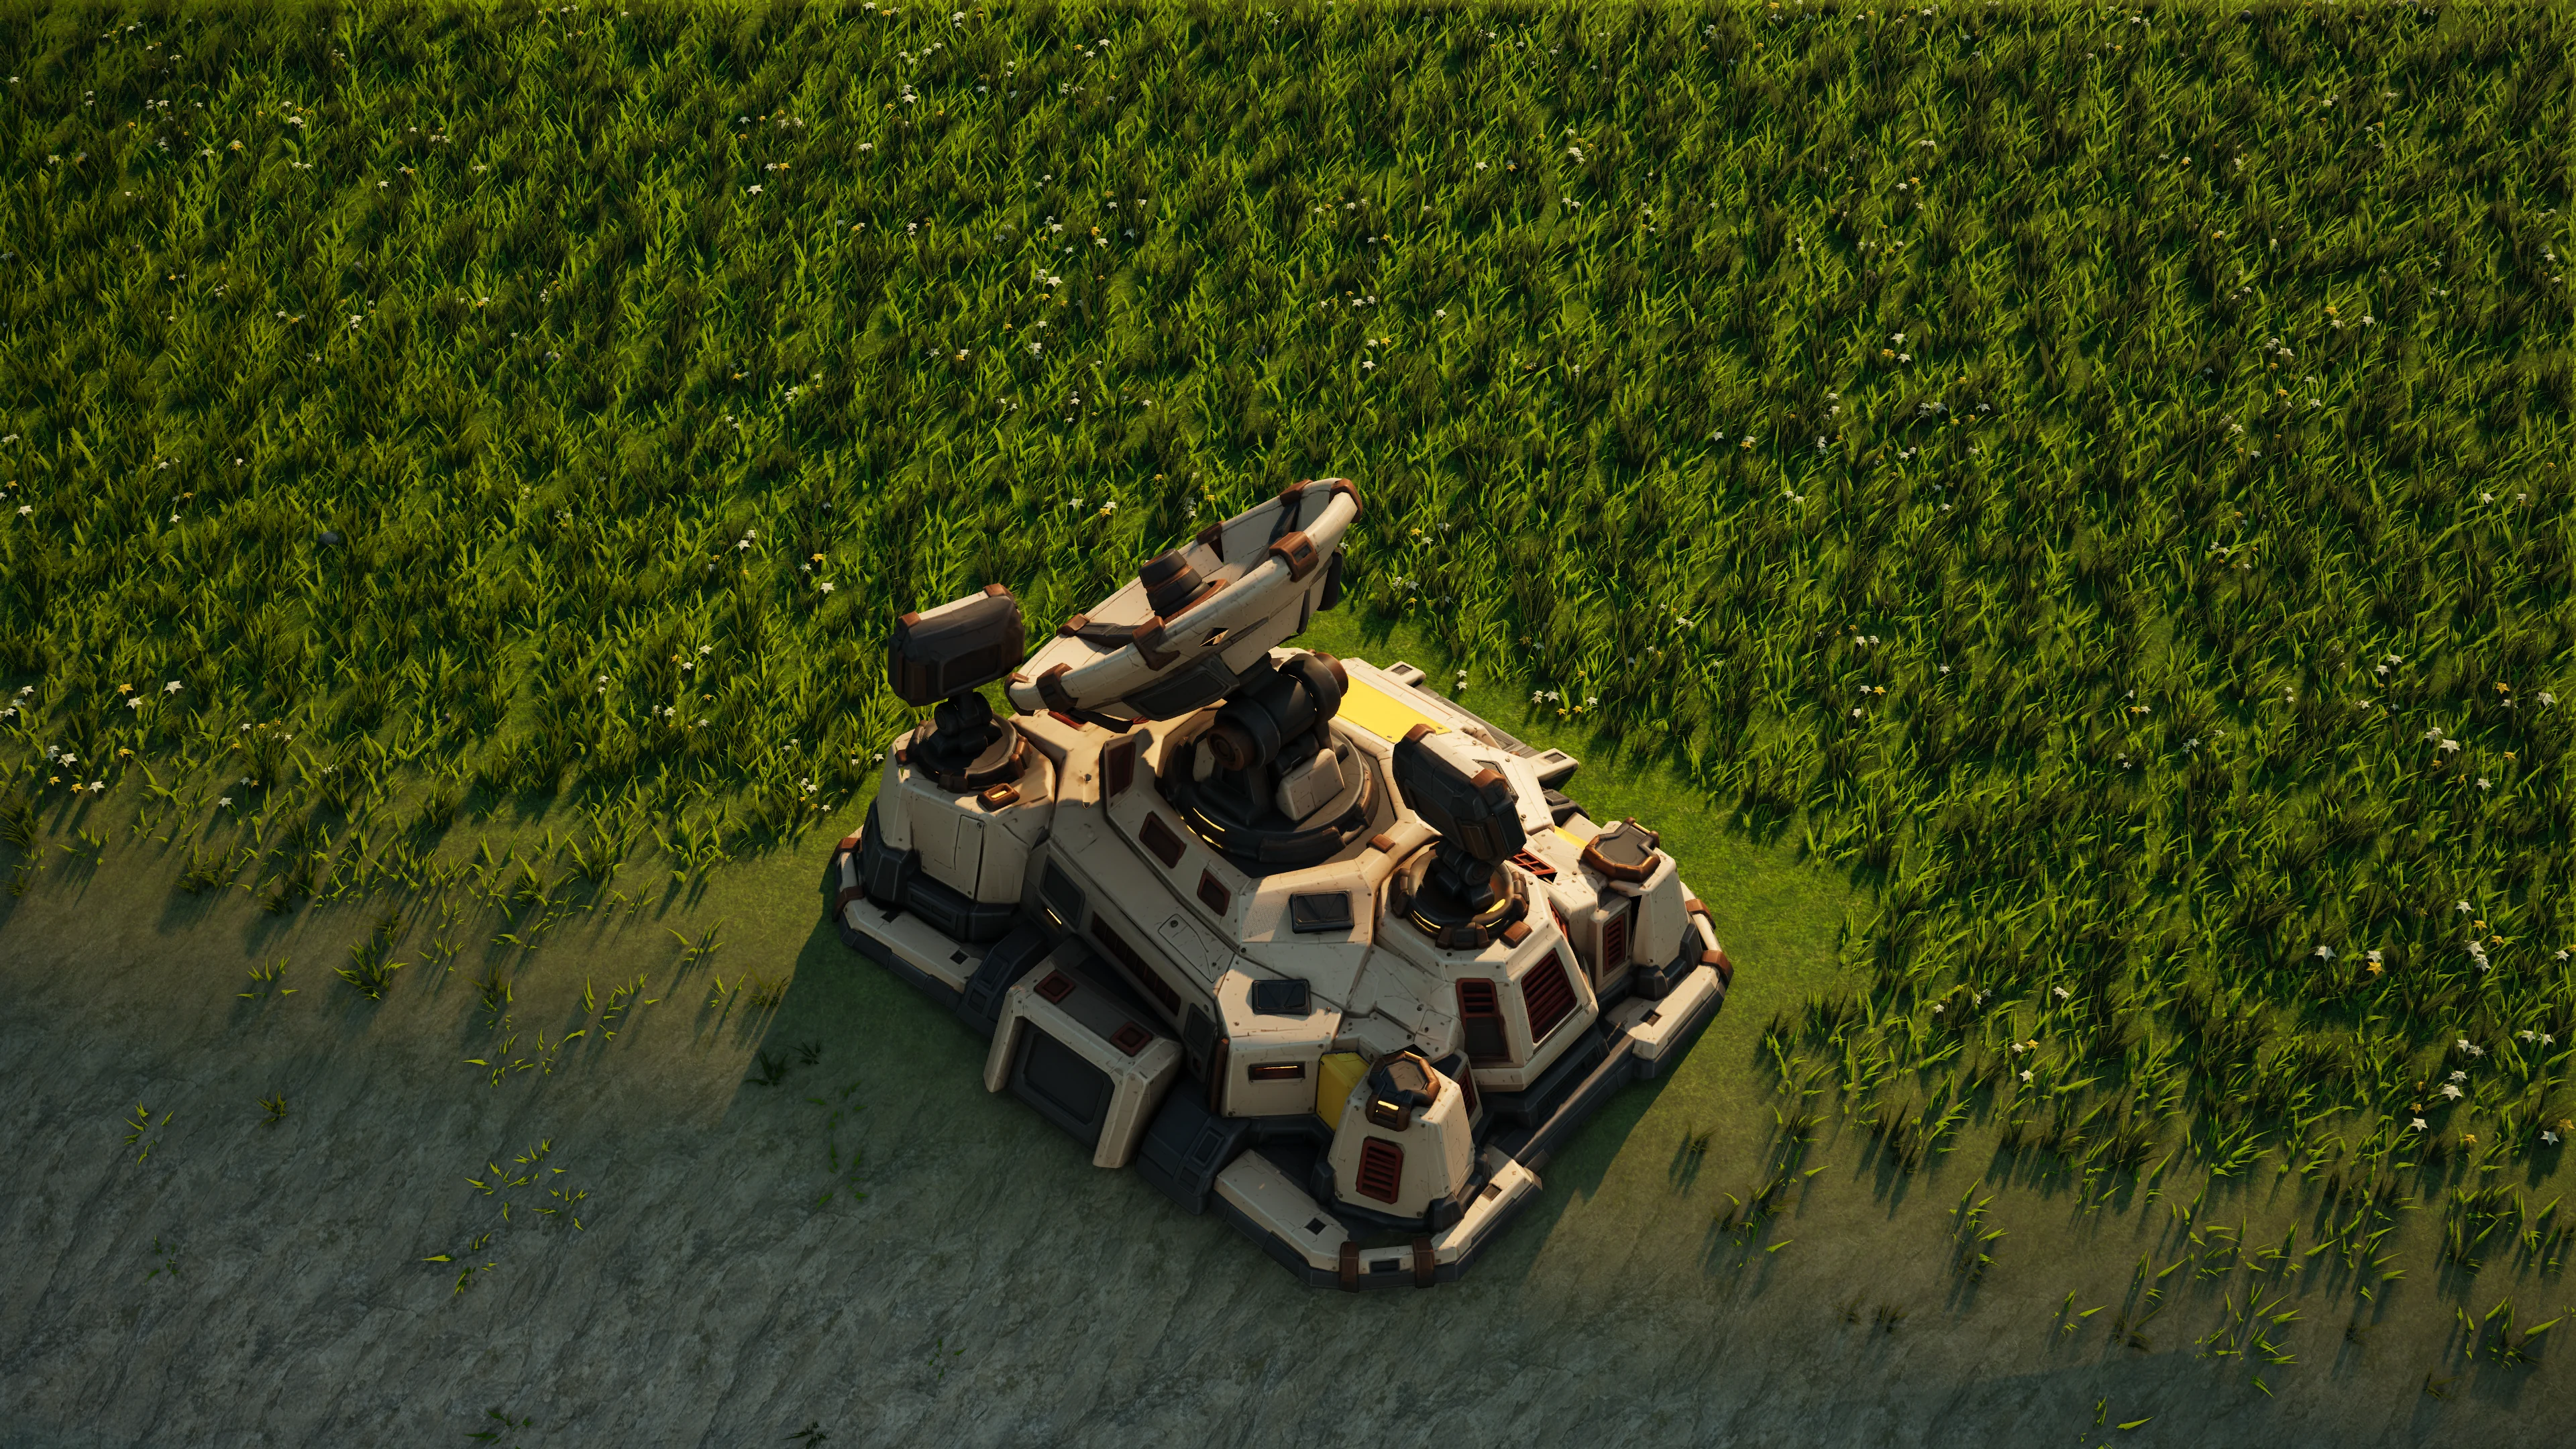
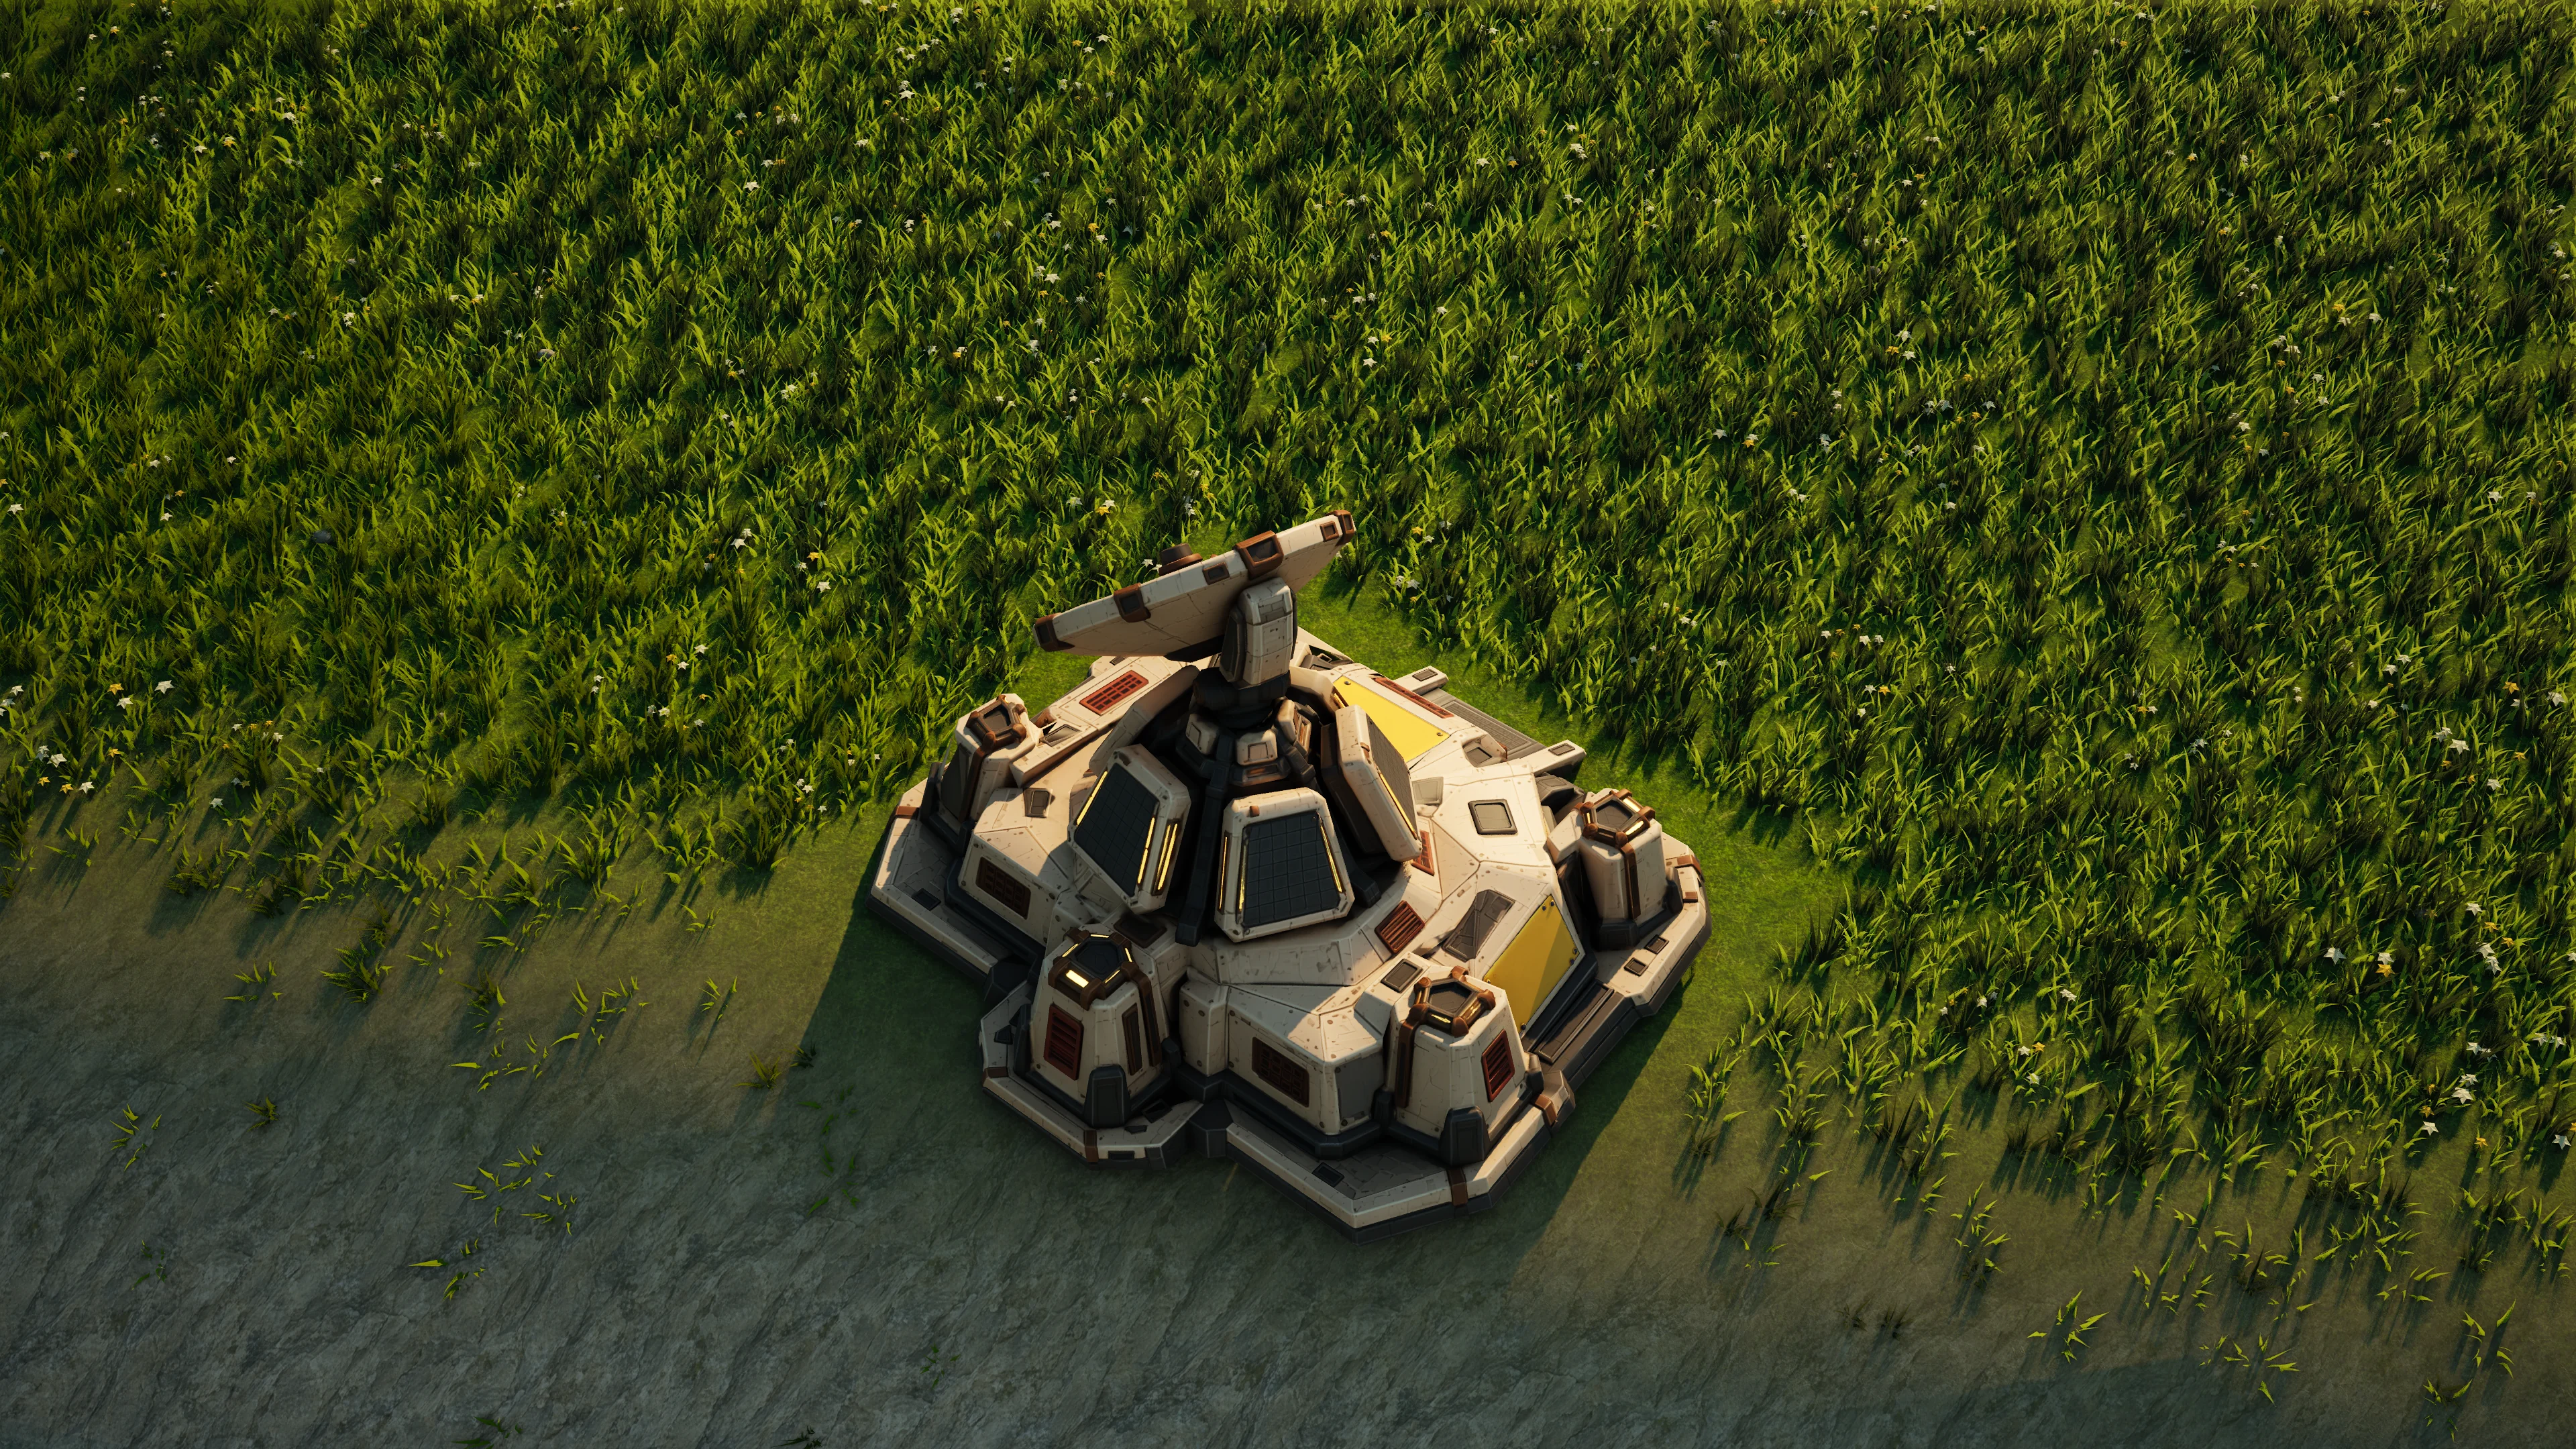
Radar disruptor
Suppresses enemy radar locally within 500 metres while powered, at 30 energy per second. Direct sight still works. This is a continuous local jammer, not a timed global blackout.
sunhearth · Tier 2
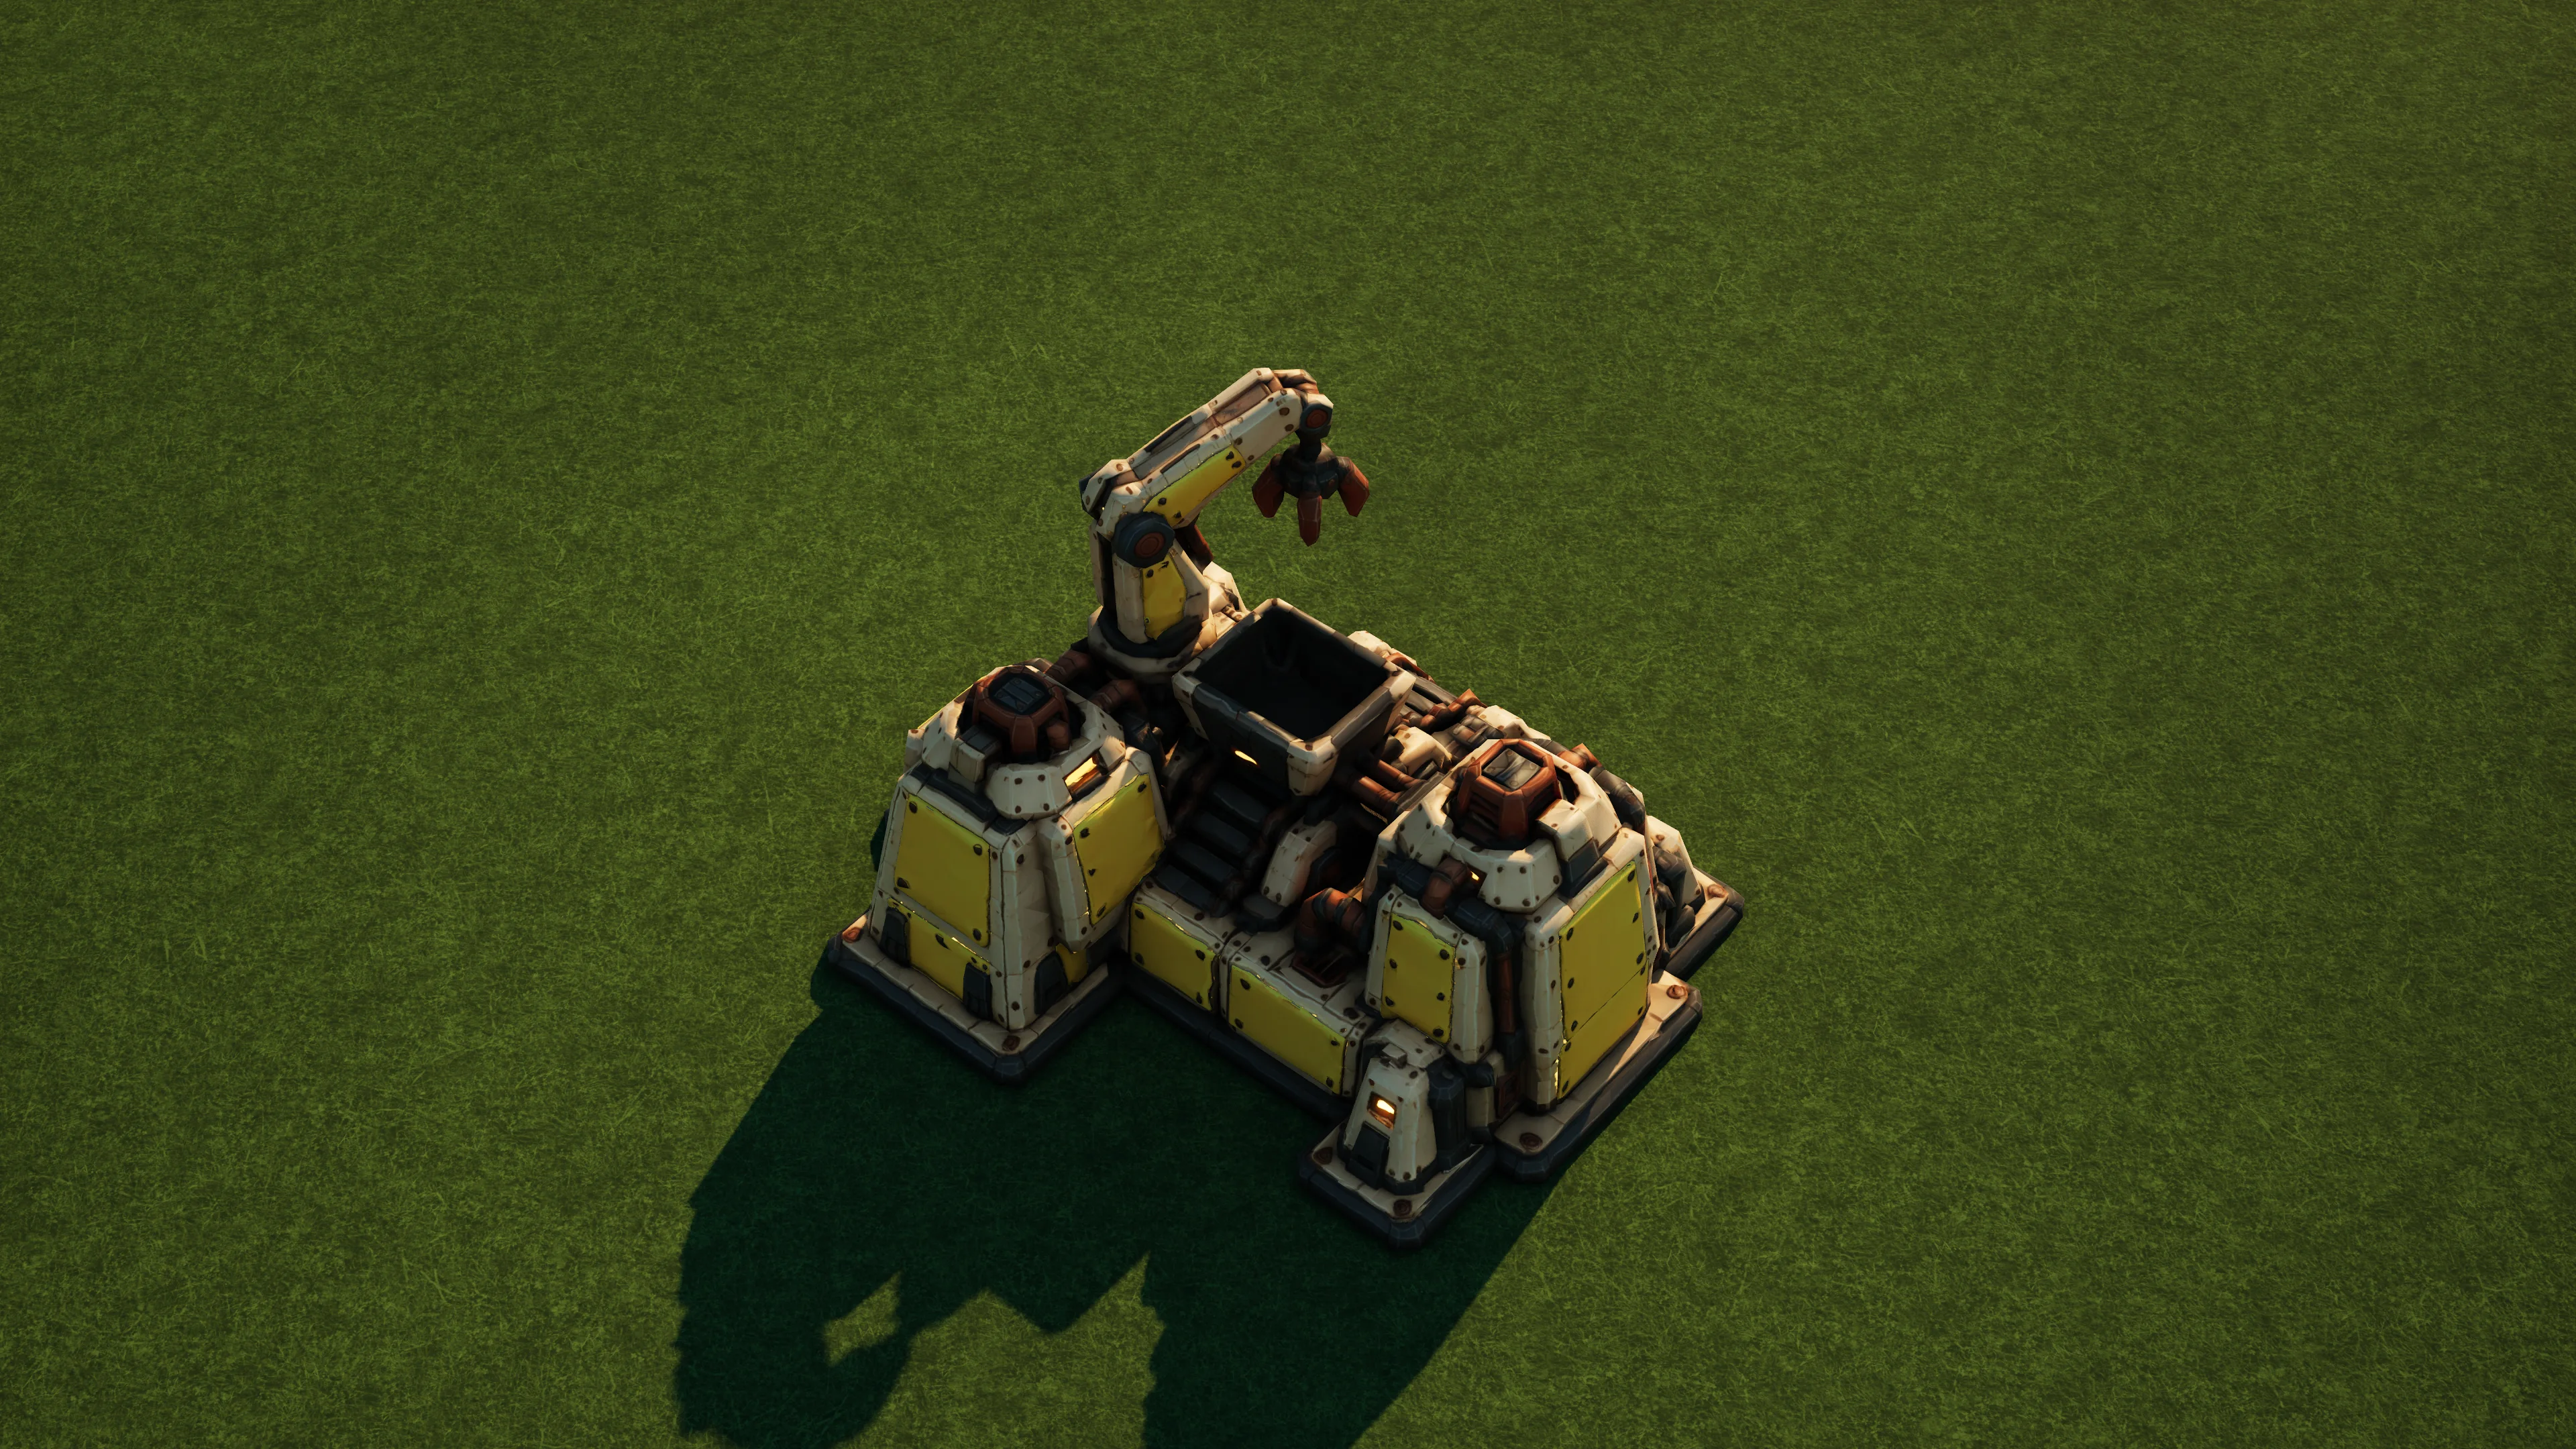
Reforge Exchange
Recovers grounded wrecks within 180 metres at 30 matter per second and 85% reclaim efficiency. An automatic salvage economy: full storage pauses recovery, and engineers cannot reclaim the same wreck twice.
sunhearth · Tier 1
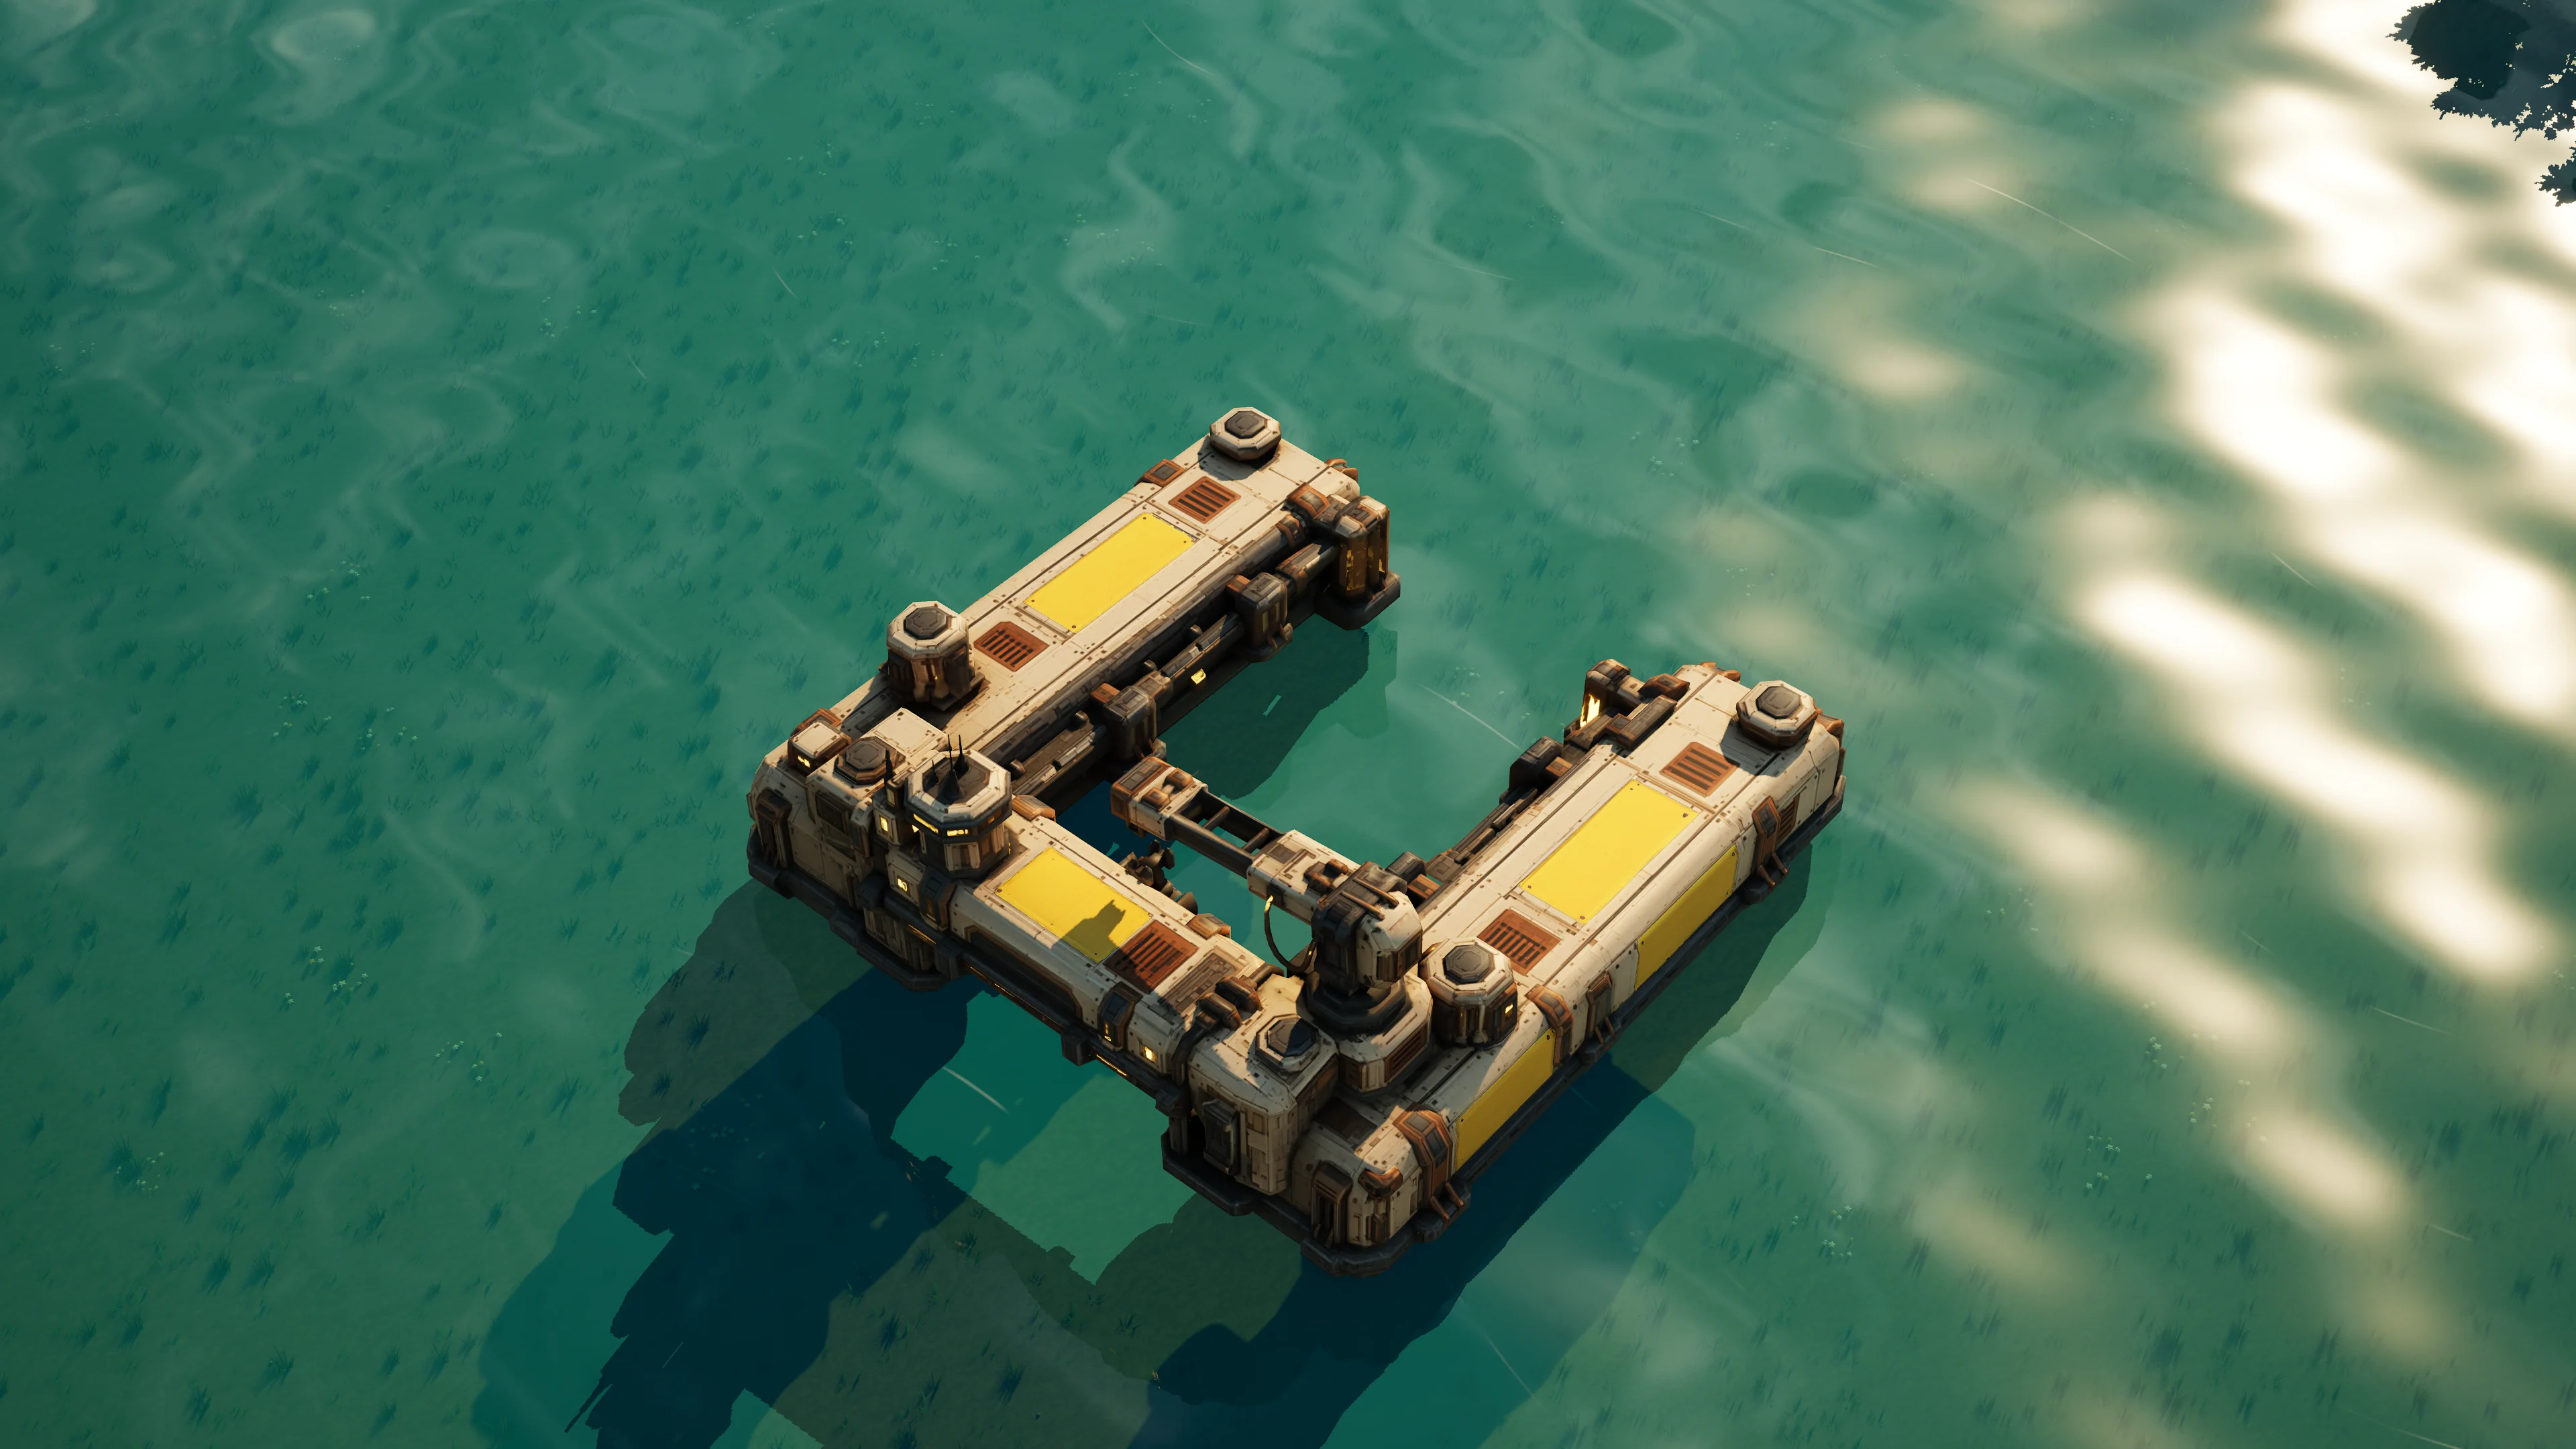
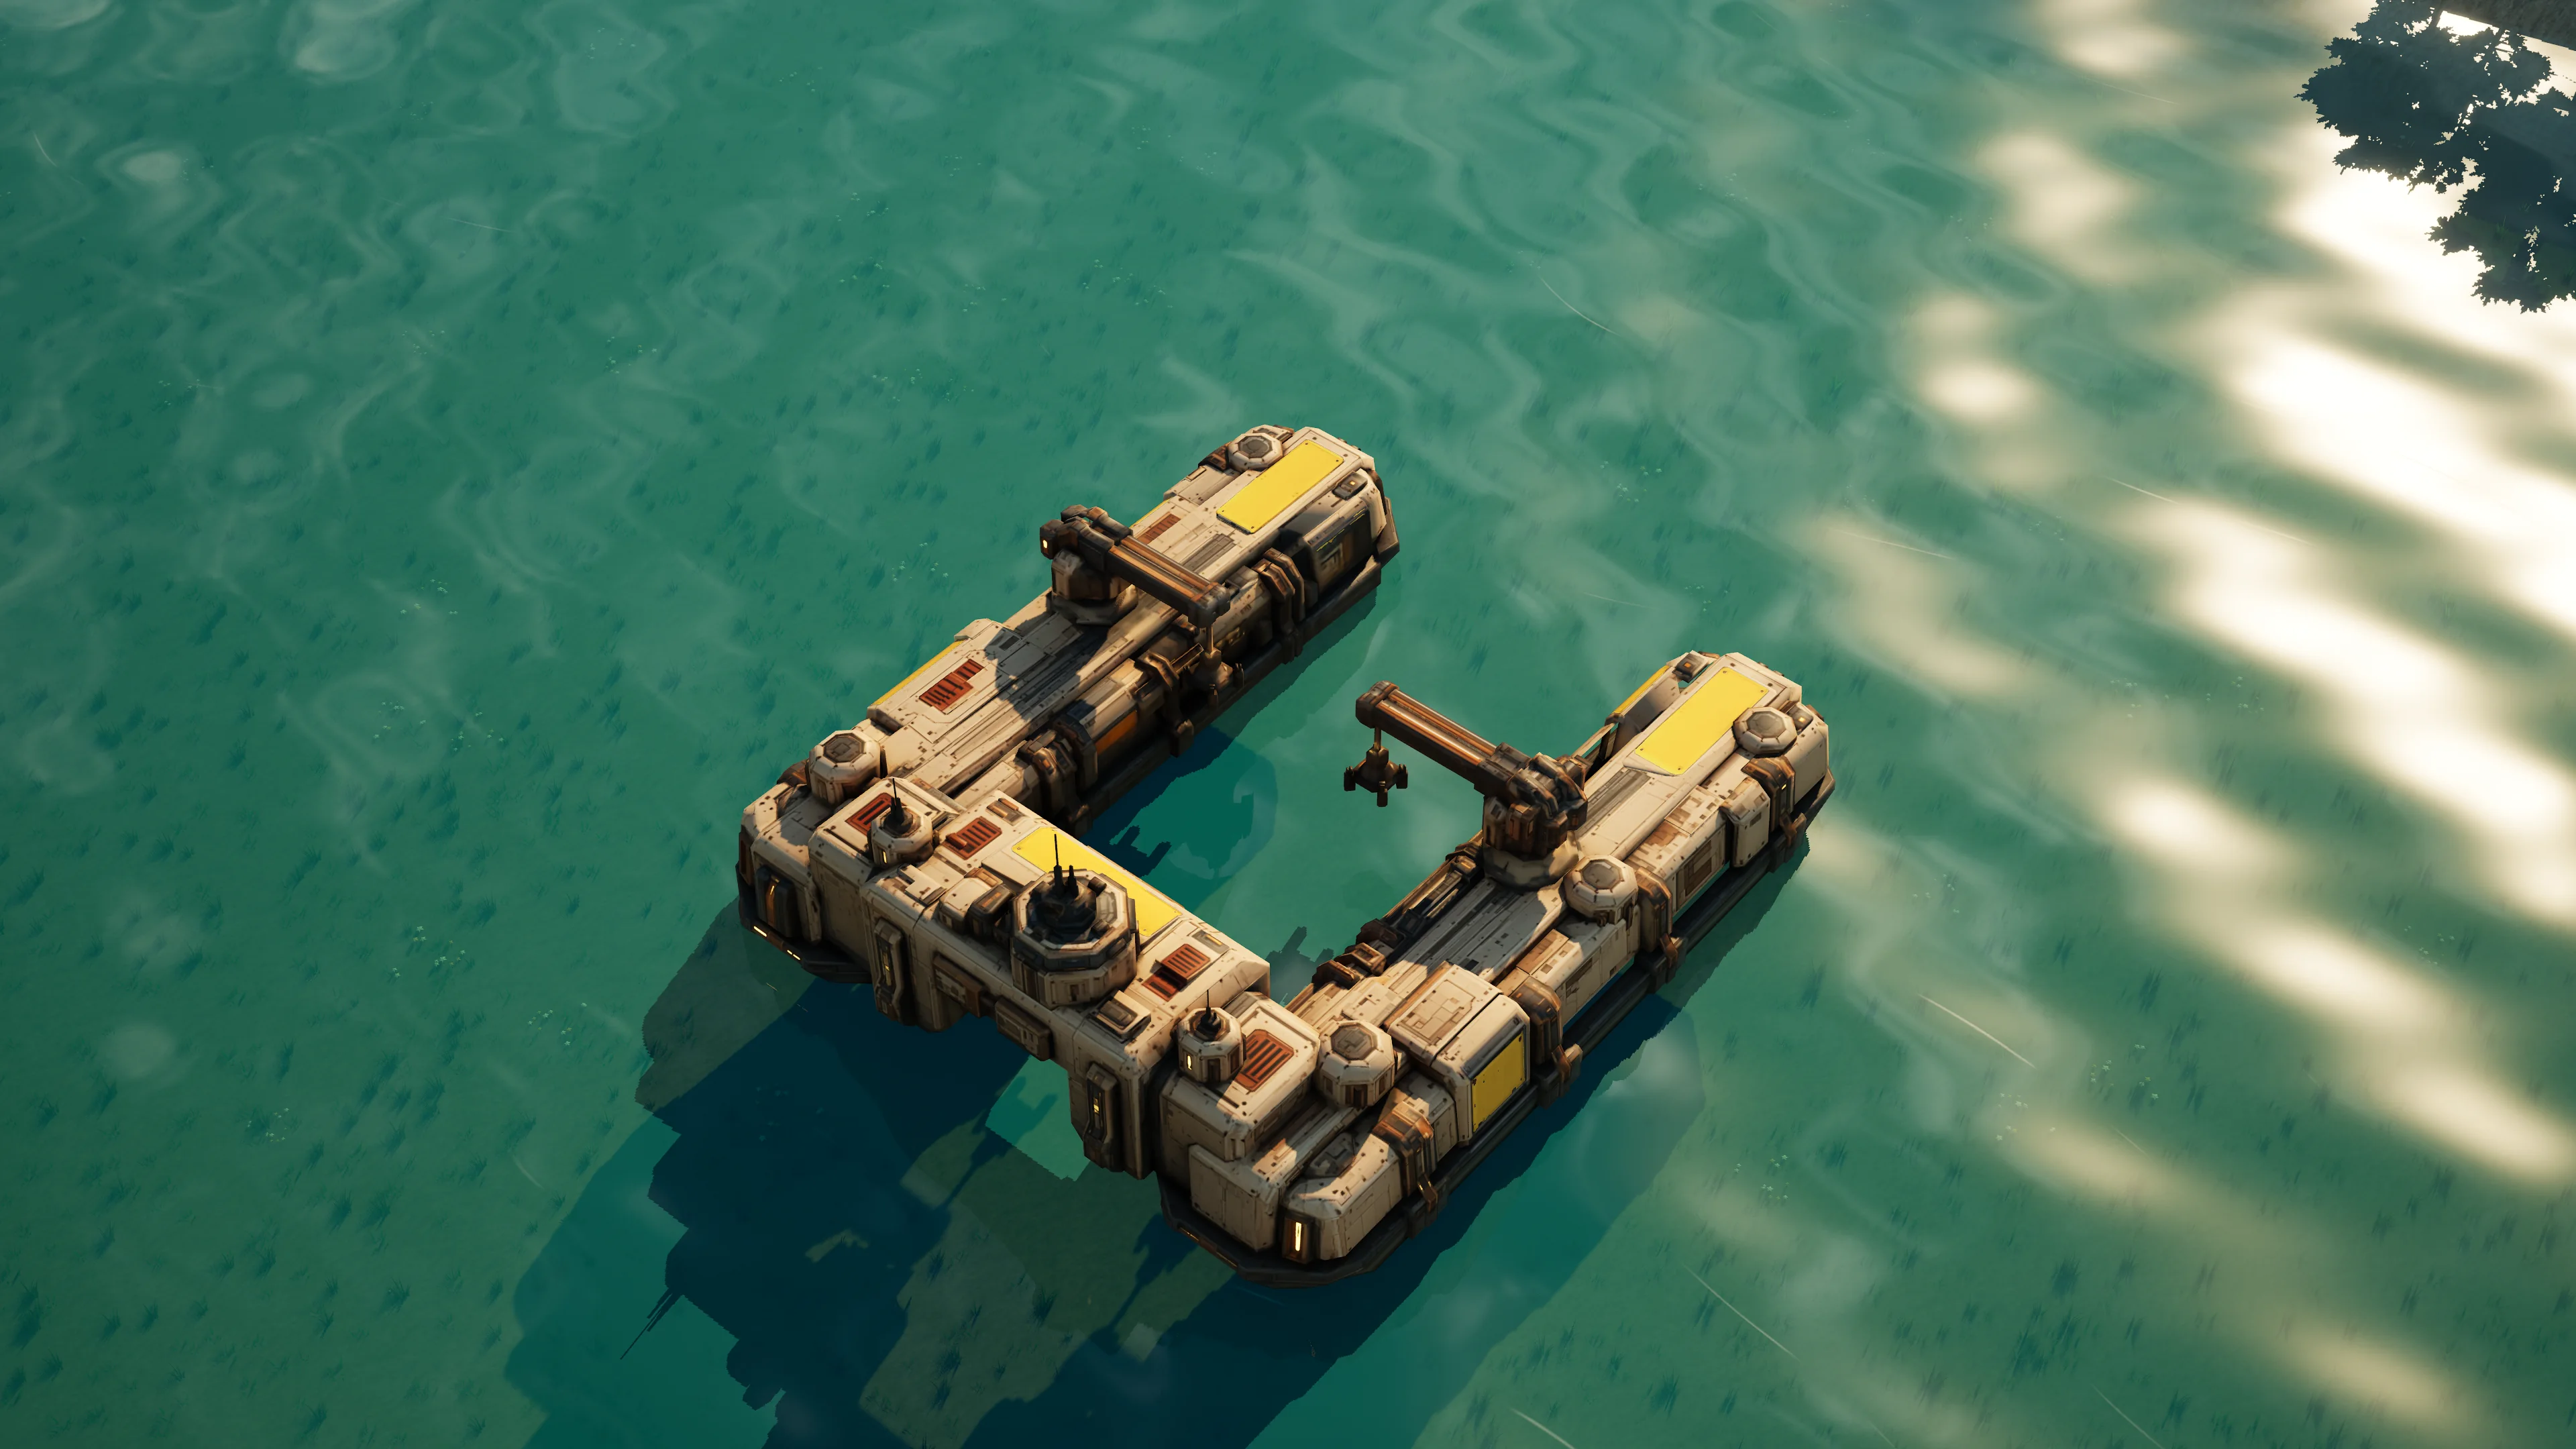
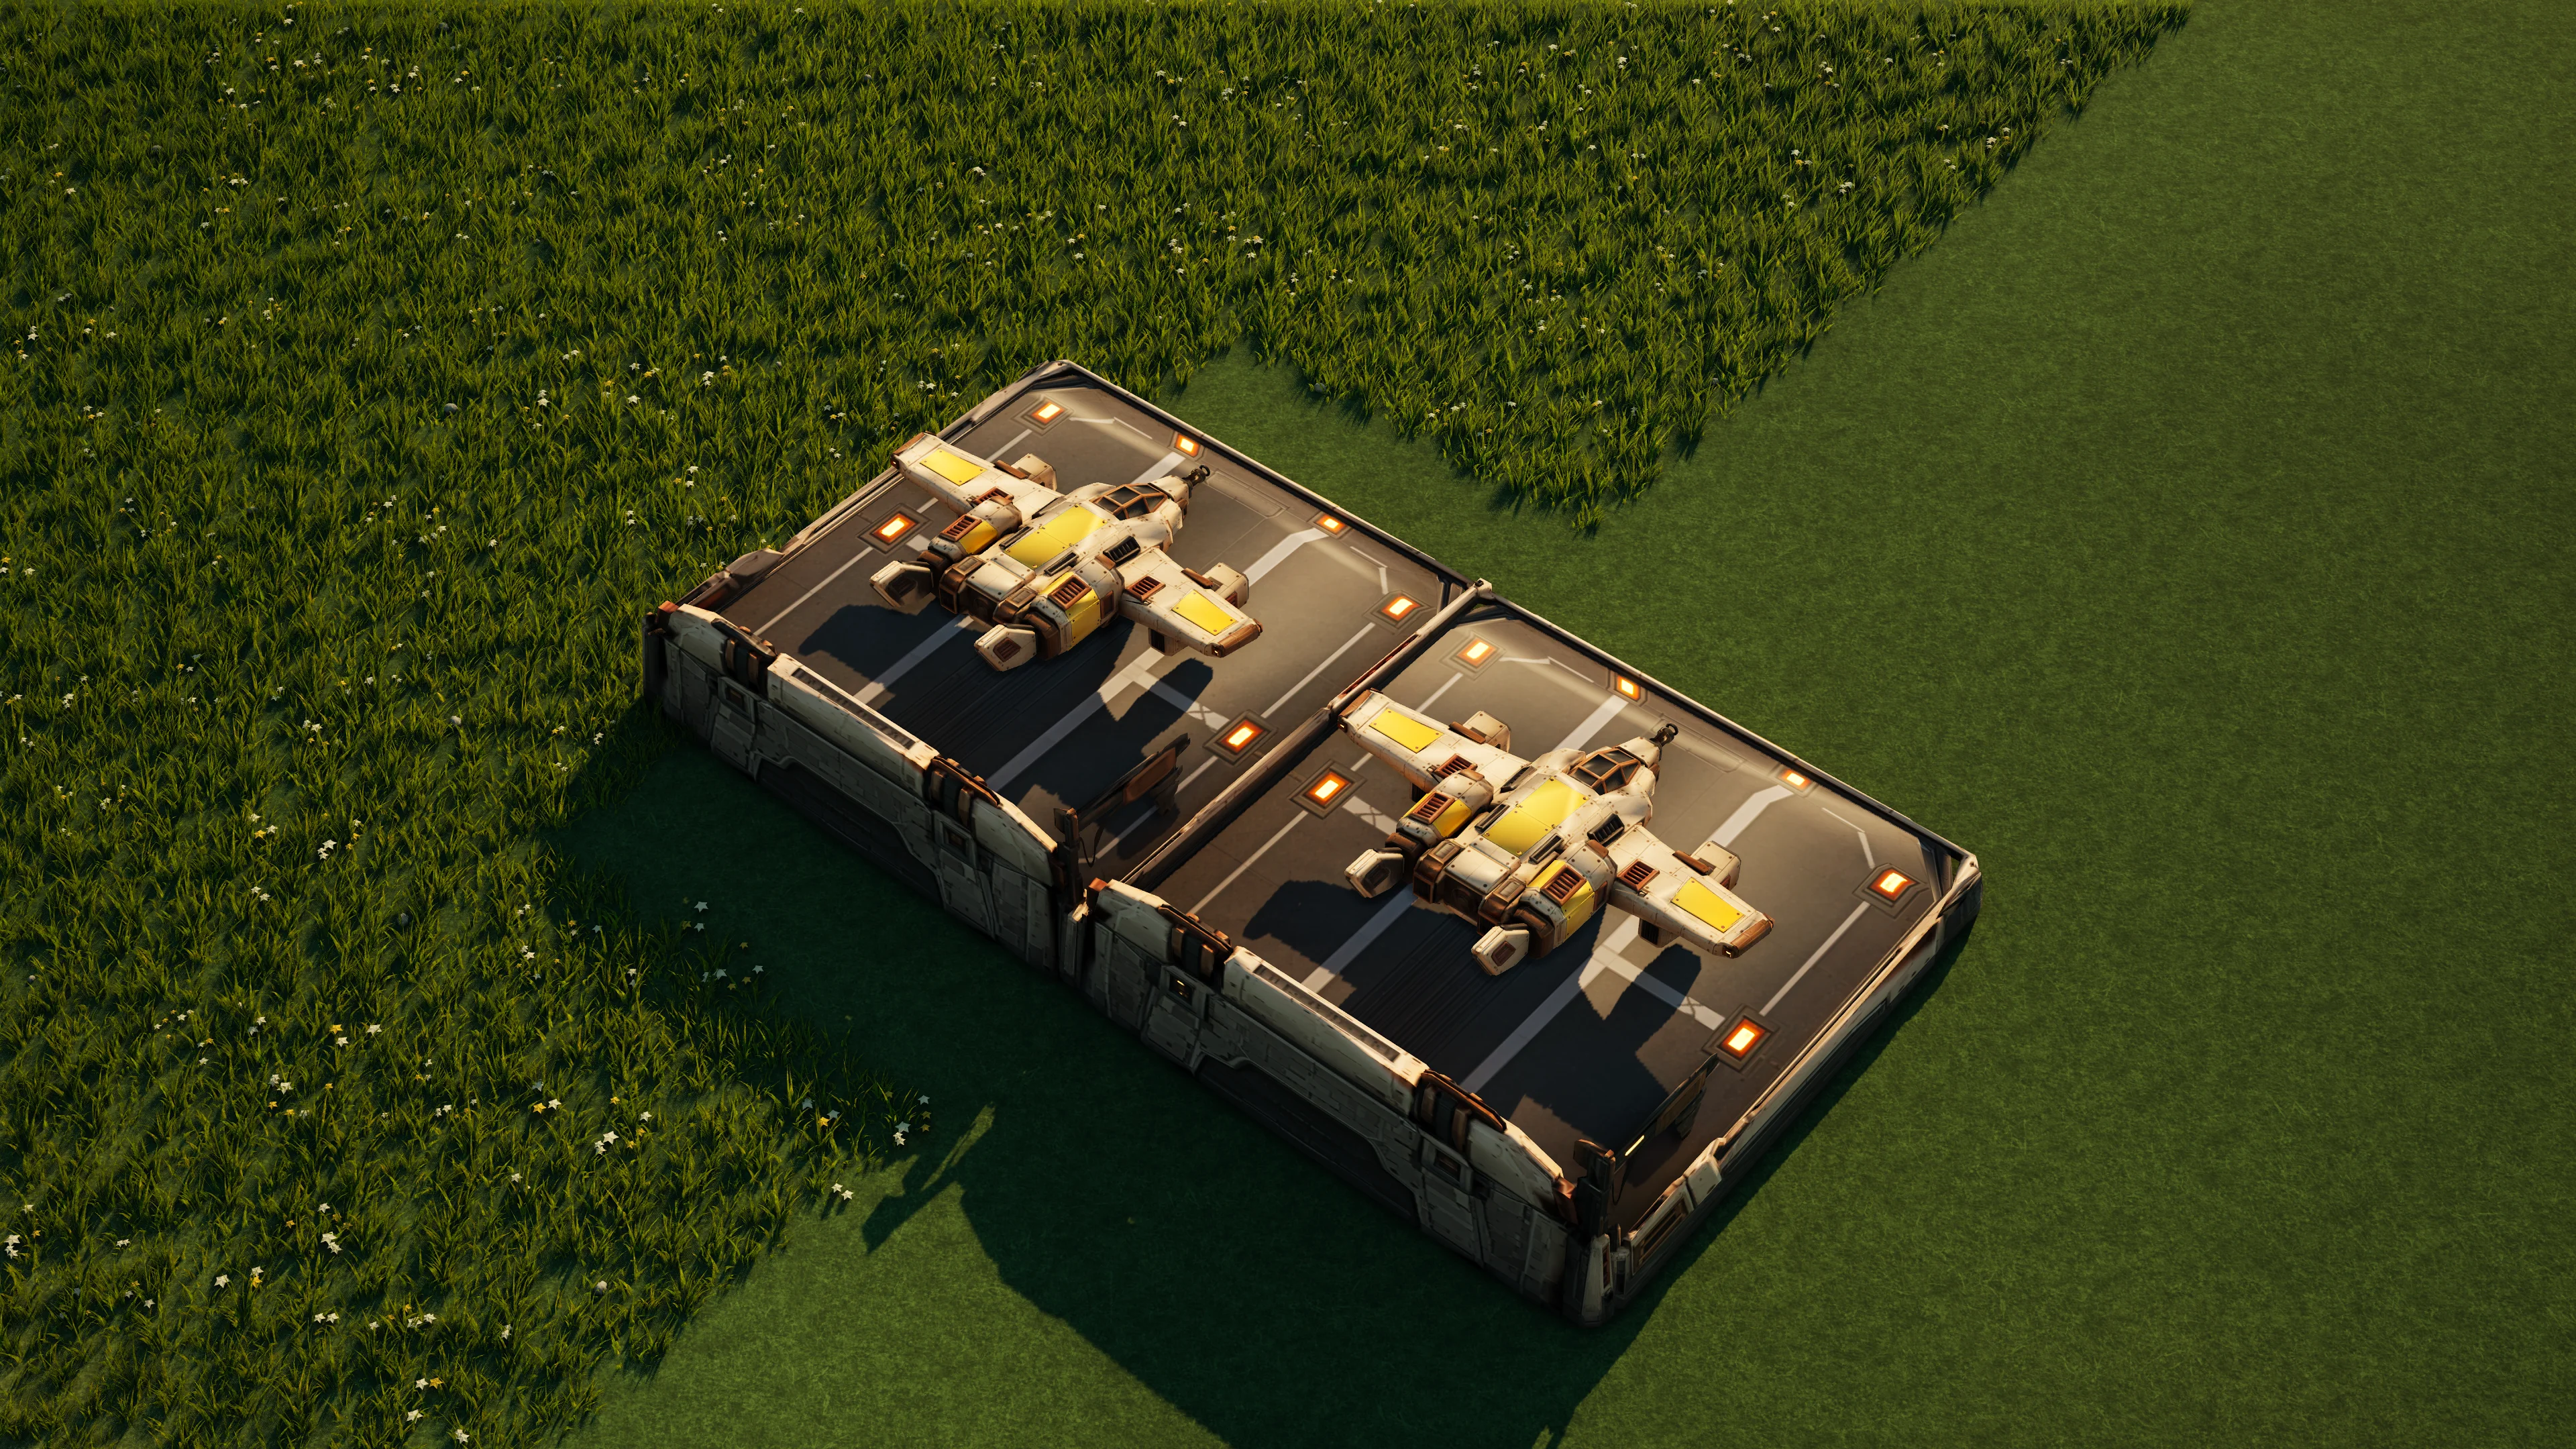
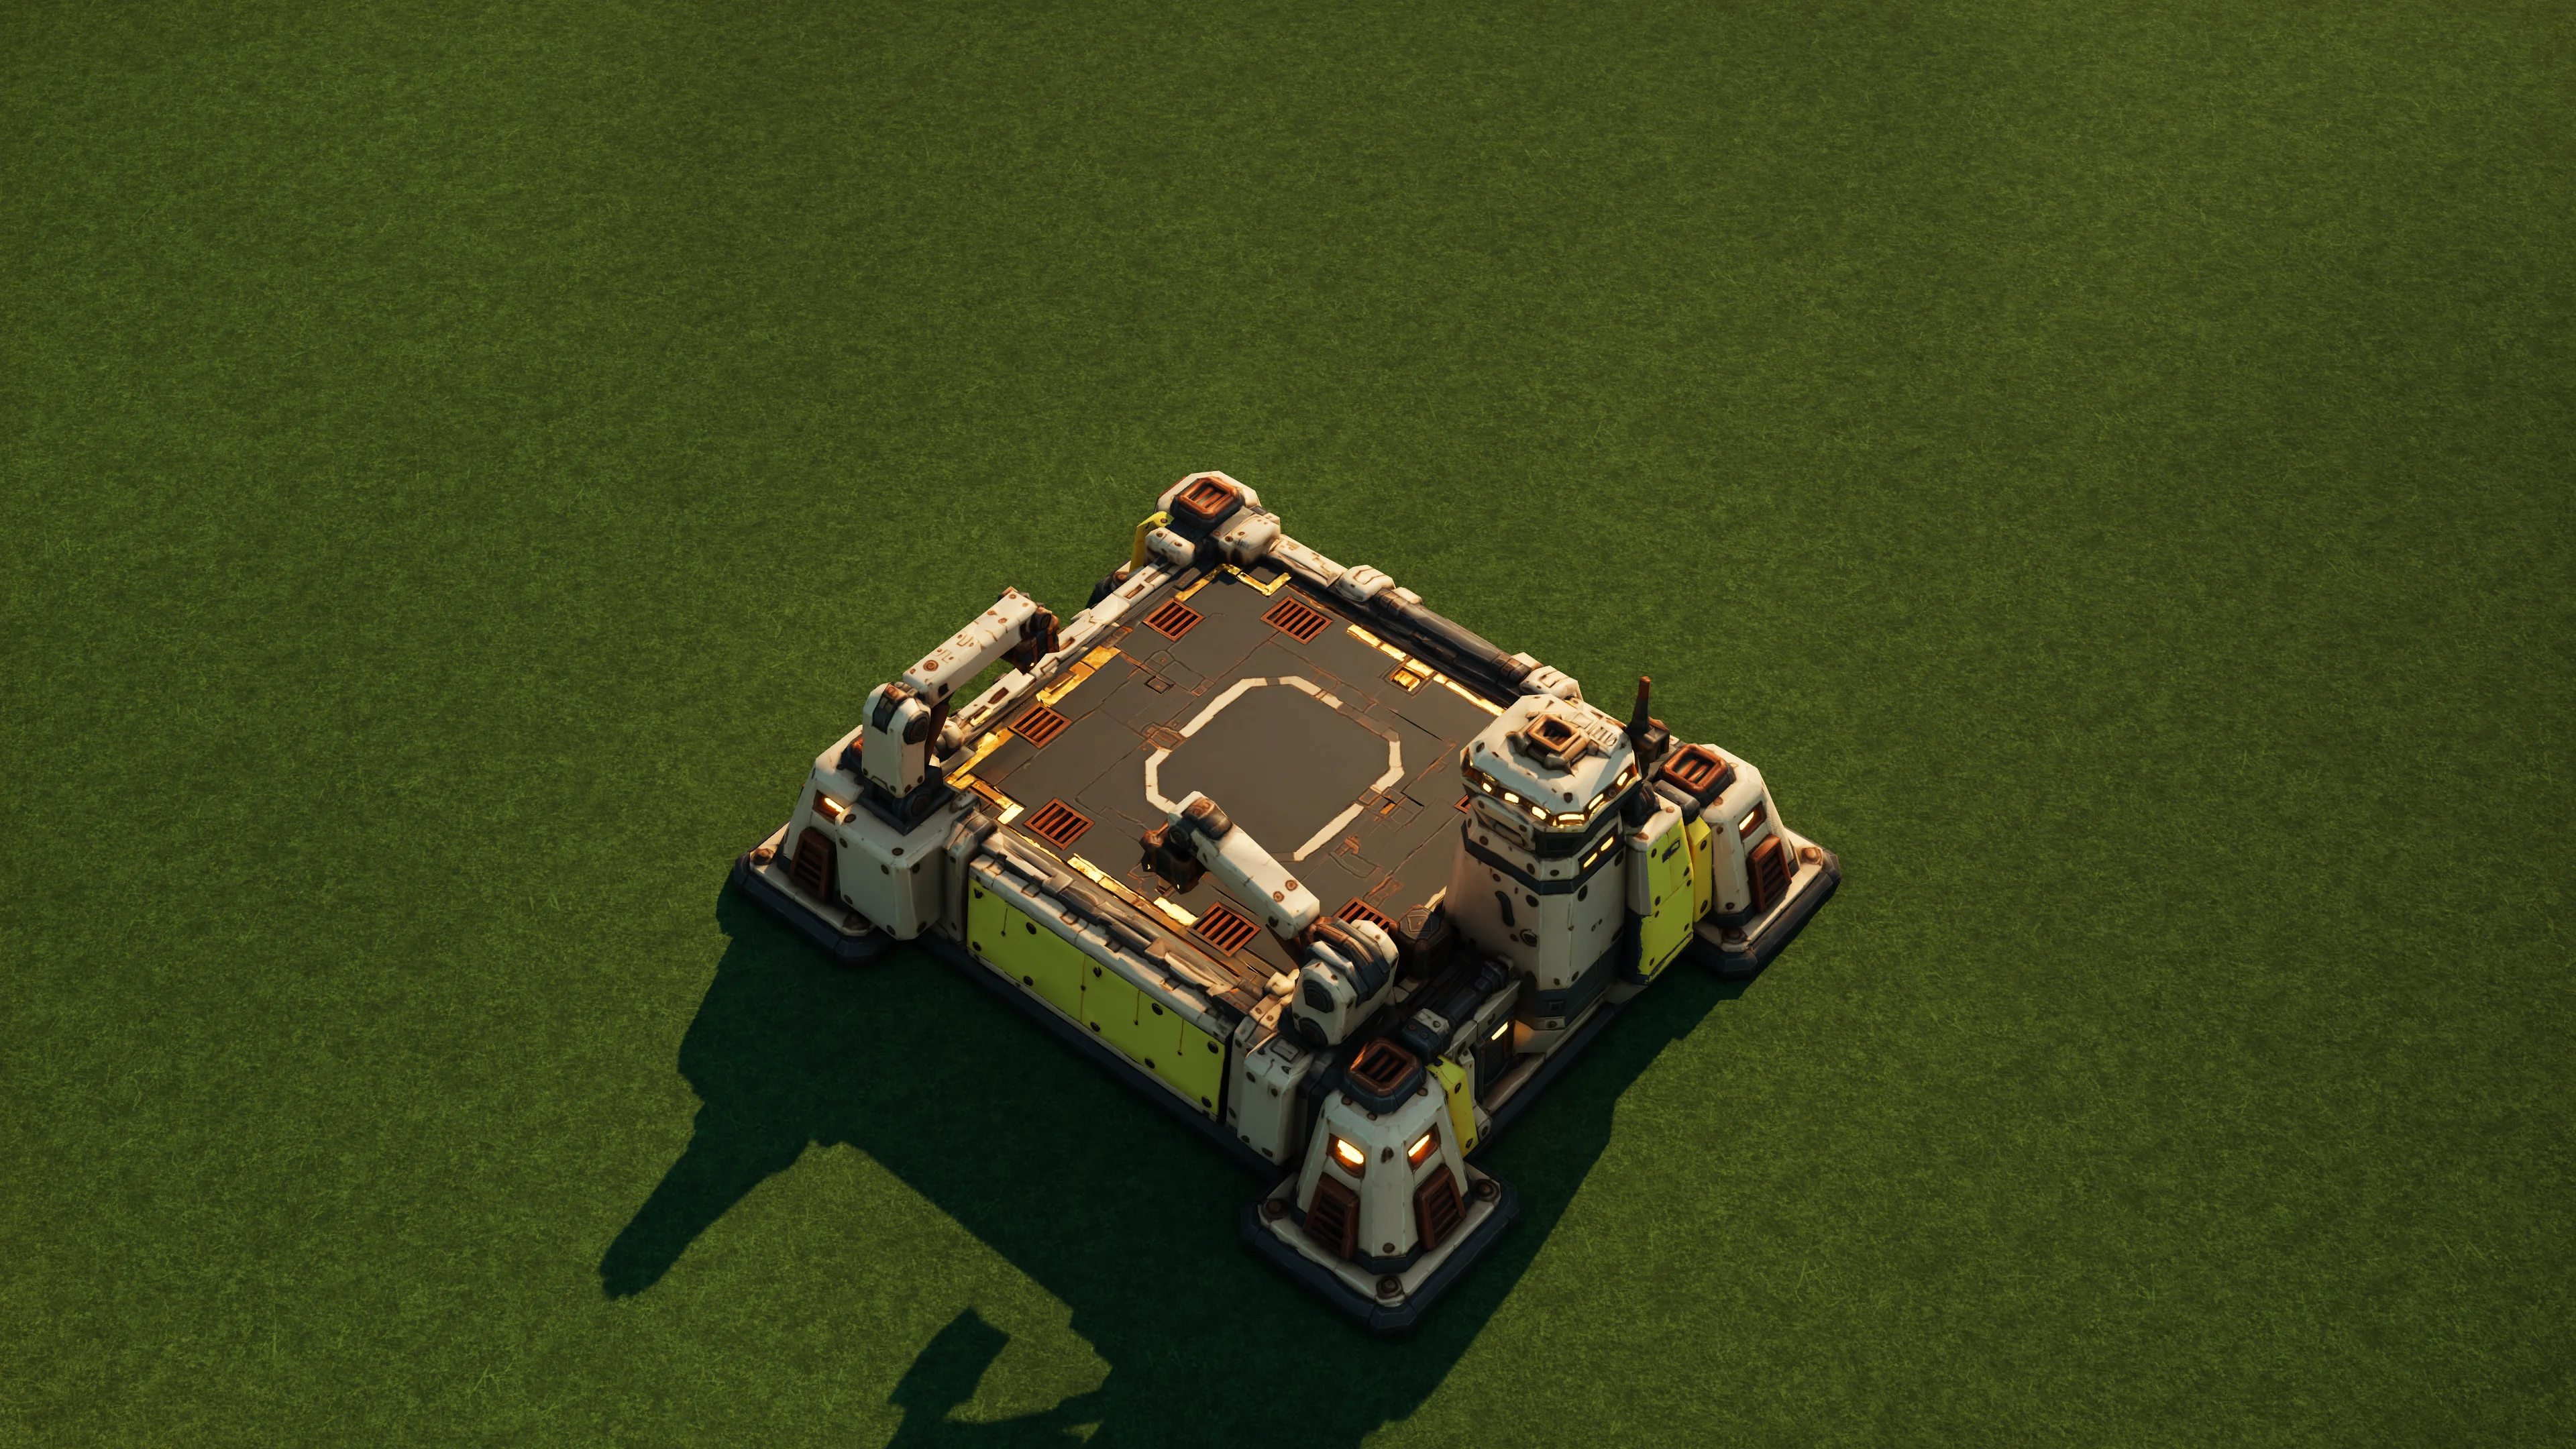
Refuelling station
Compact air-service station with 2 landing bays. Aircraft can return here to refuel; keep it powered and protected along your air routes.
sunhearth · Tier 2
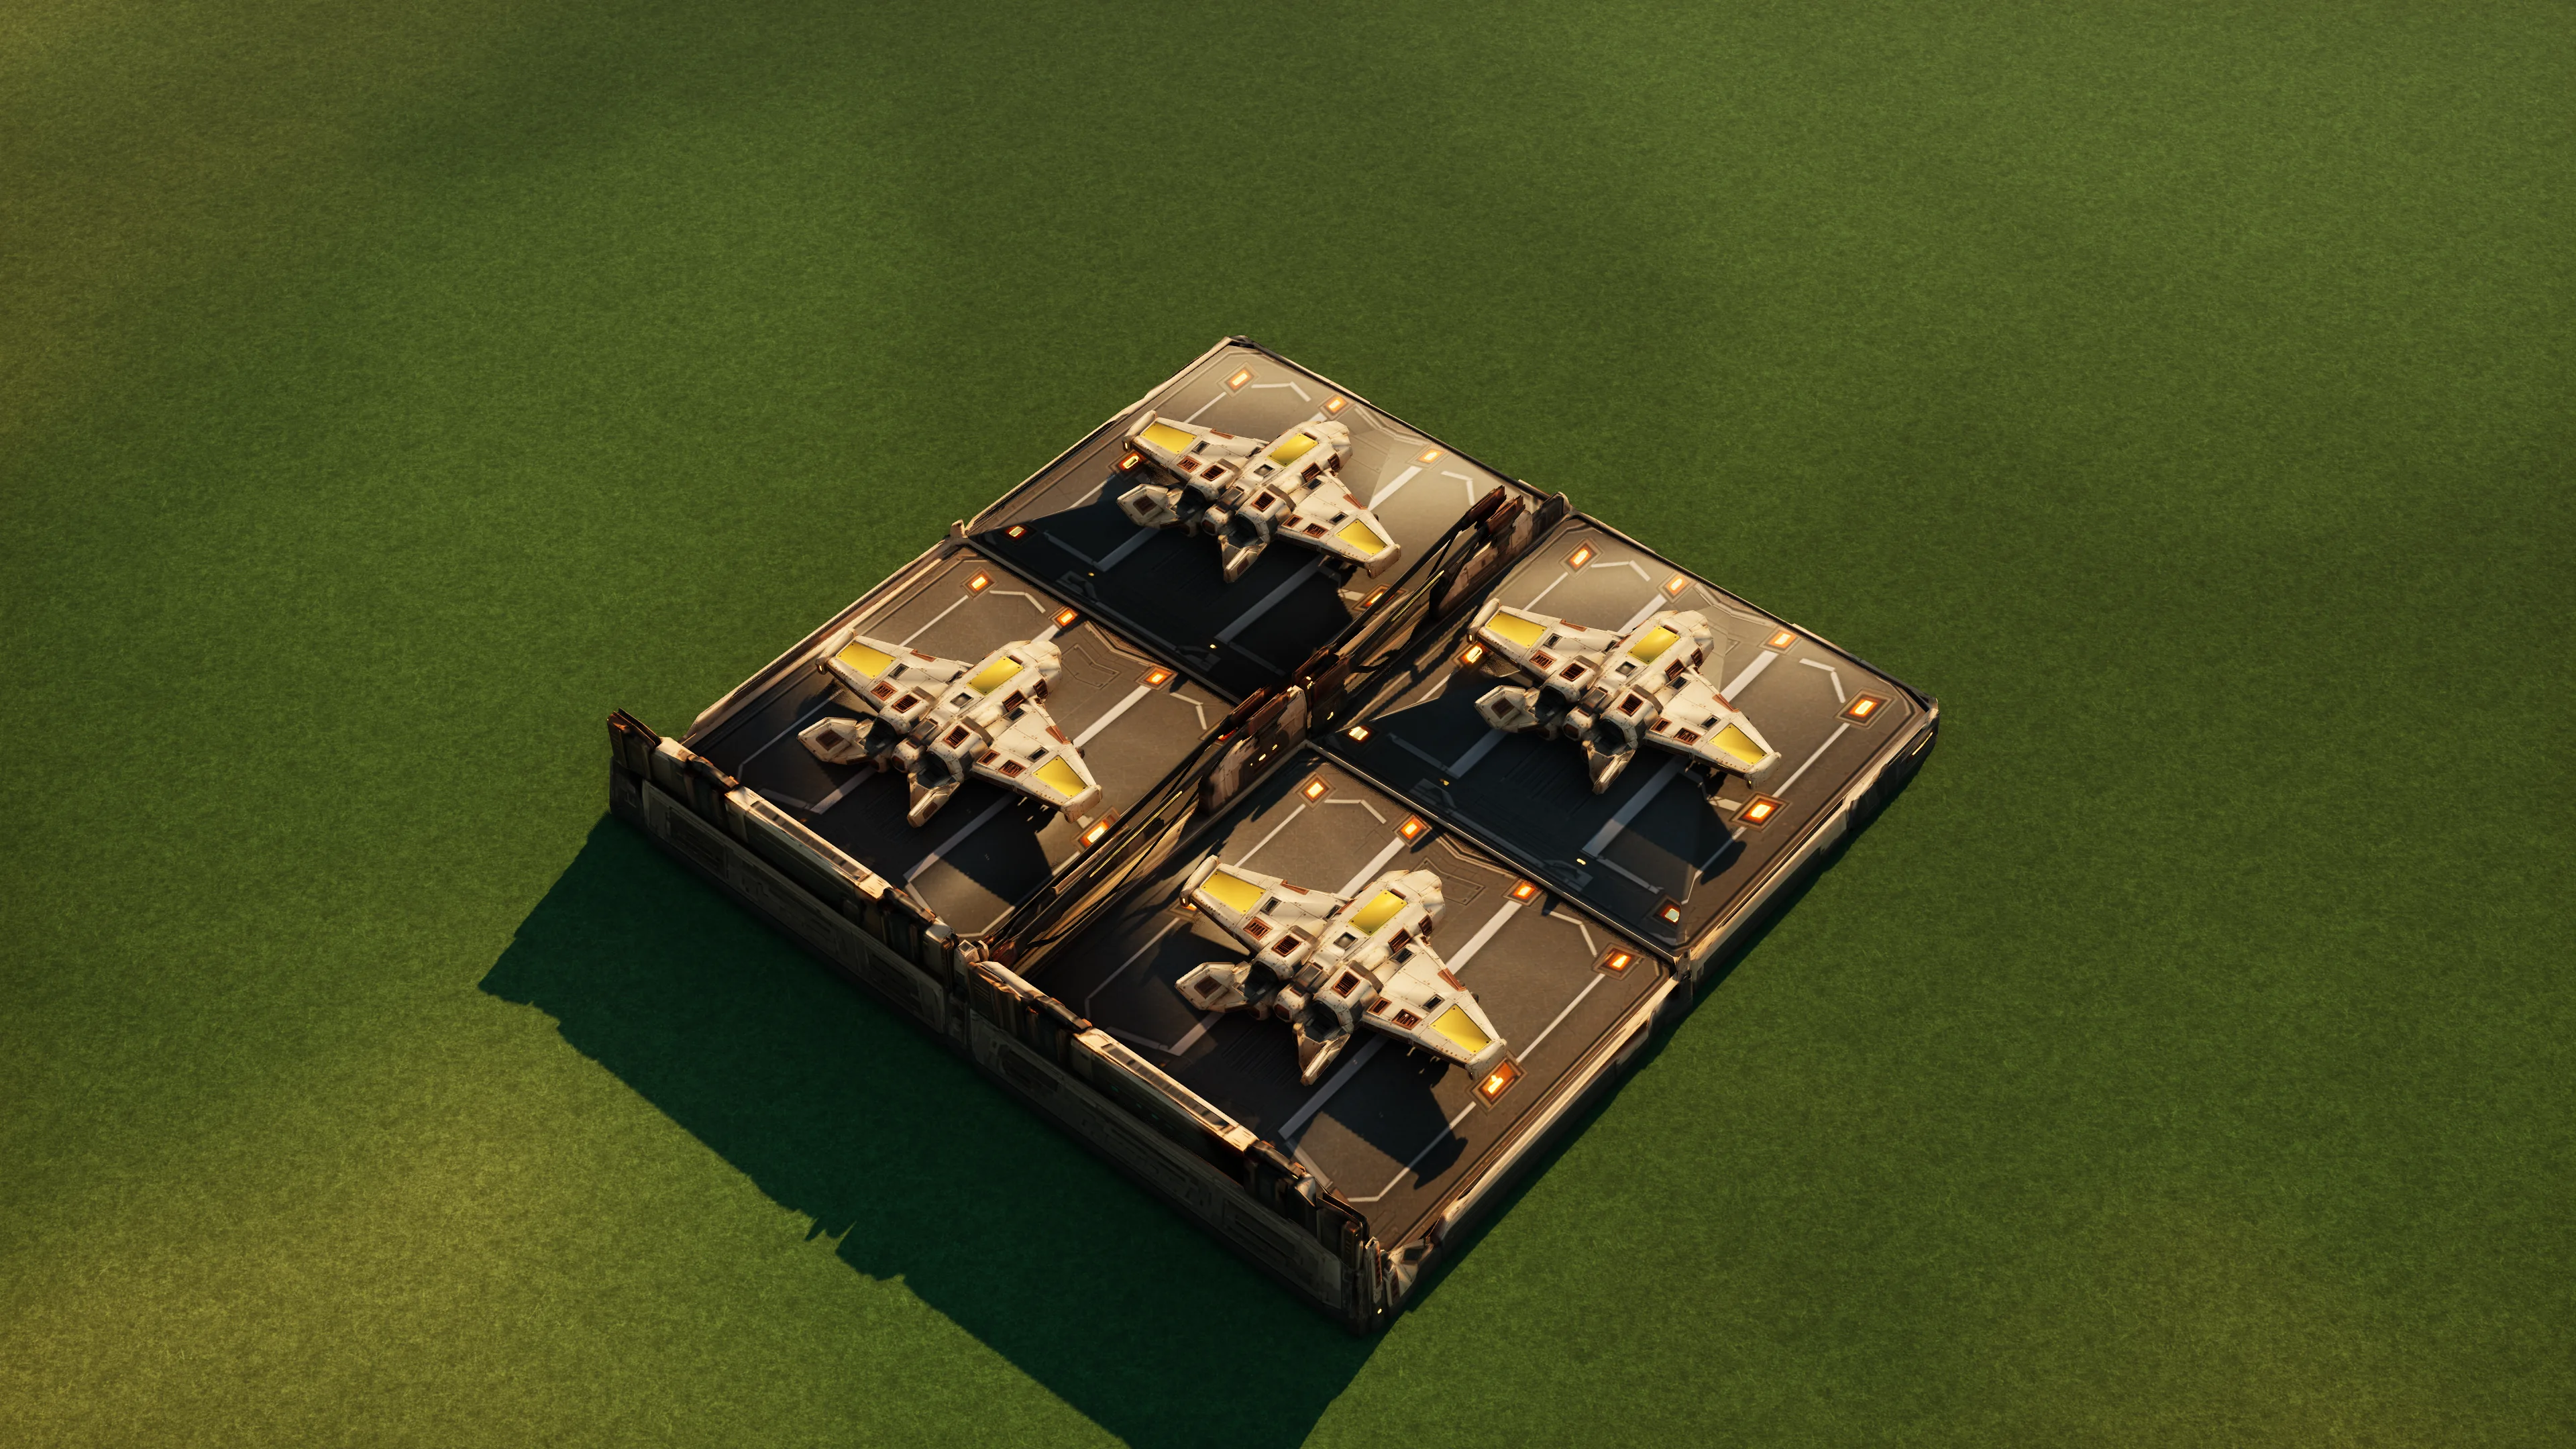
Refuelling station
Compact air-service station with 4 landing bays. Aircraft can return here to refuel; keep it powered and protected along your air routes.
sunhearth · Tier 3
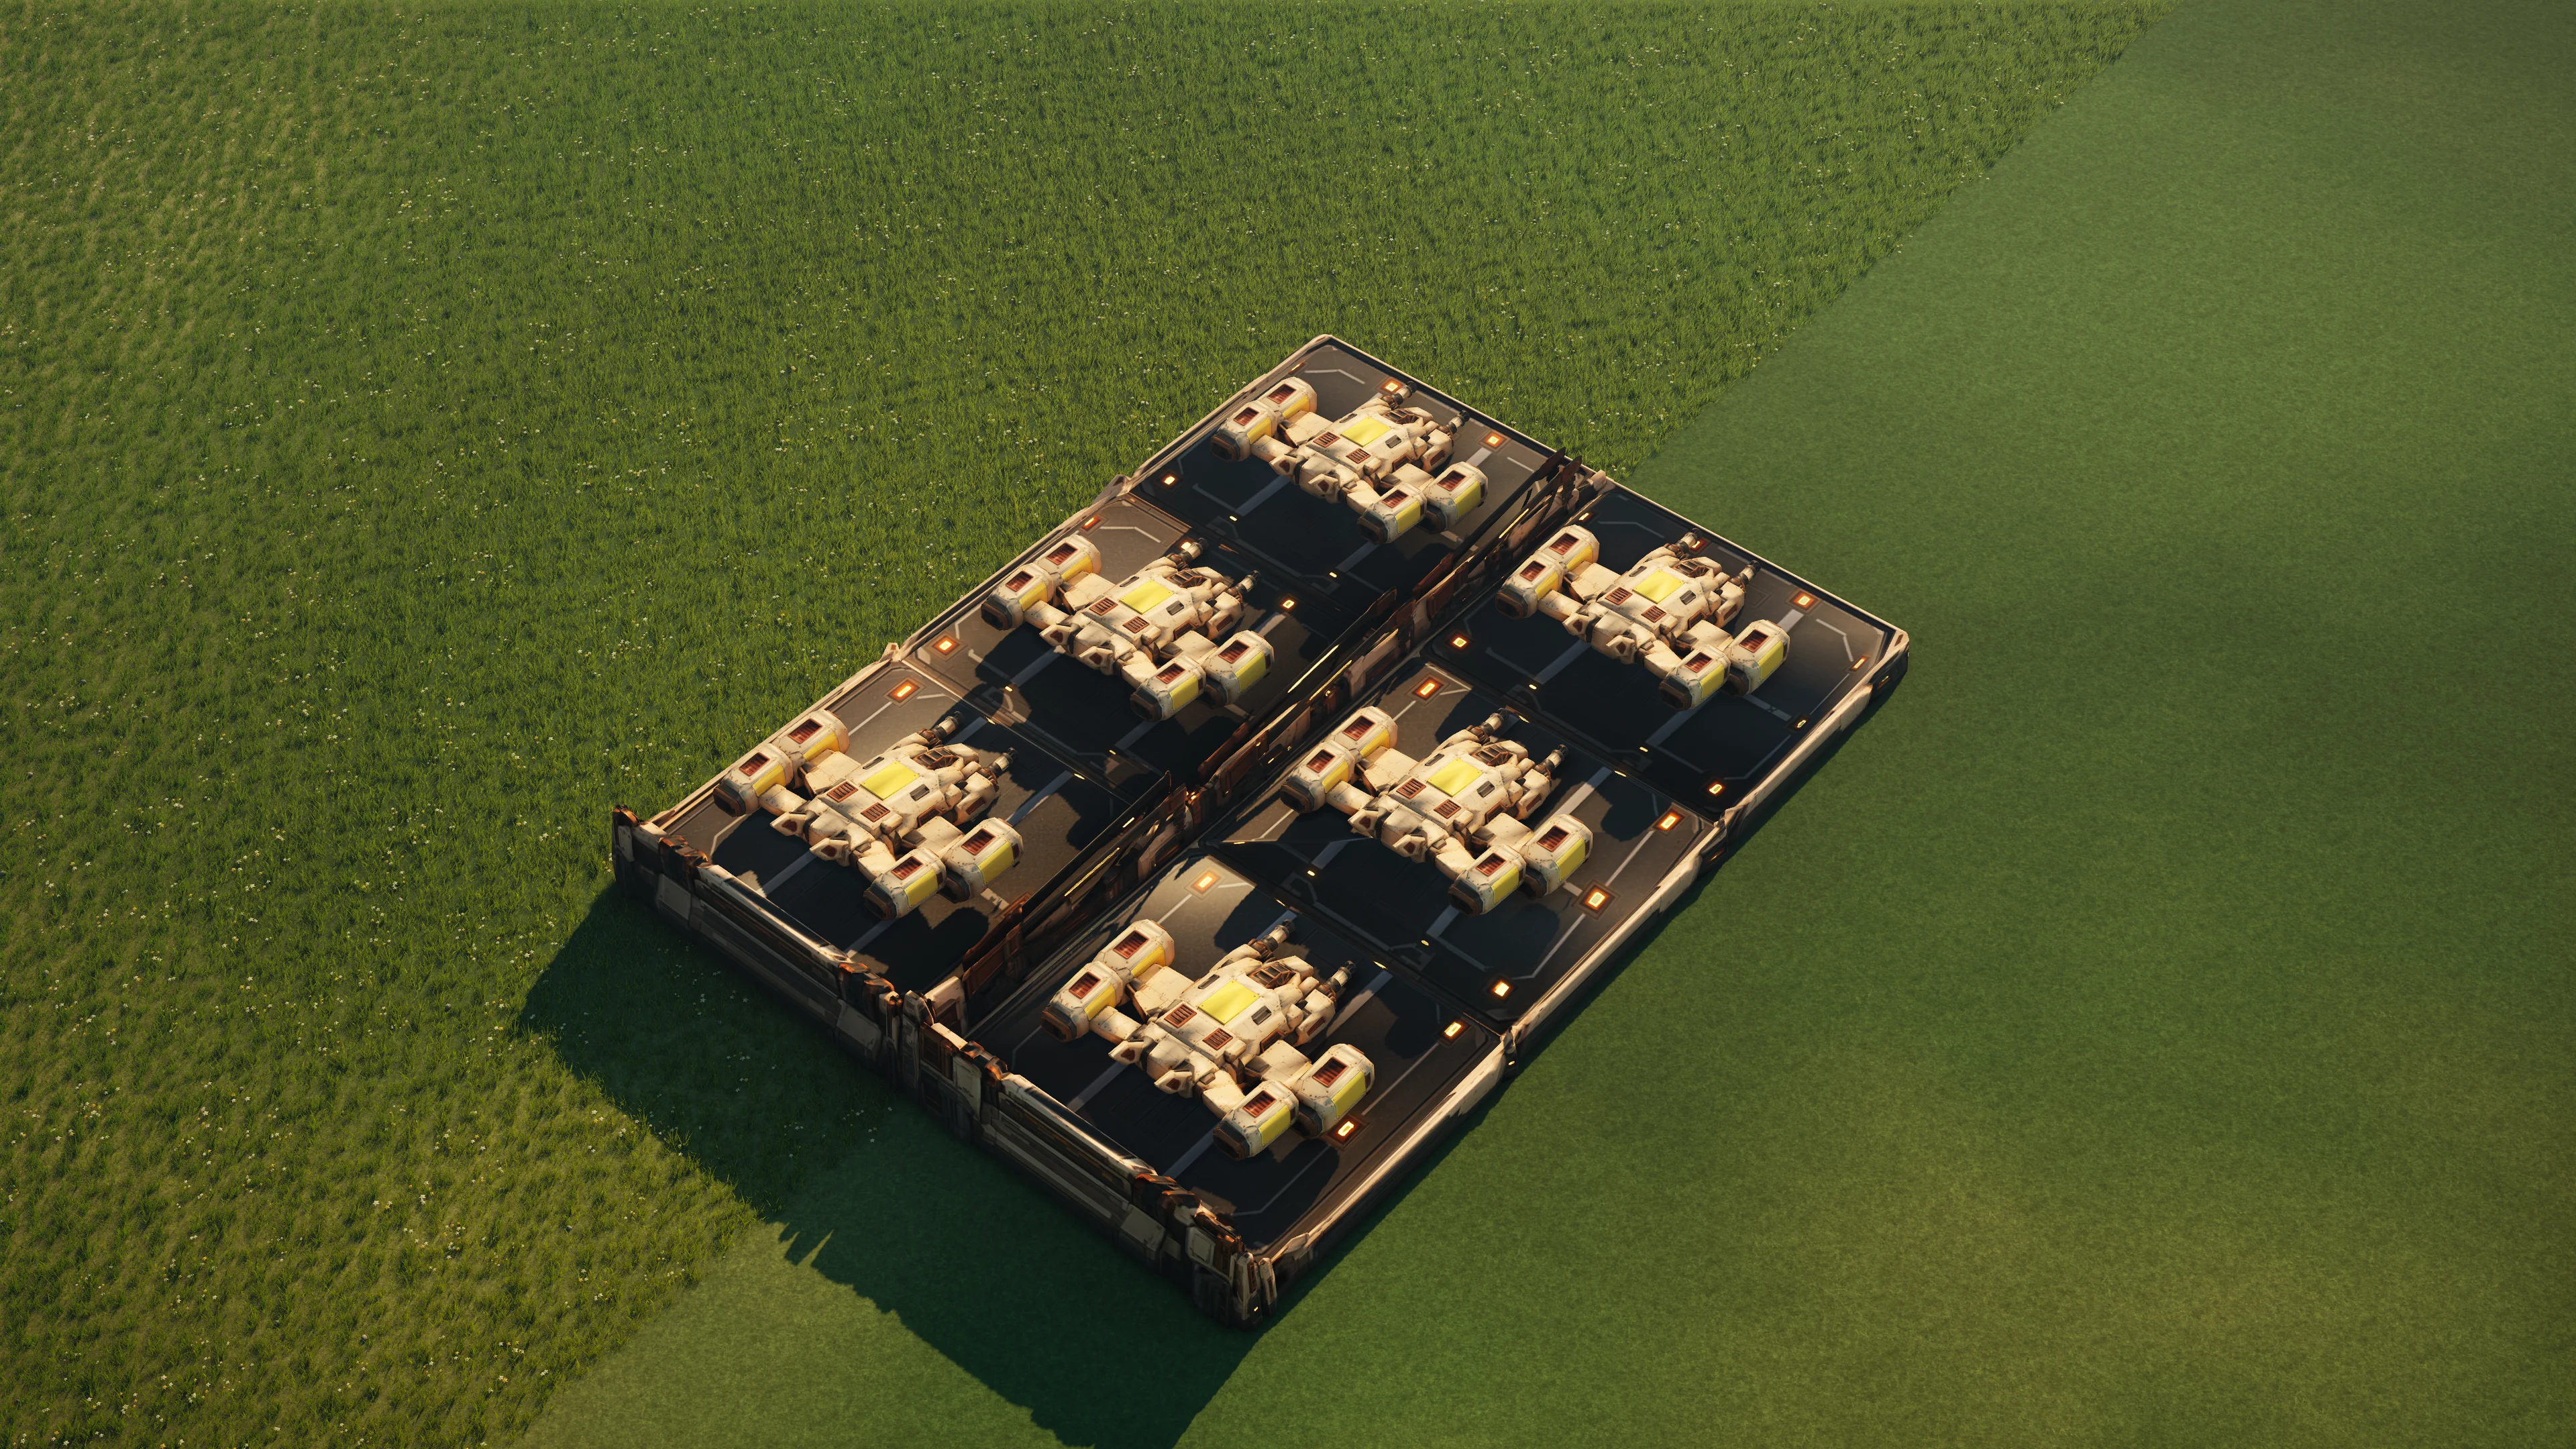
Refuelling station
Compact air-service station with 6 landing bays. Aircraft can return here to refuel; keep it powered and protected along your air routes.
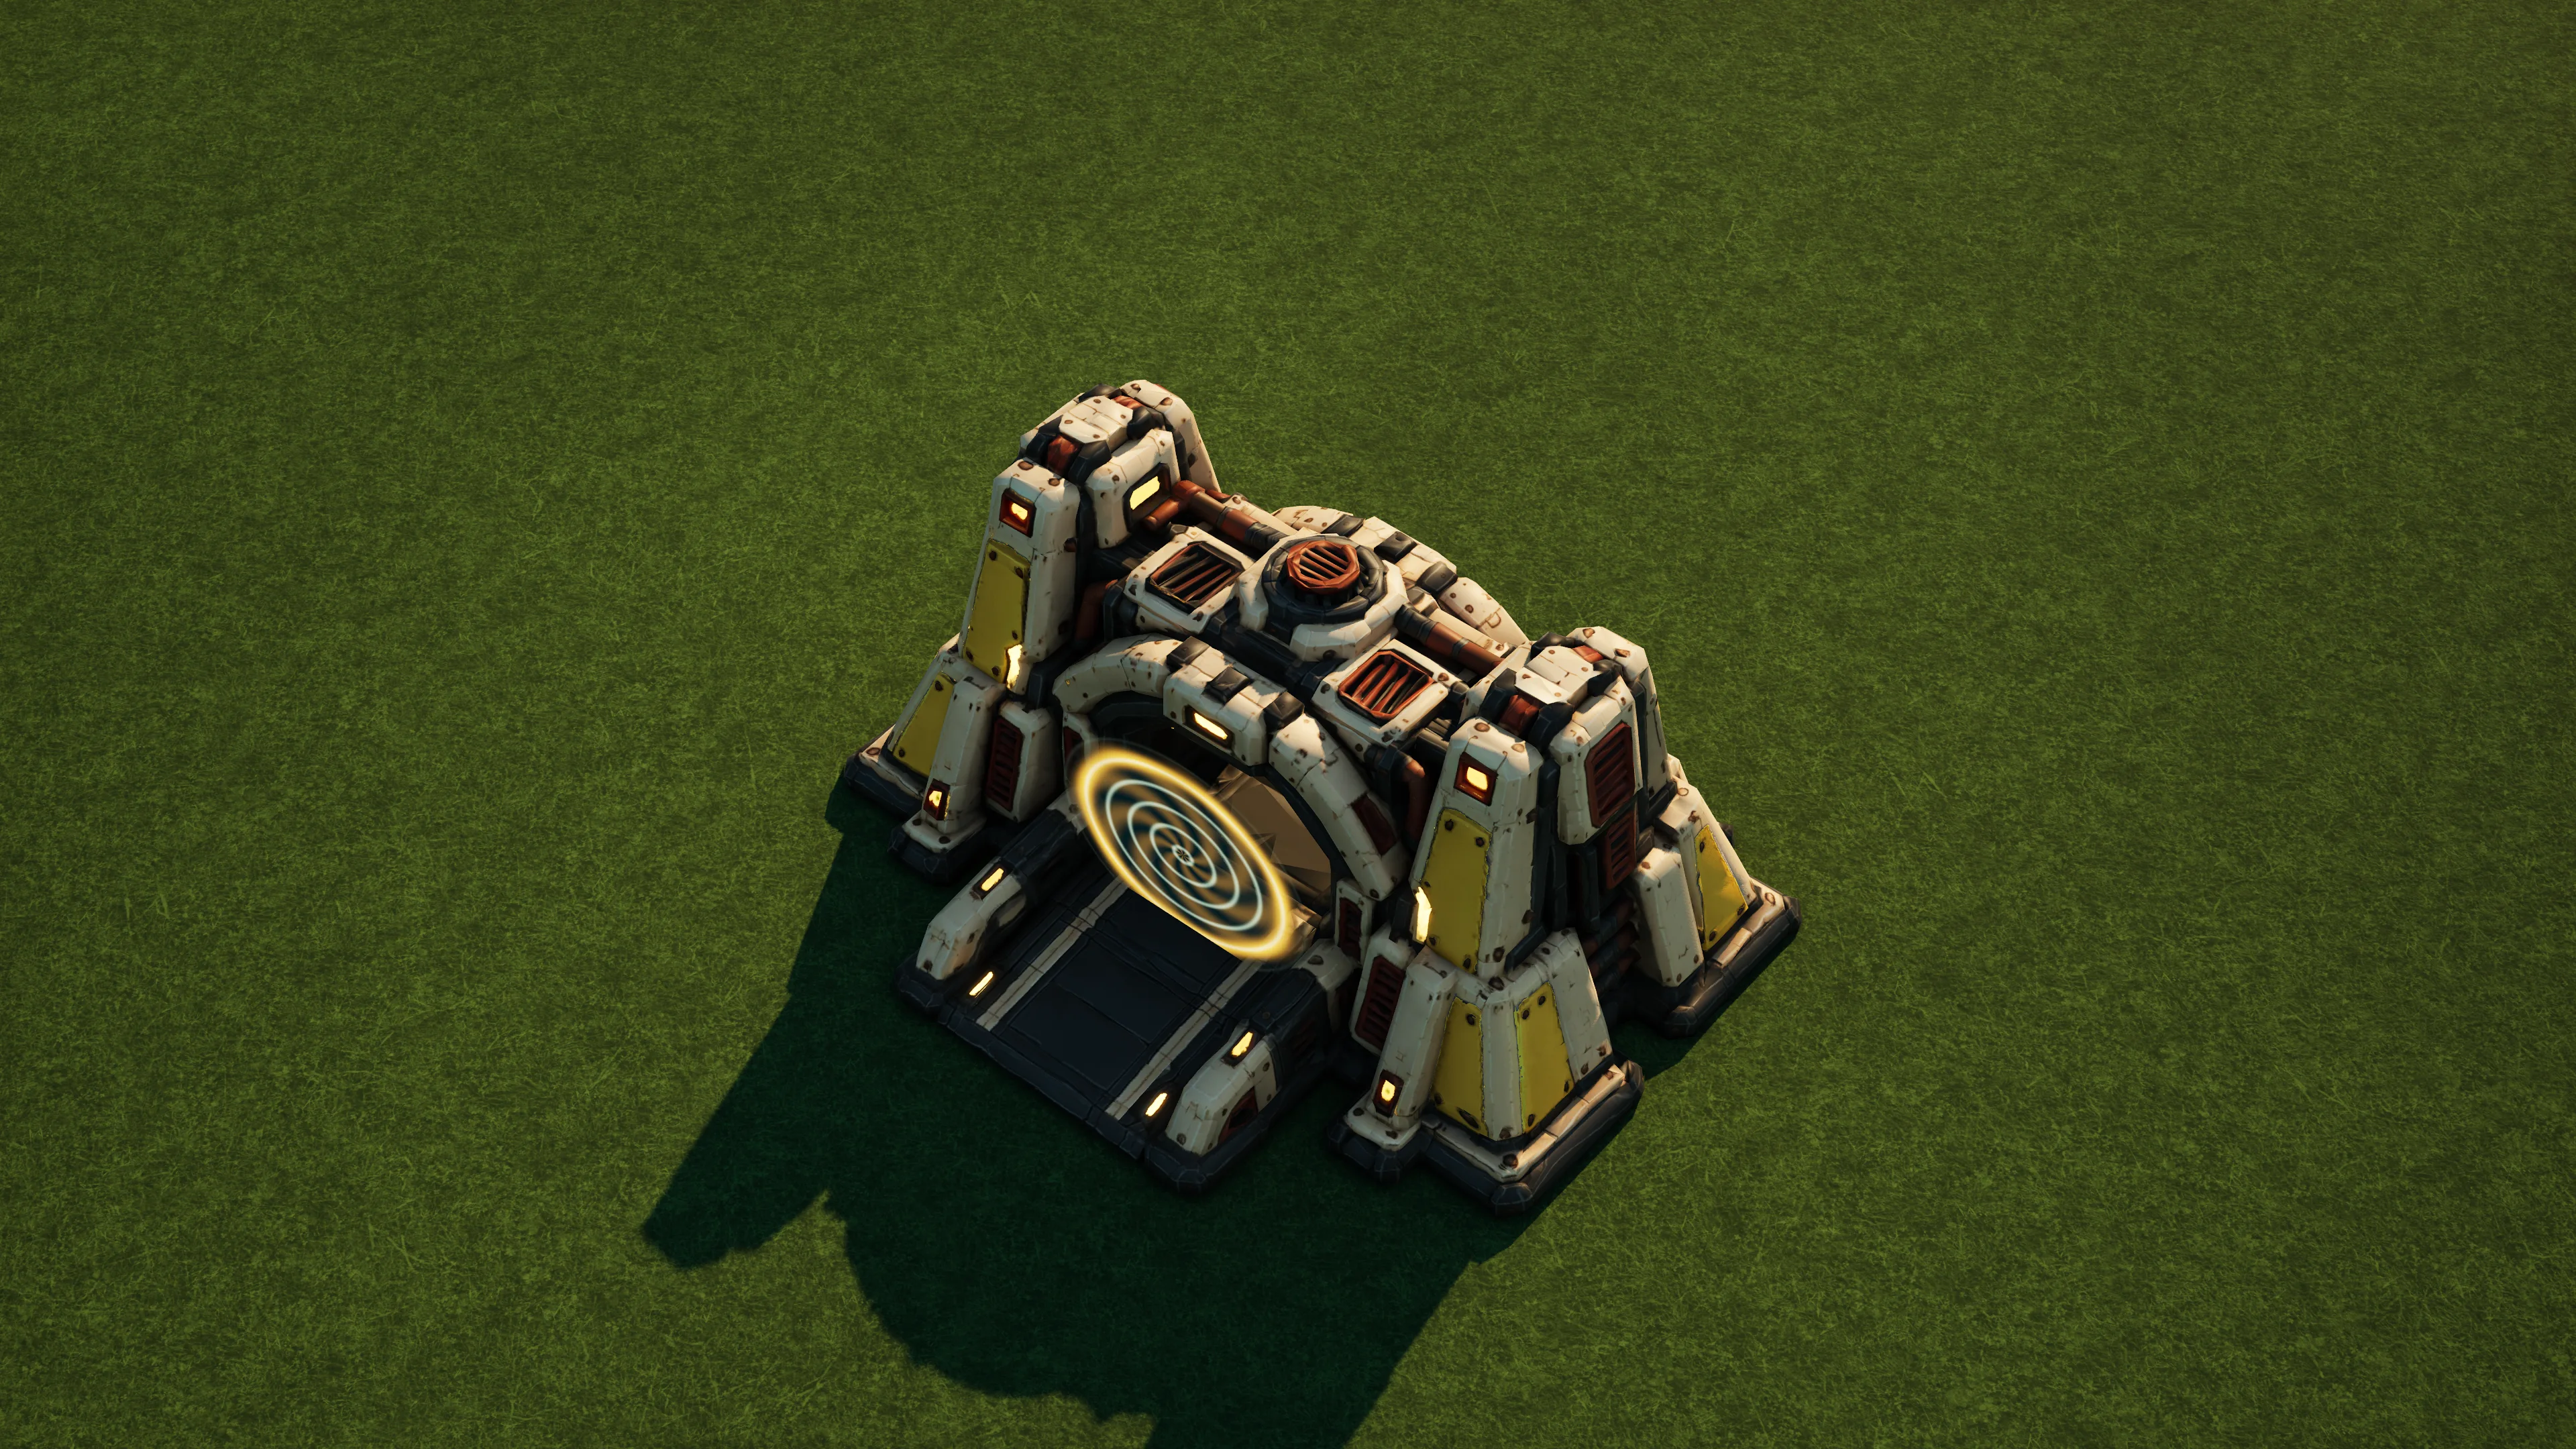
sunhearth · Tier 2
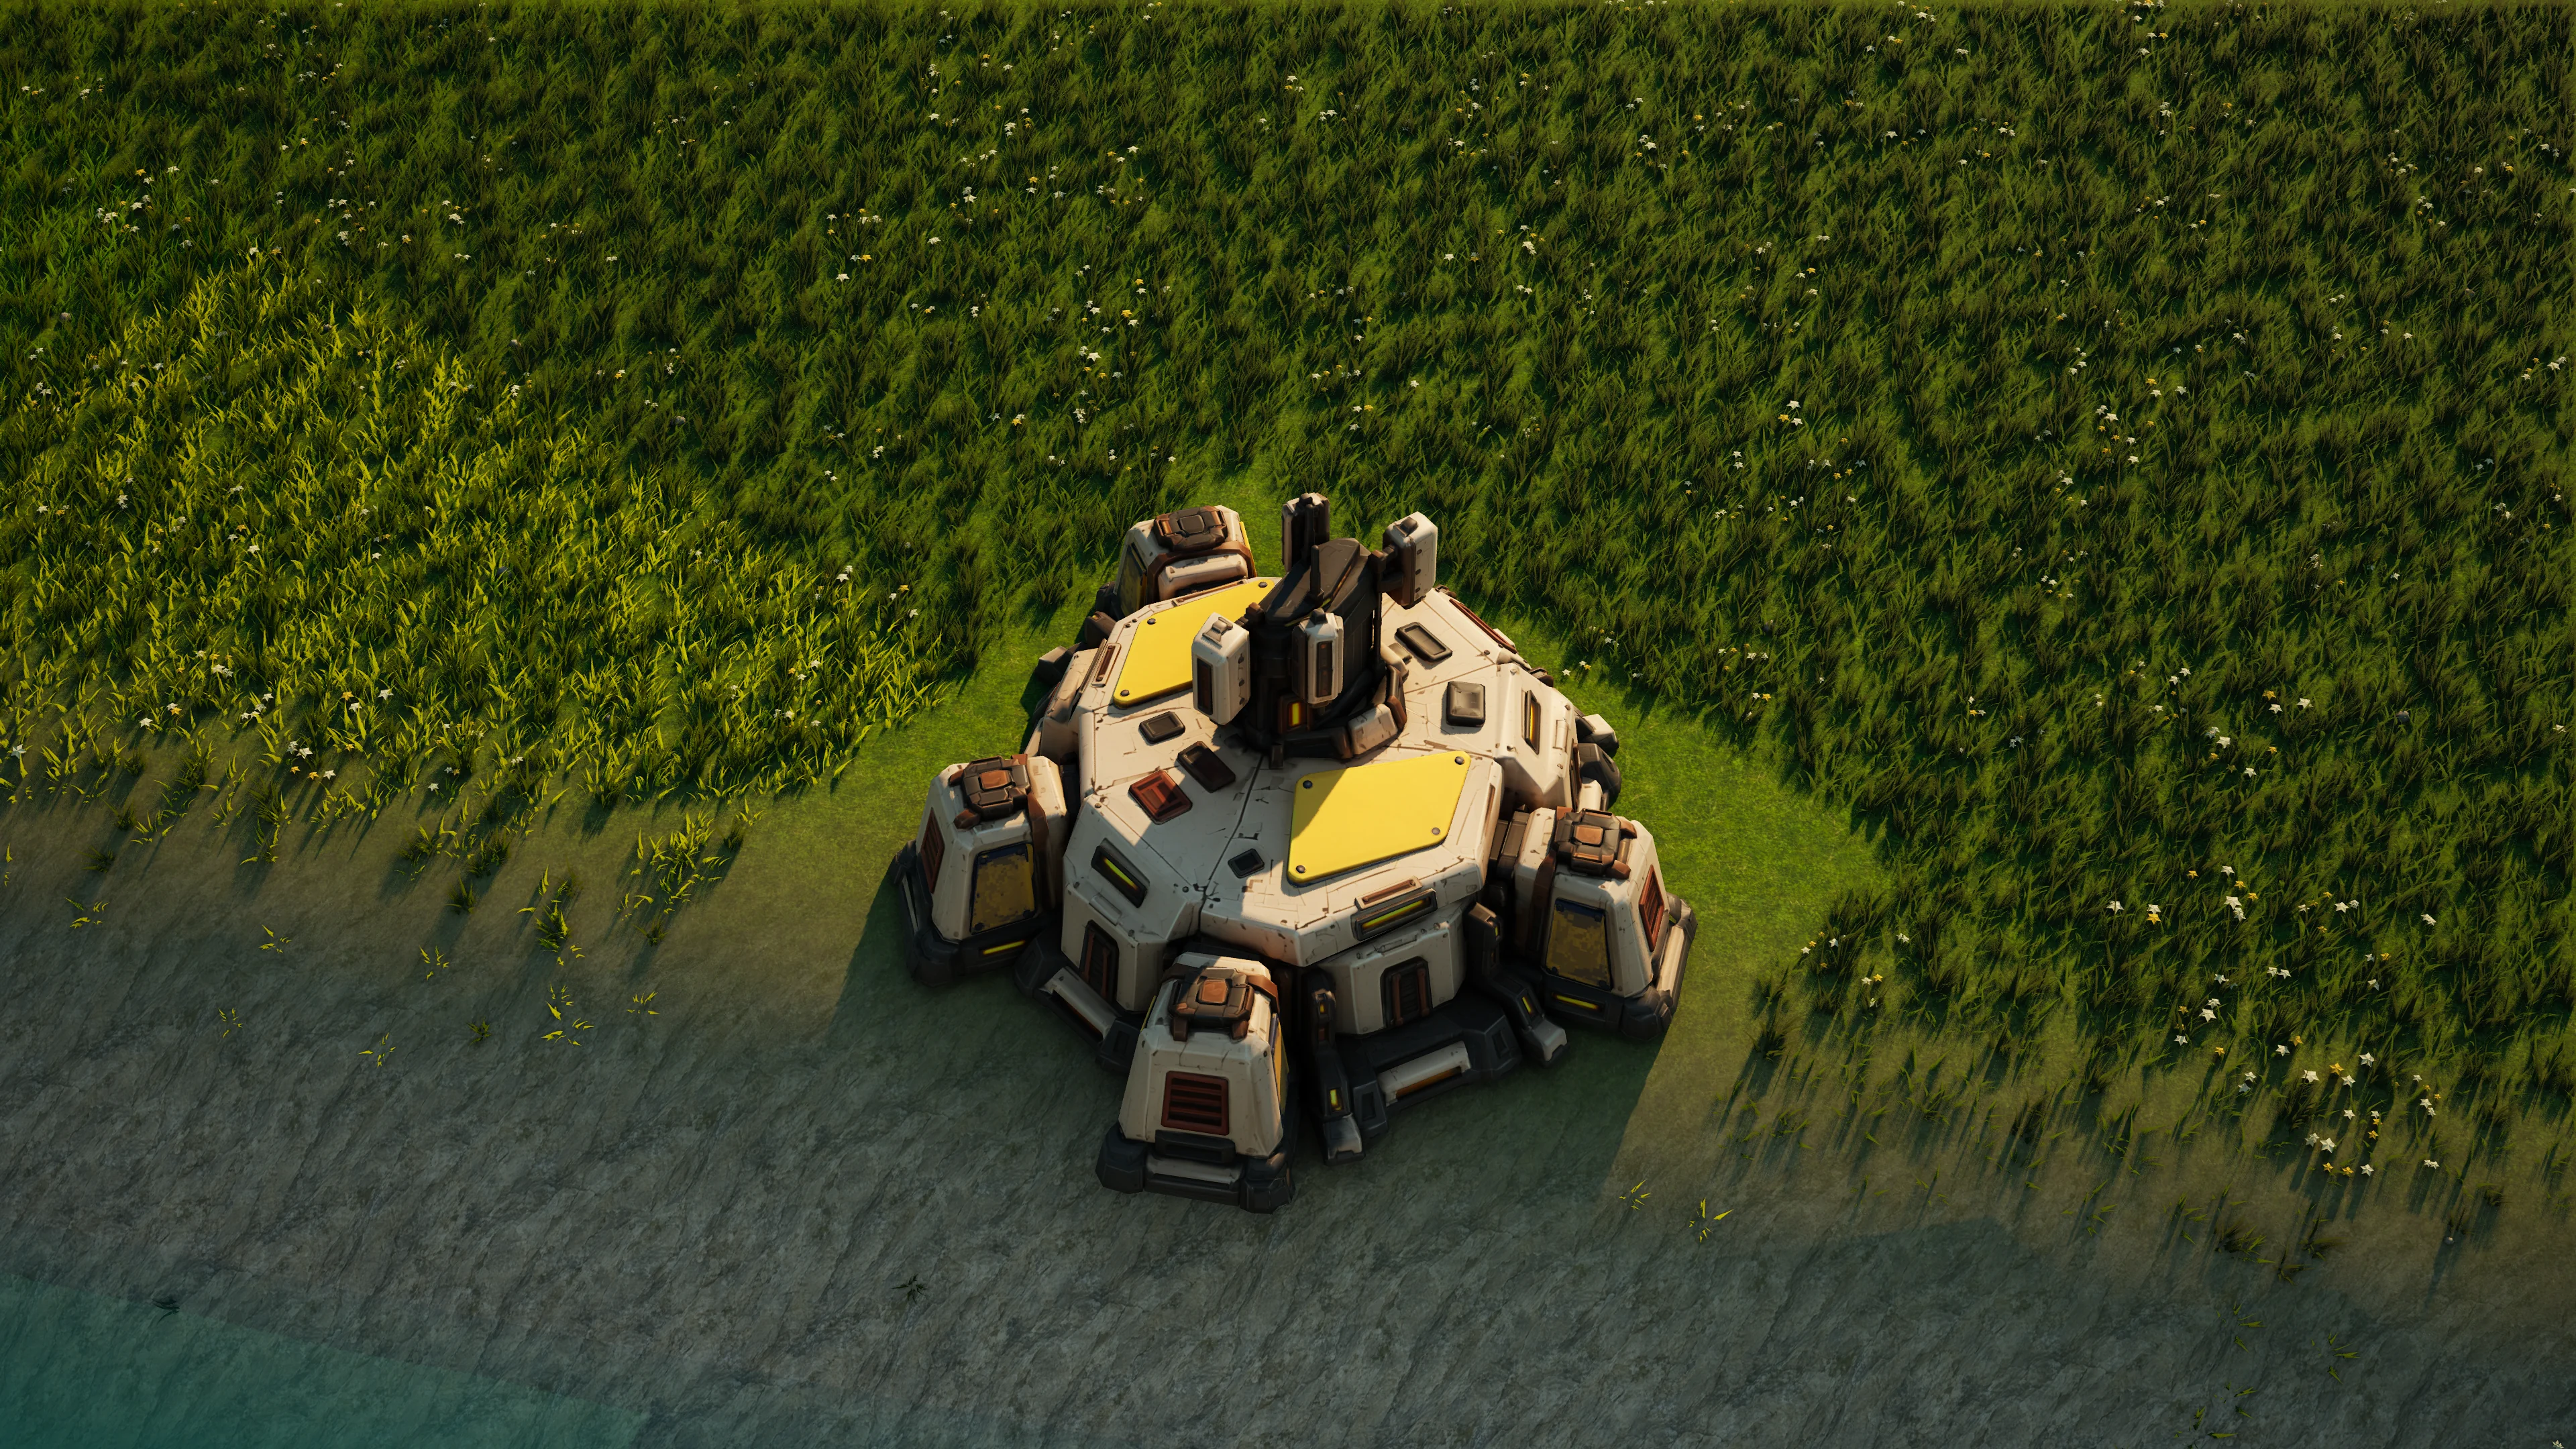
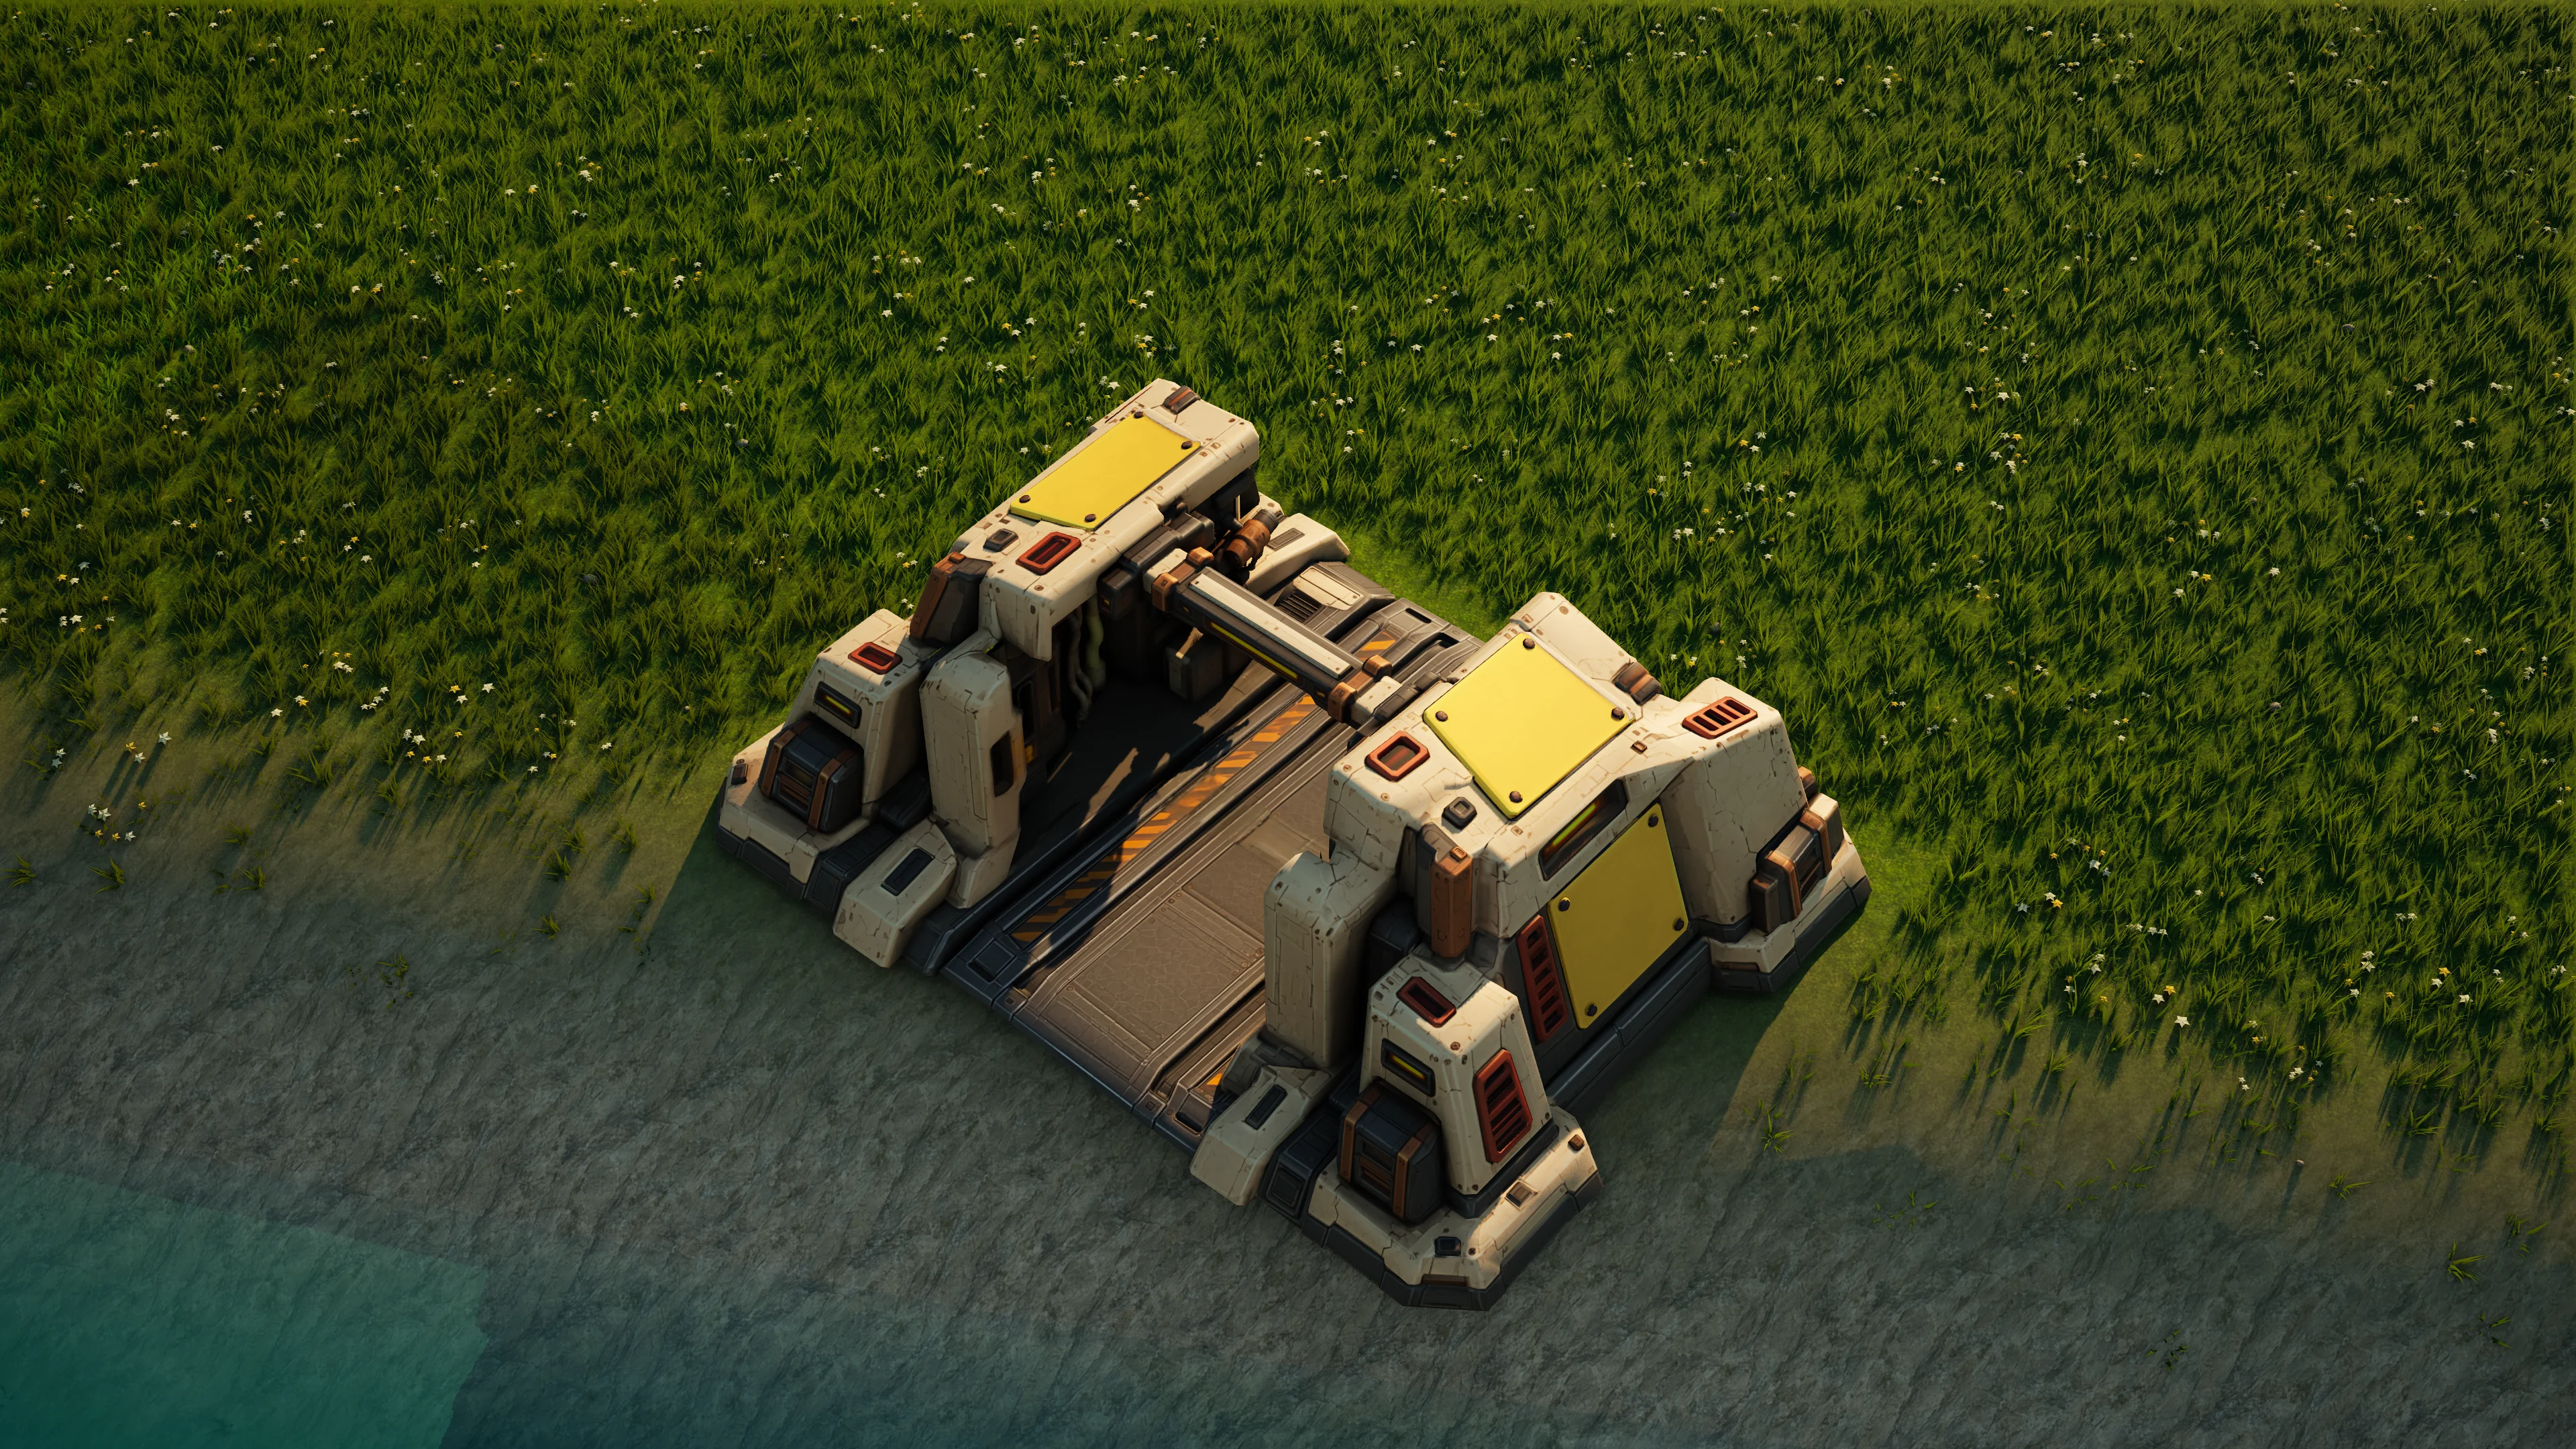
Rootway Gate
Links to another owned Rootway Gate to move engineers and T1–T2 ground units underground. Holds 8 passengers, with a 8-second transit and 30 energy per passenger. Right-click the destination gate to link; air, naval and T3 units cannot board.
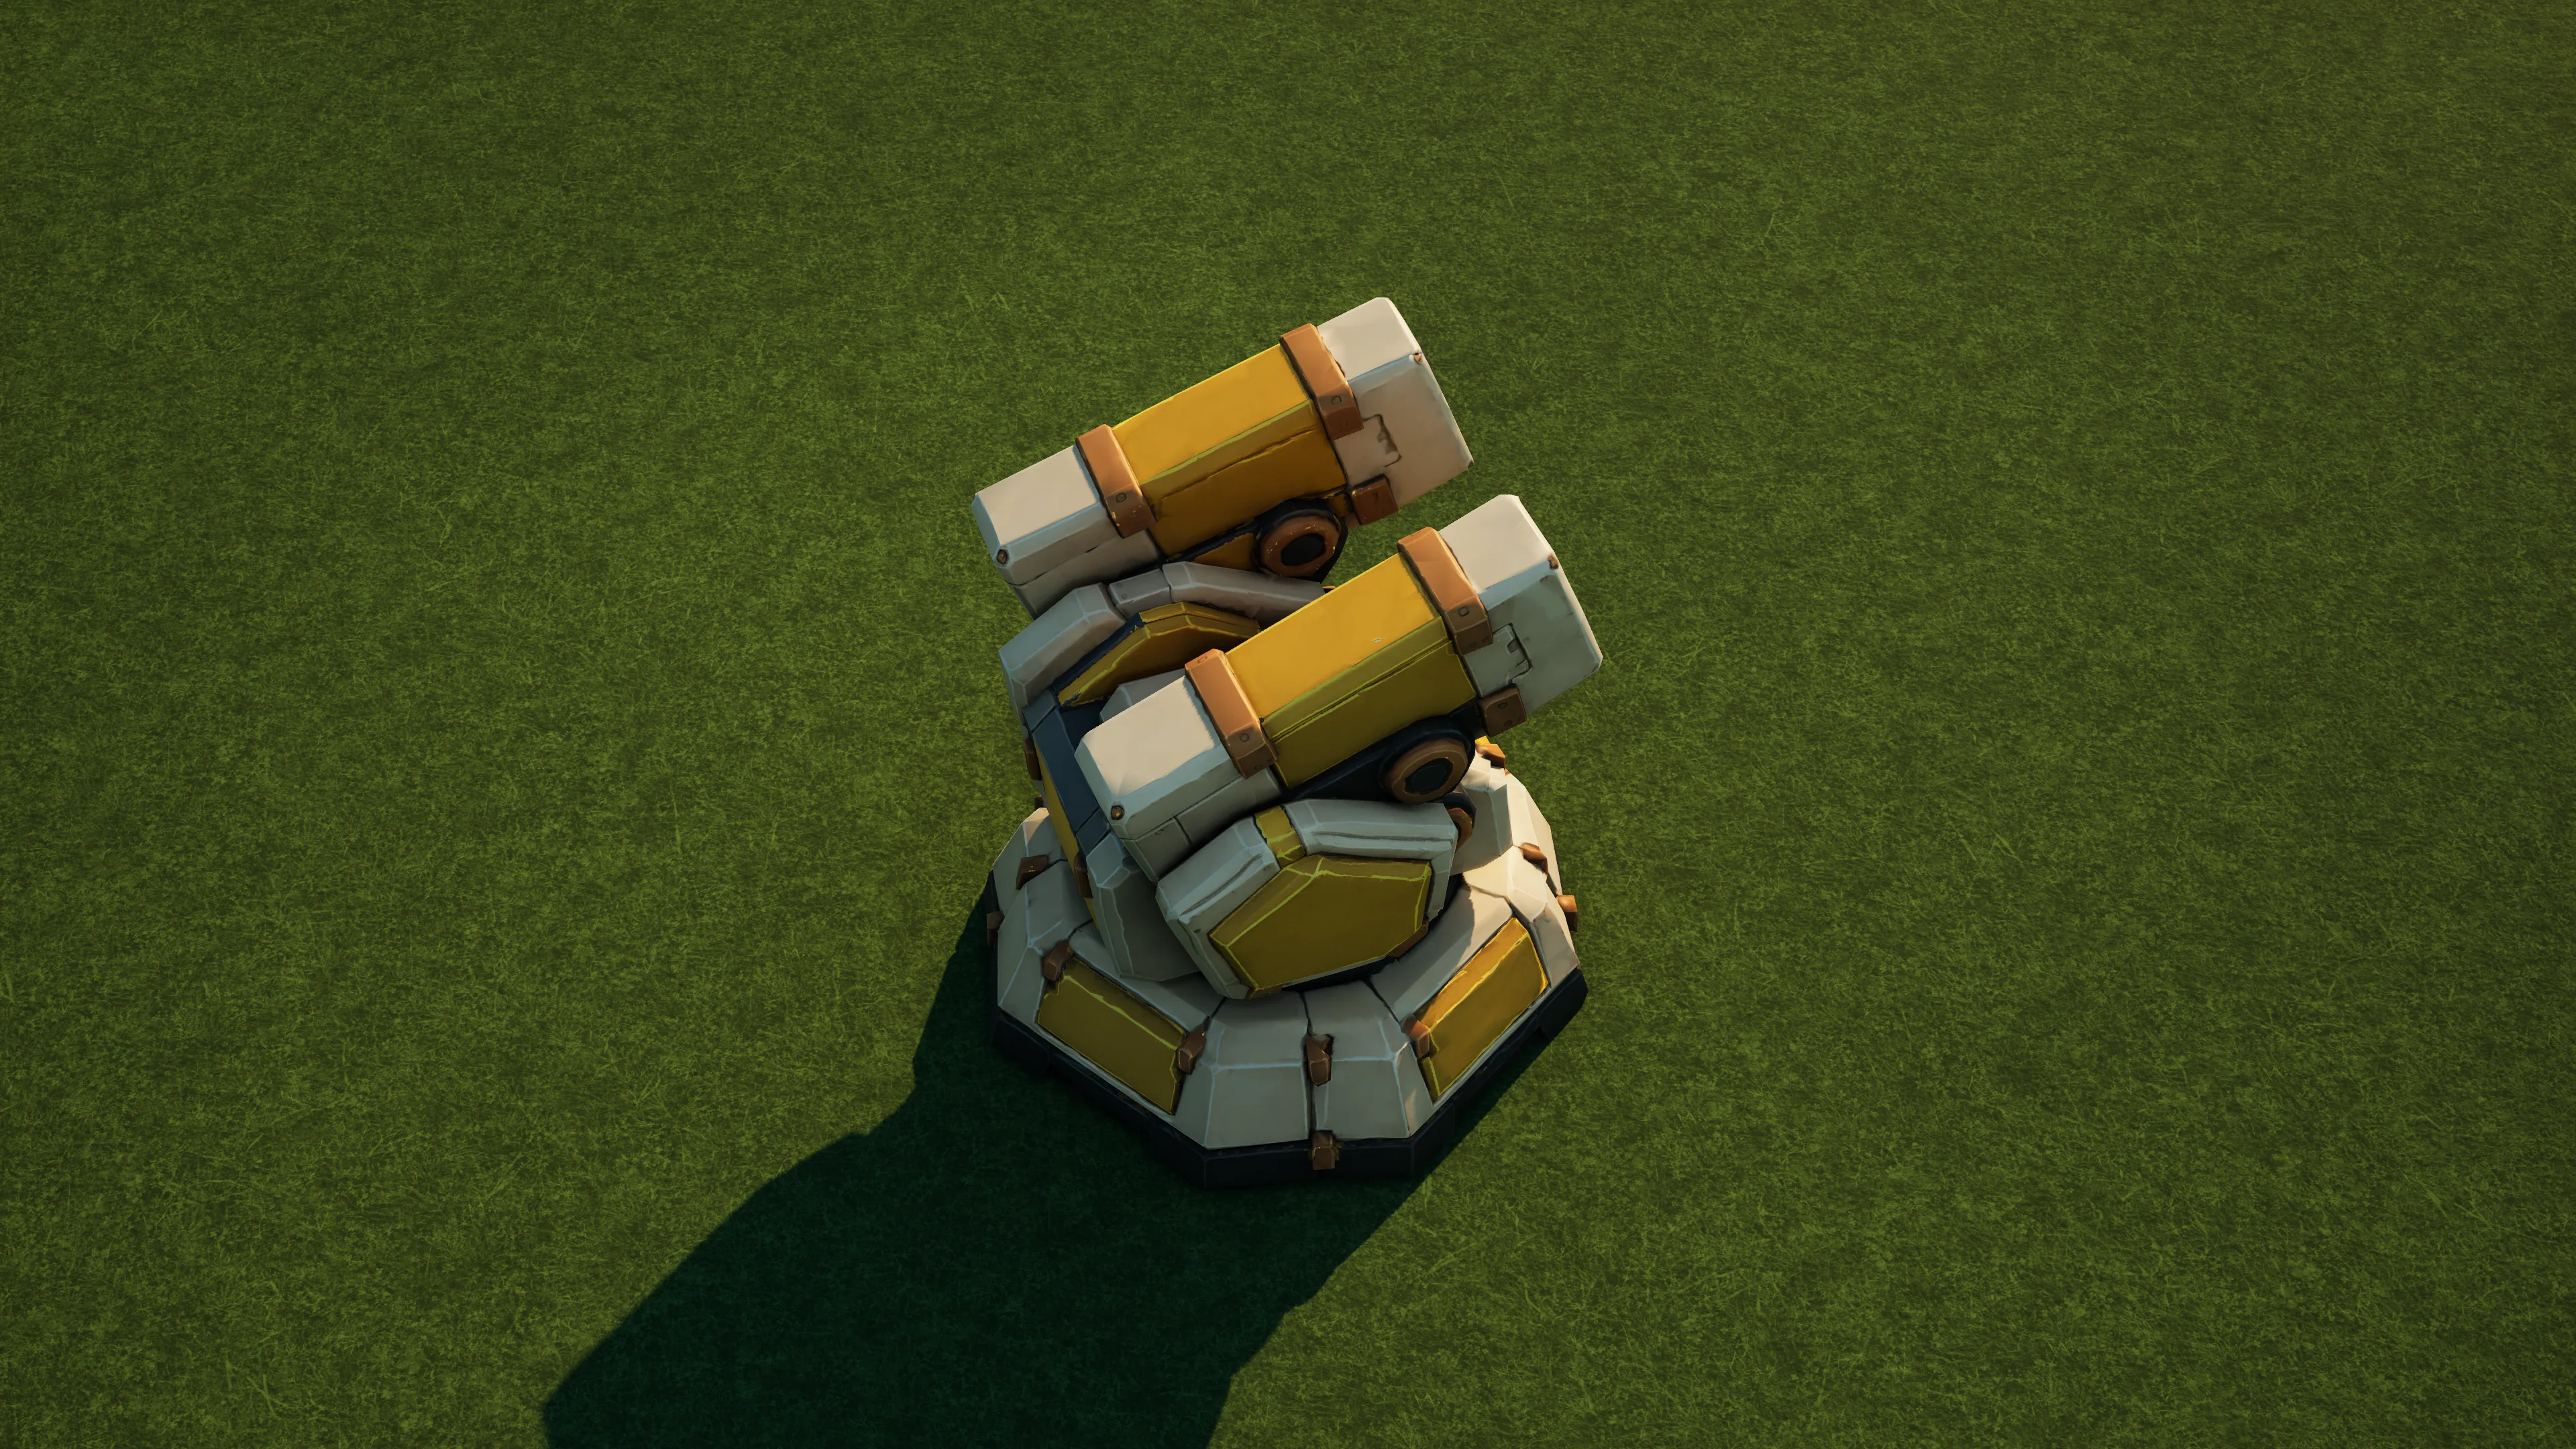
sunhearth · Tier 3
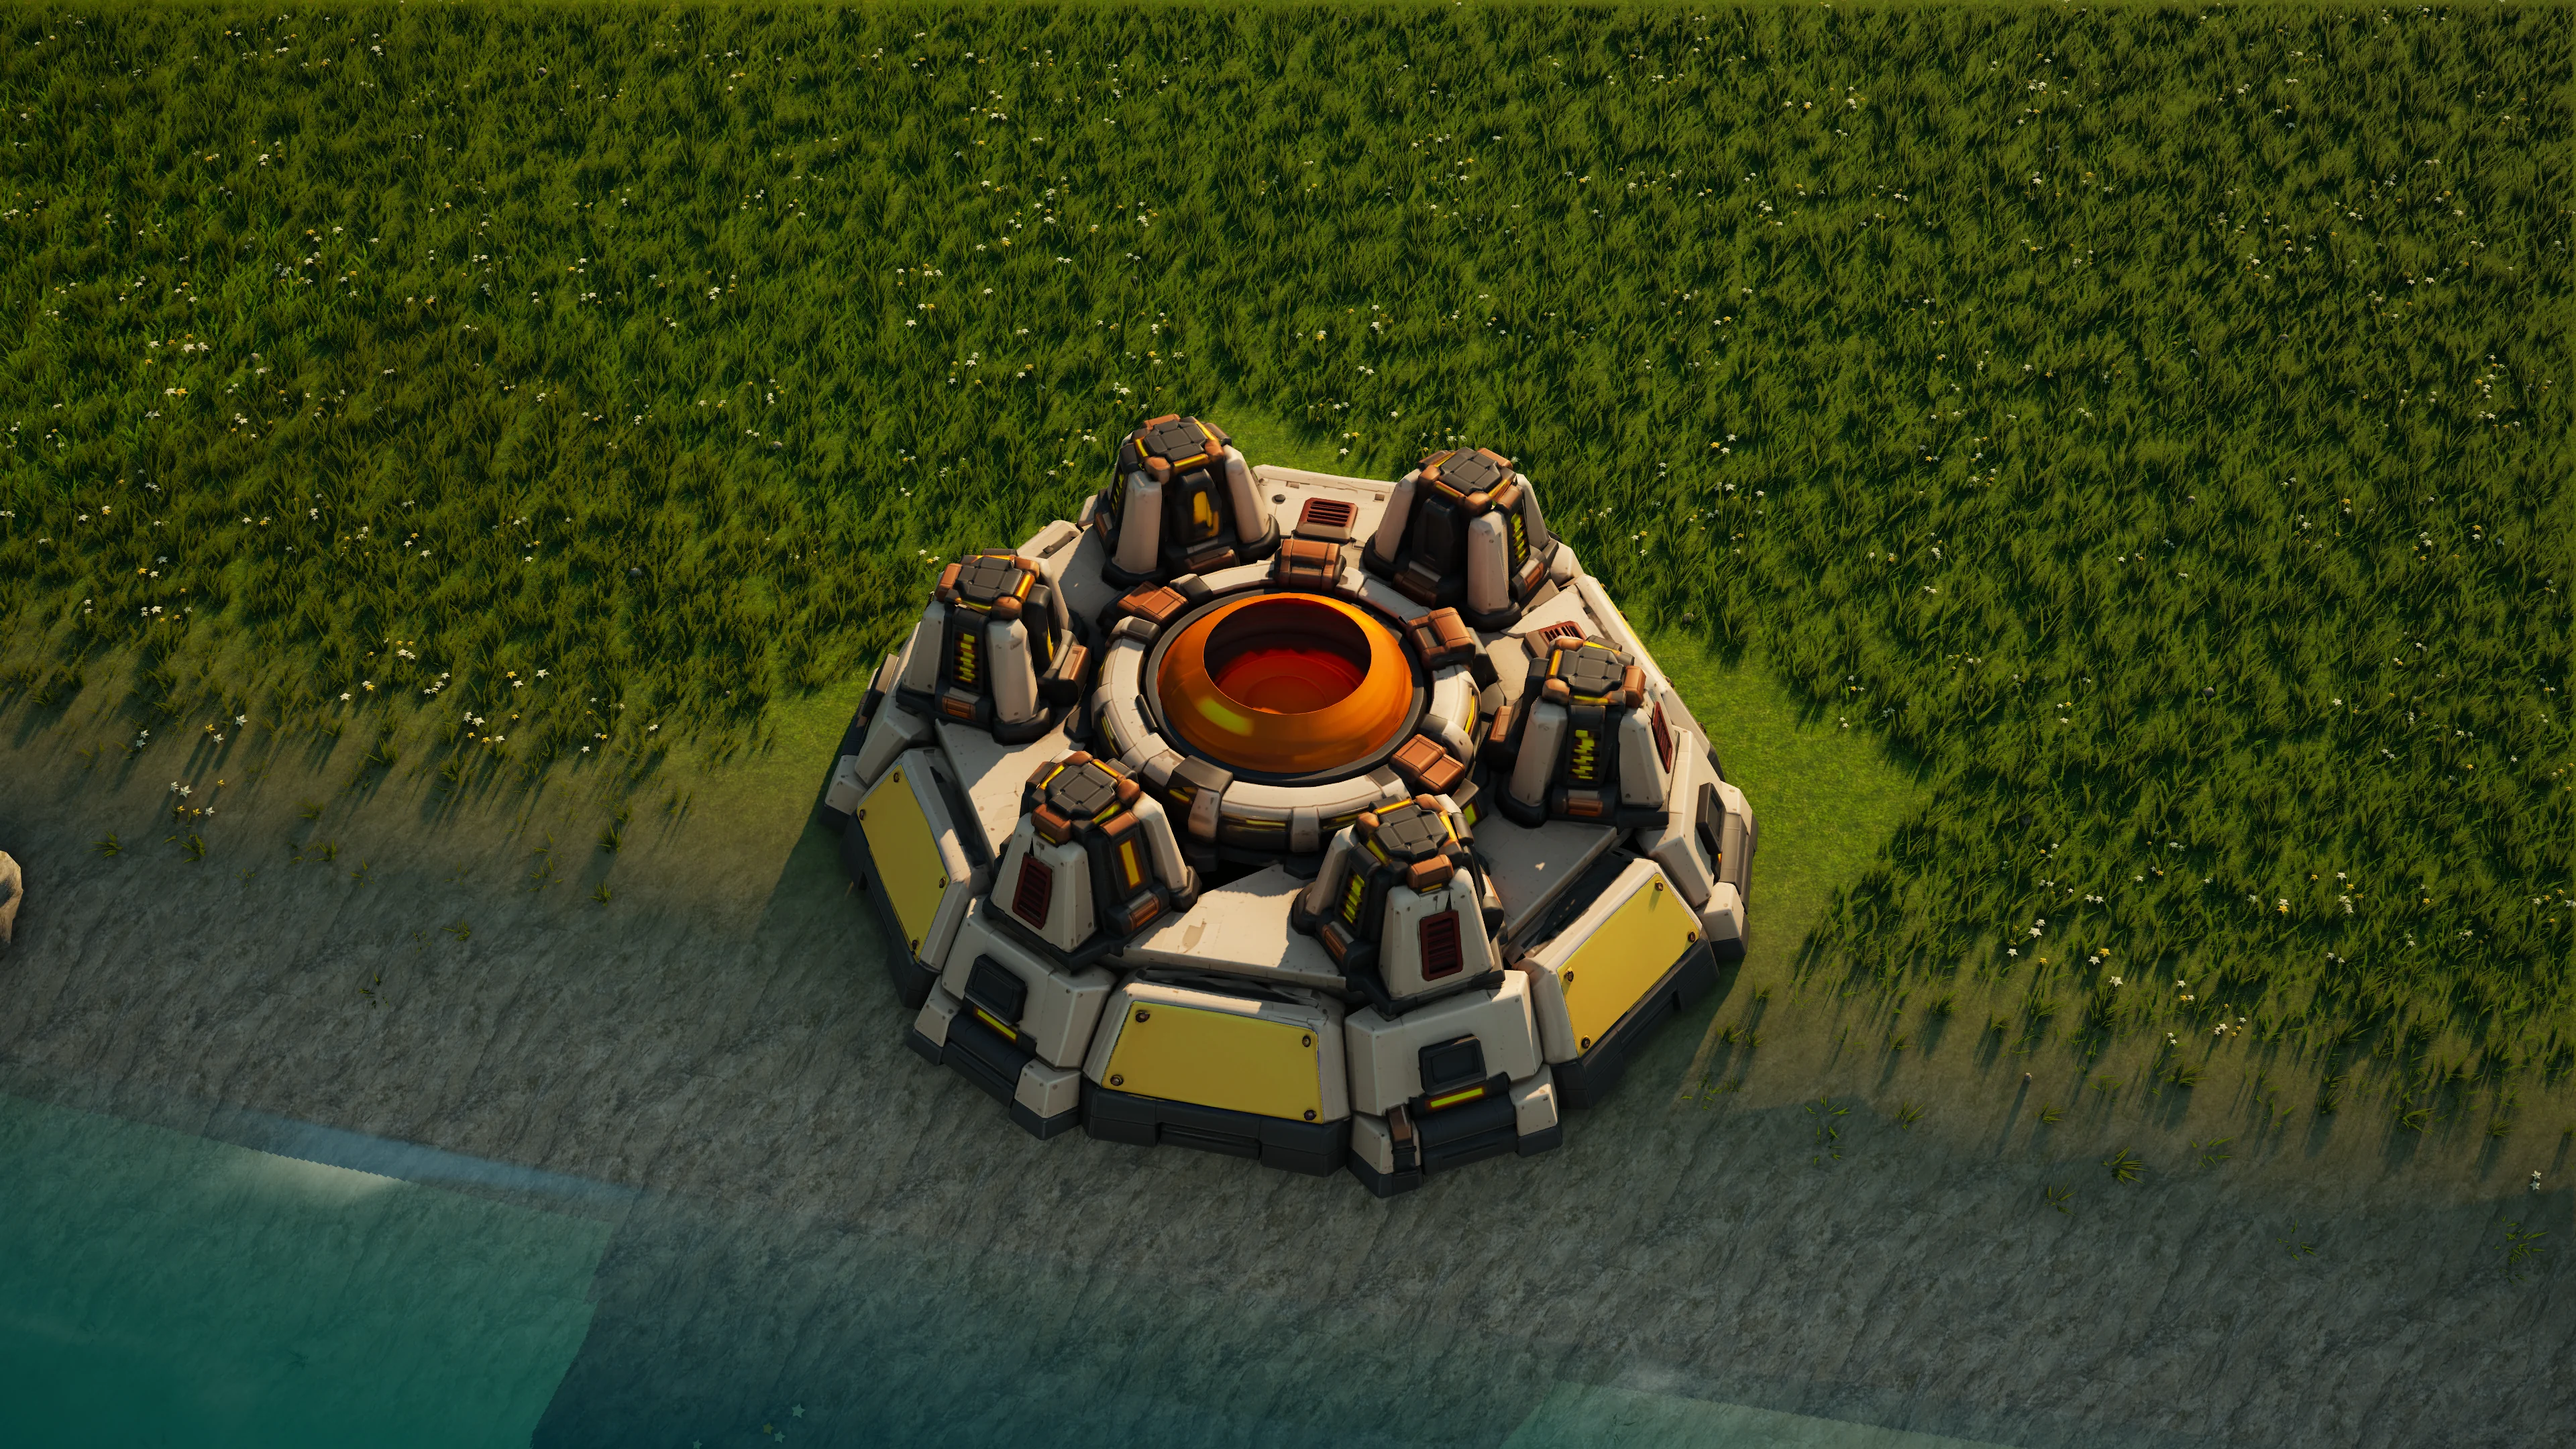
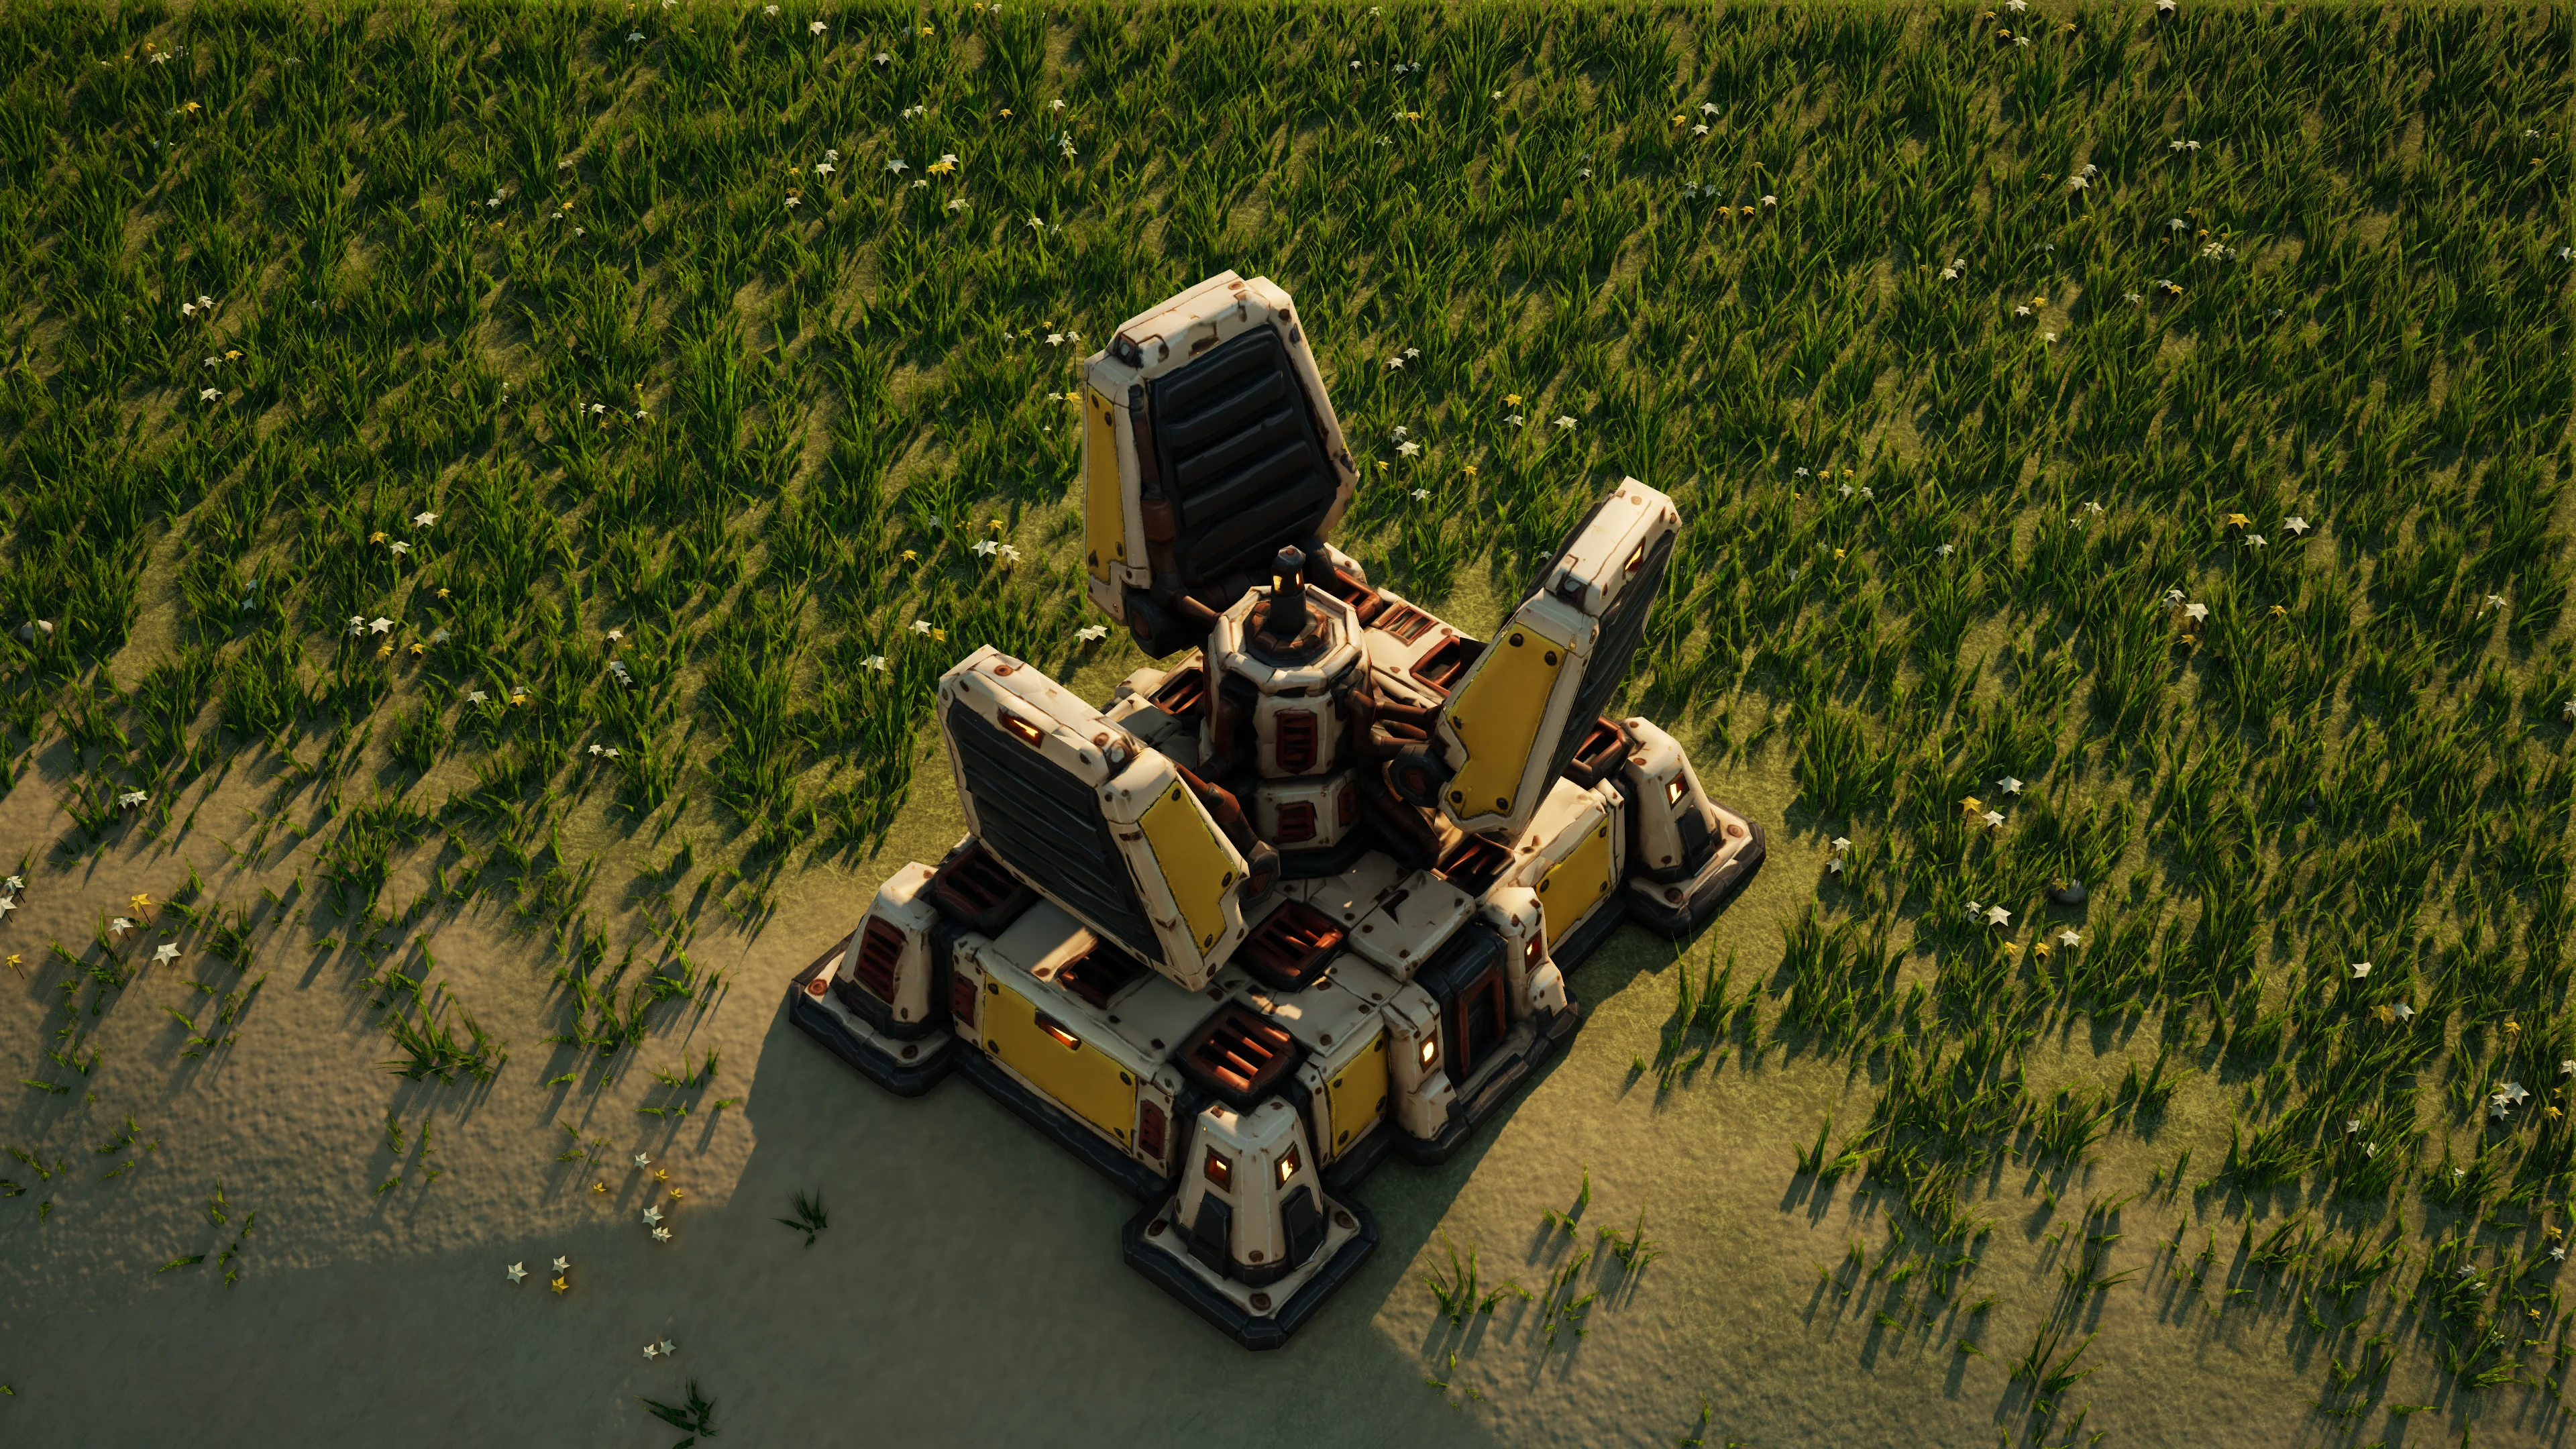
Sunward SAM
The Sunward launches guided missiles at hostile aircraft and drones. Four missiles per salvo. Protect it from ground attackers. Replaces the T3 flak silhouette; T1–T2 still use the flak turret.
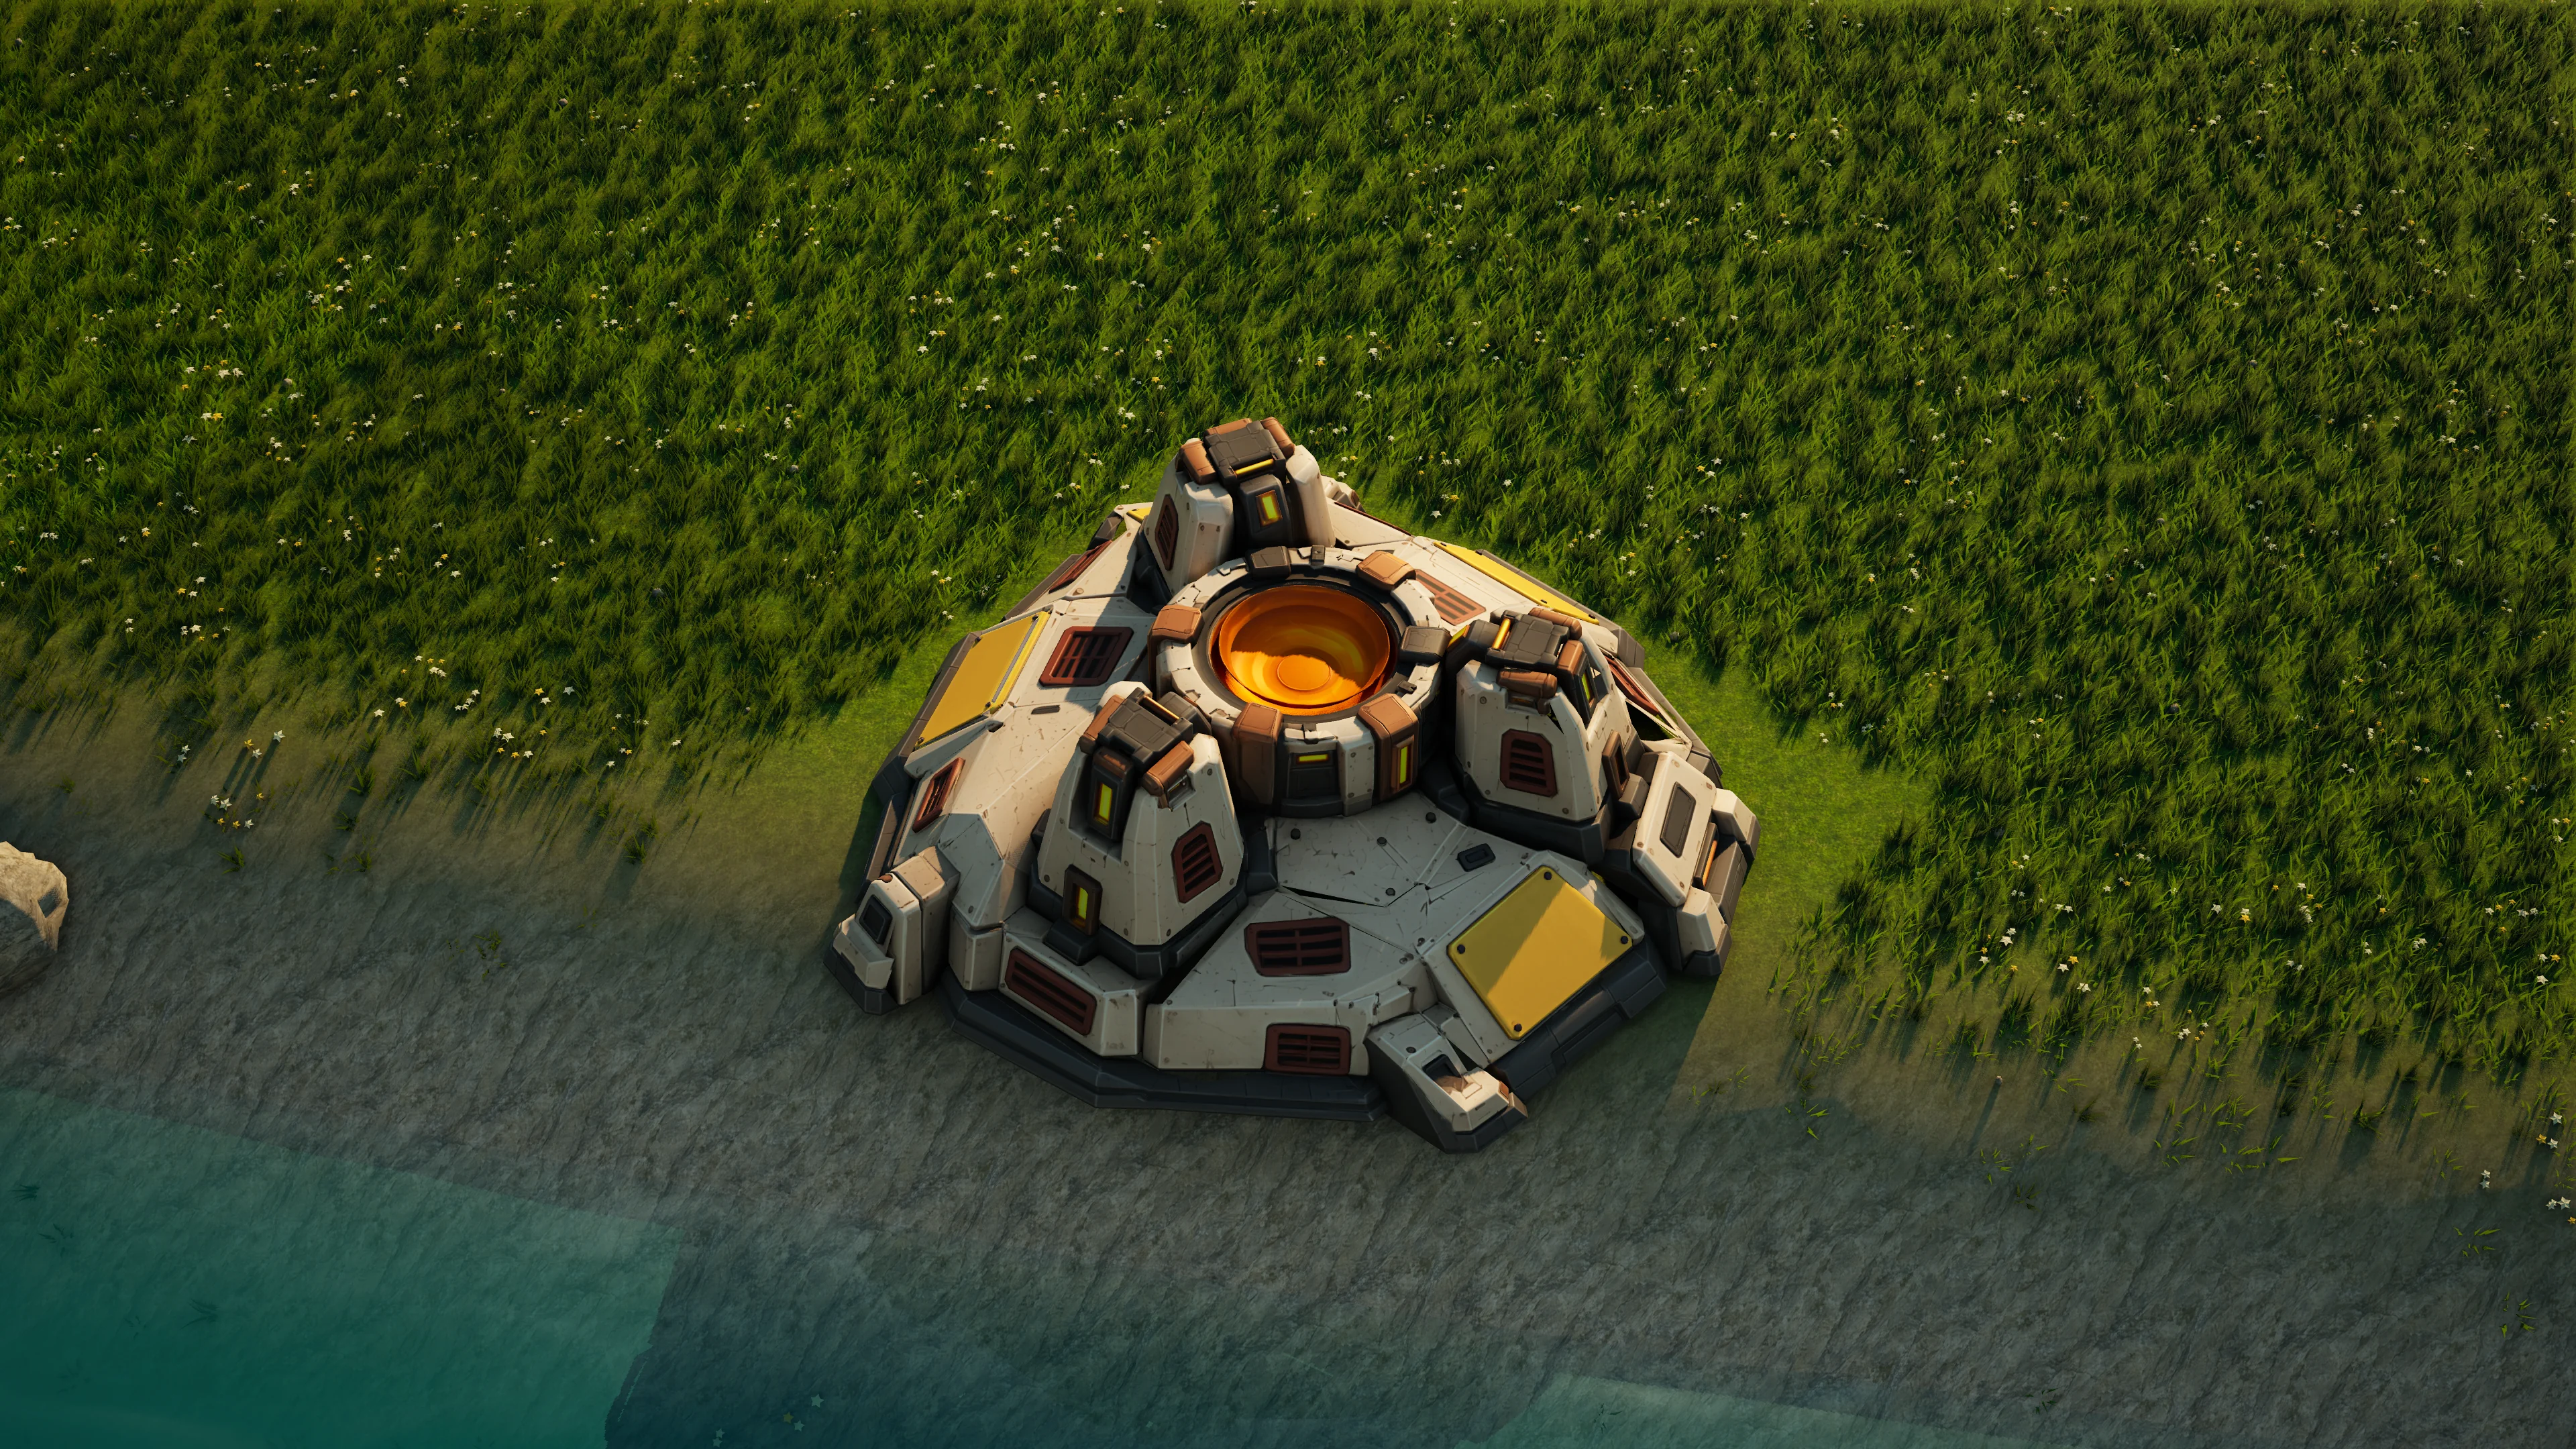
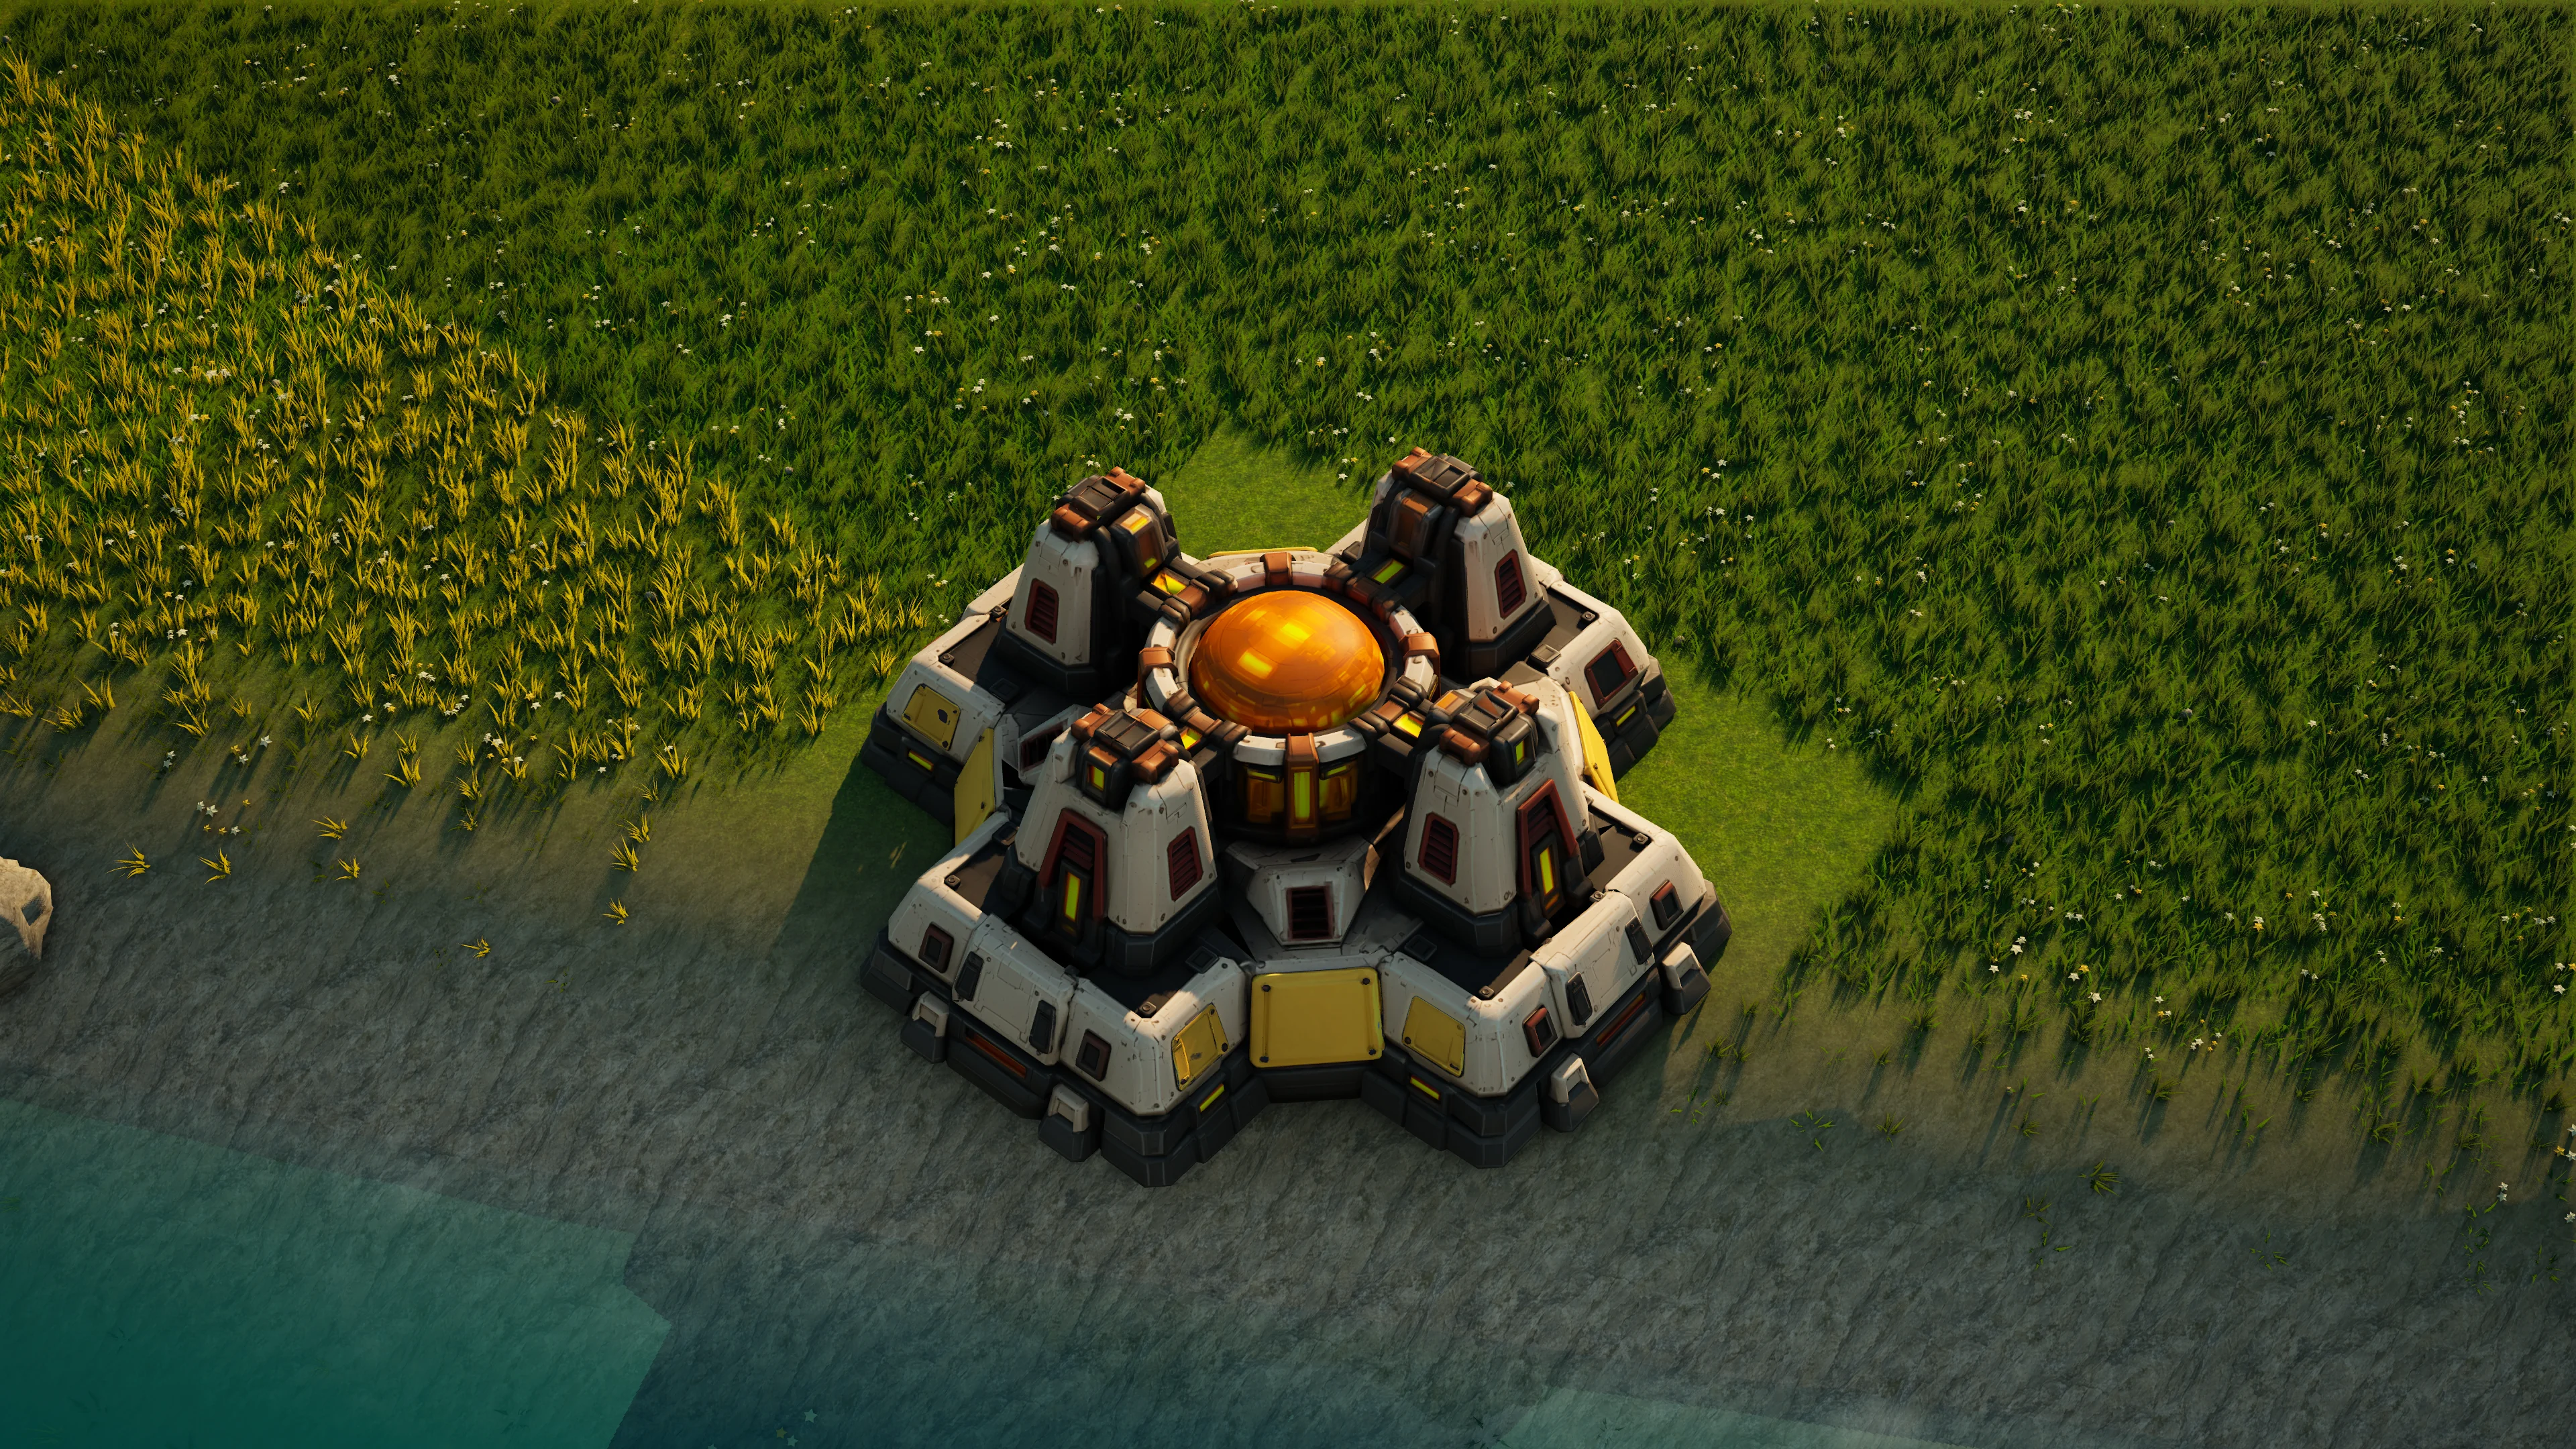
sunhearth · Tier 3
Skyharbor
Receives parachuted supplies: 1,800 matter every 75 seconds. Up to two per commander. Deliveries take 21 seconds from dispatch; protect the courier and keep the receiver powered and storage available.
sunhearth · Tier 2
Stealth field
Conceals nearby allies from enemy radar inside a 320 metre field while powered, consuming 35 energy per second. Direct enemy sight still reveals them. Combine it with scouts and air defence; it does not stop incoming weapons.
sunhearth · Tier 2
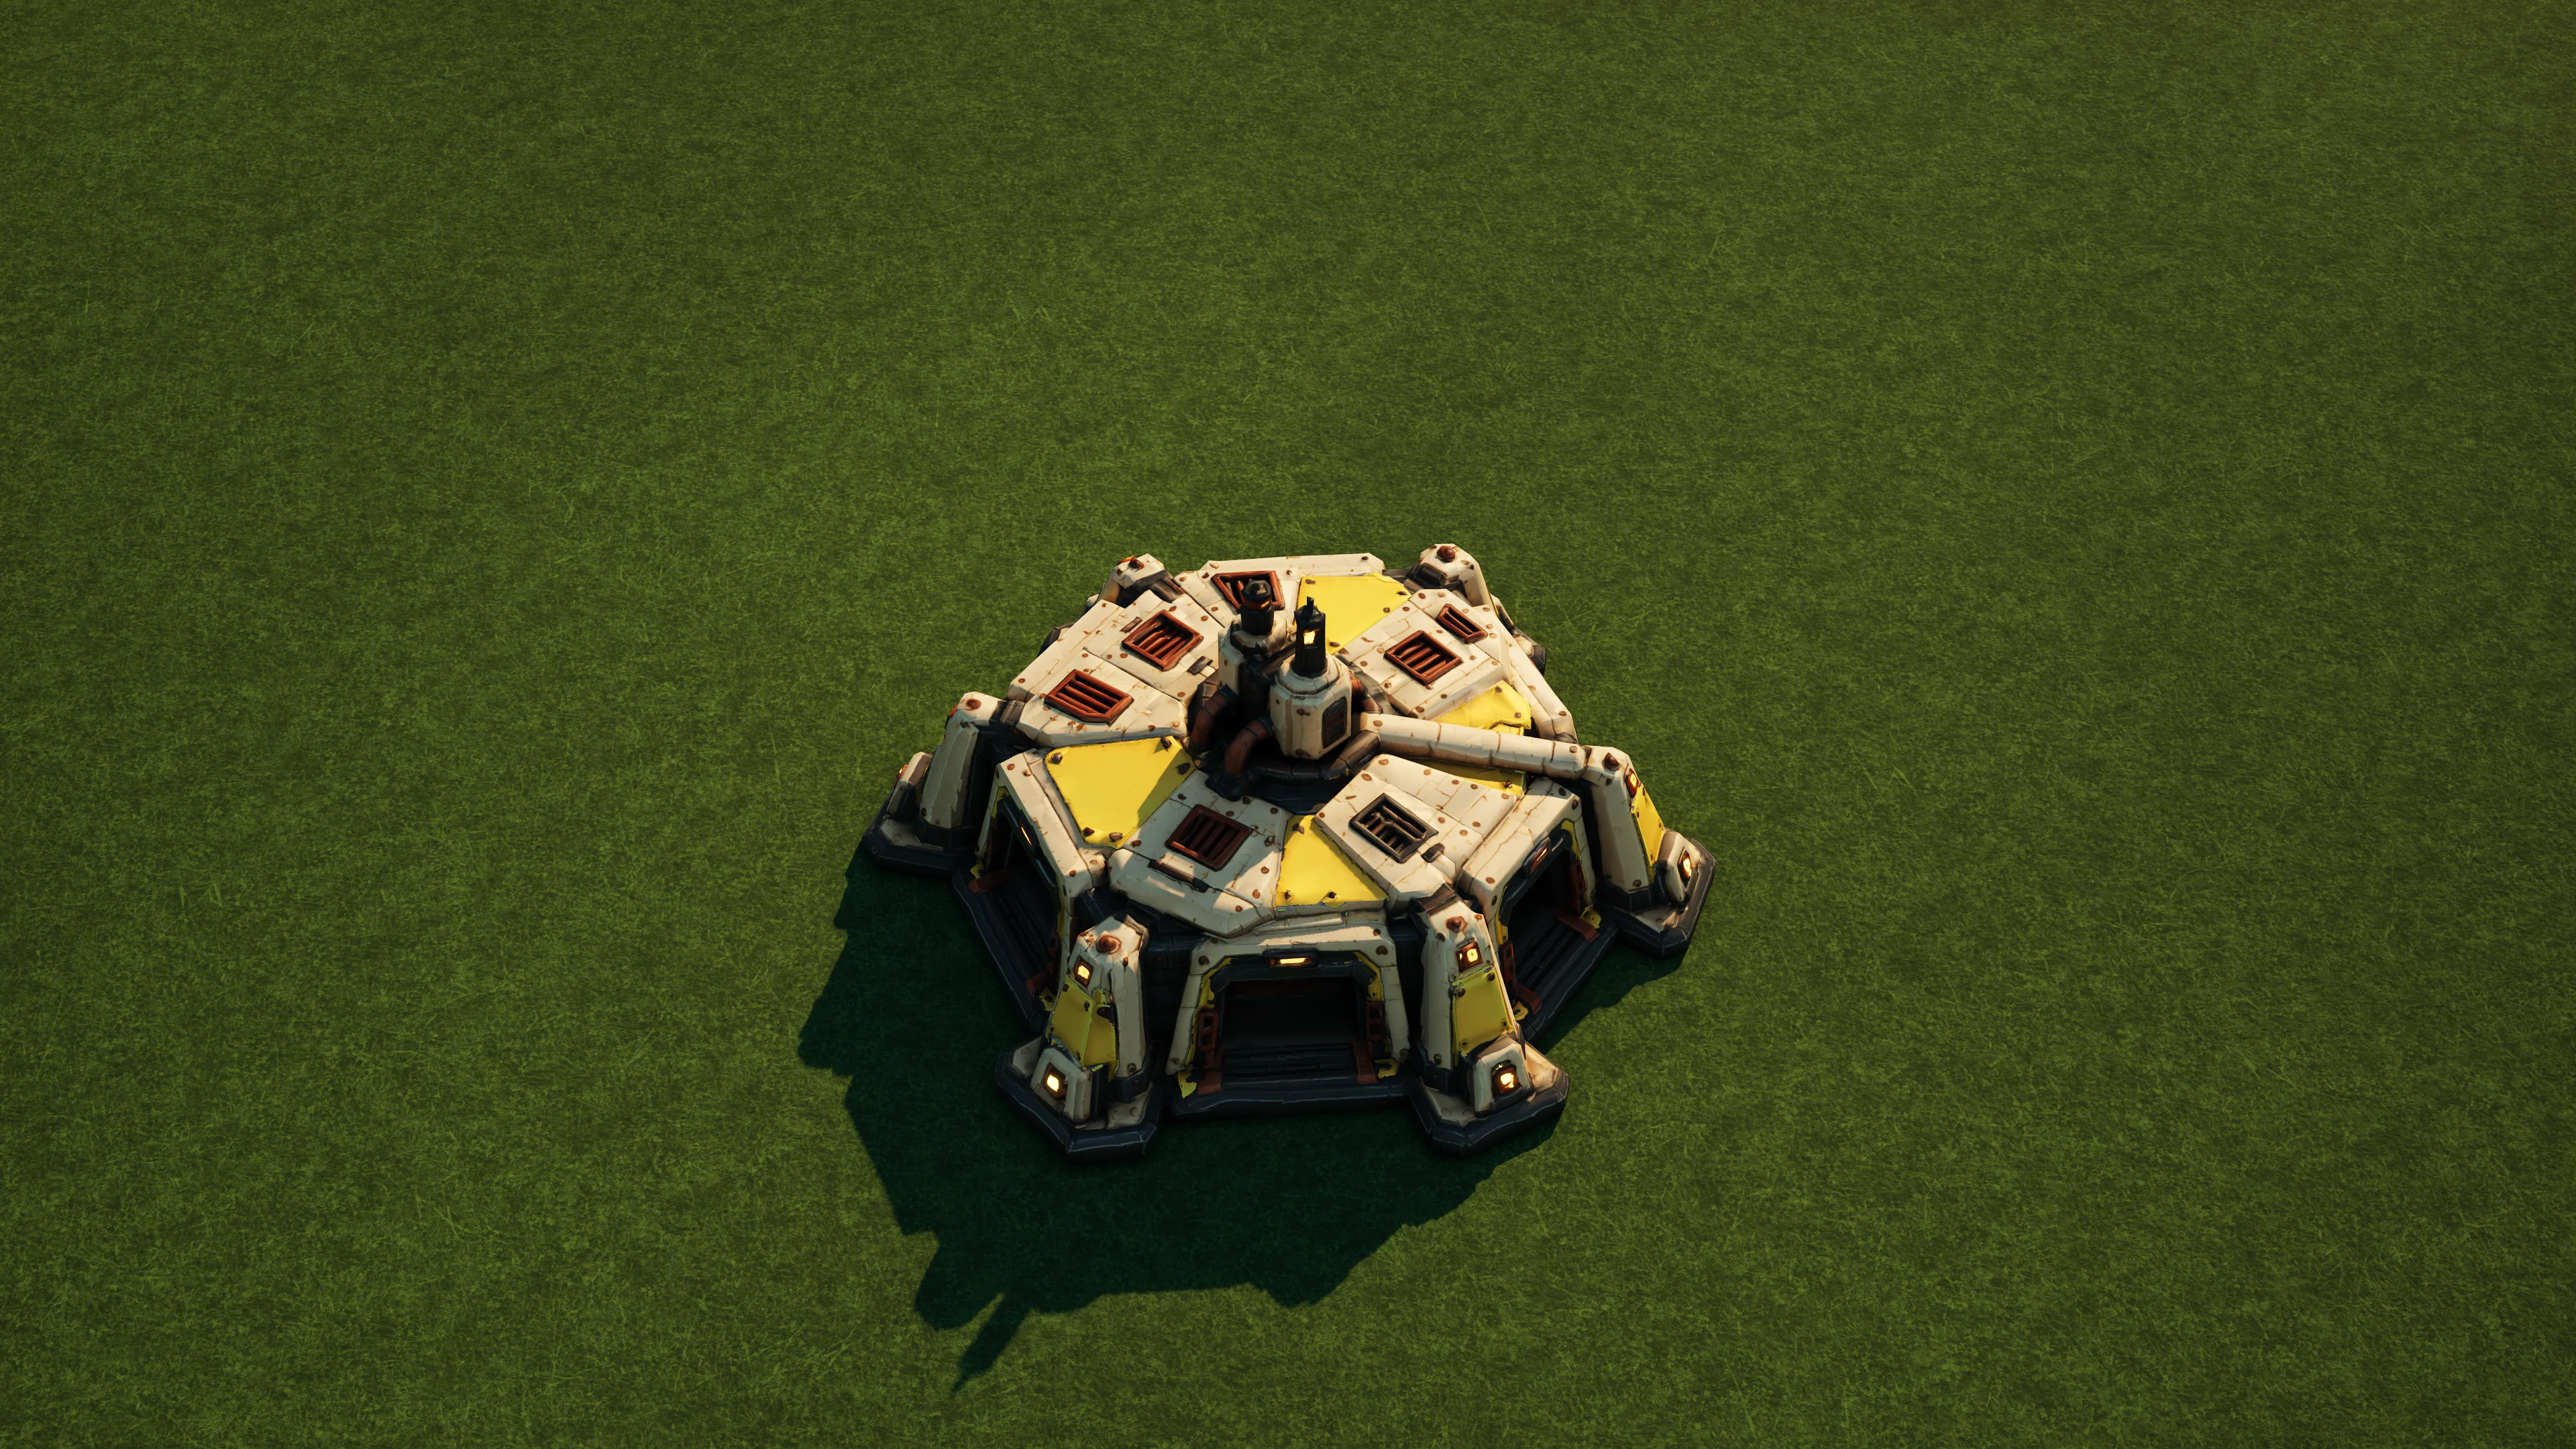
Swarm Bastion
Maintains 2 defensive drones that patrol and repair at home. Sunhearth drones have 50% extra health. Replacements cost resources and use the unit cap. Anti-air and disruption catchers counter the swarm.